Learn how to configure and publish Microsoft Universal Print for Windows 365 cloud PCs to simplify the way you manage your printers today


While working more and more remotely, you could ask; do I still need printers as part of Windows 365? The short answer is yes. There are still a lot of business verticals e.g., governments that regulated their business around physical paper. While printing needs are decreasing, it’s important to simplify the service maintenance overhead. This is where the new Microsoft 365 service Universal Print come into play!
“It’s time to modernize your traditional print-server infrastructure; start printing to the Cloud!”
Universal Print is a cloud-based print solution to allow IT, admins, to share printers through the cloud. Universal Print eliminates the need for on-premises print servers and let you easily manage – and deploy printers directly with Microsoft Endpoint Manager to use them as part of your Windows Virtual (or physical) Desktops. More about this process here.
Transforming your traditional server environment to the Cloud is something to do in stages, going from your traditional RDS/VDI infrastructure to services like Azure Virtual Desktop is one, where other services like printing are remaining—there’s now a service that can fulfill the same service responsibilities benefits as Universal Print is a Platform-as-a-Service solution. This essentially means that everything around the server infrastructure is already pre-built and maintained overtime for you. 😊
Another great fact, Microsoft’s internal Core Services Engineering and Operations (CSEO) department is already using Universal Print in a remote world for a while on a large scale. Read more about the experiences here: Jamming to a new tune: Transforming Microsoft’s printing infrastructure with Universal Print – IT Showcase Blog
Learn in this article everything around the new Microsoft 365 service Universal Print – including the deployment of printers with Microsoft Endpoint Manager to your Windows 365 cloud PCs.
Read more about Windows 365 here Get started with Windows 365 – Microsoft Tech Community
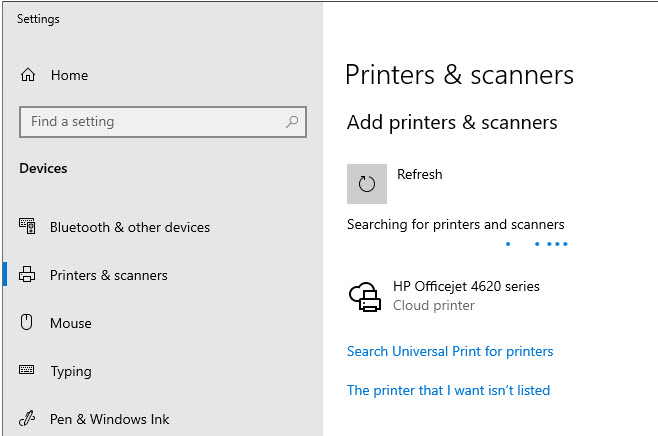
Table of Contents
Click on the title to jump to that spot in this article:
- What is Universal Print?
- What IDC says about Microsoft’s new Universal Print service?
- Universal Print – High-level Architecture
- Built-in location detection – your printers follow you based on your work location
- Connect directly from your printer to Universal Print! Here are the supported hardware partners.
- It’s (most likely already) part of your existing Microsoft 365 license
- Desktops in the Cloud Episode 13: Simplifying traditional printing with Microsoft Universal Print, Issa and Saurabh, UP PM
- Requirements
- Learn how to deploy Universal Print
- Configure Universal Print licensing
- Start the Universal Print configuration in the Azure Portal
- Setup Universal Print – on a Lexmark Universal Print Ready printer
- Set up the Universal Print connector – to connect to your On-Premises location/printers
- Enable hybrid AD configuration – via the Universal Print Connector
- Register your own custom Printers to Universal Print
- Share your Printers with your users
- Assign permissions to use Printer(s)
- Test your printer assignment – logon to your virtual or physical Desktop
- Assign and deploy Cloud-printers with Microsoft Endpoint Manager
- Want to see all the above in action? Watch this Universal Print demo!
- Need help? Visit the Universal Print FAQ
What is Universal Print?
You might remember – or still do it – today. Spin up a Windows Server environment, add the print server role and start adding your printers and designated drivers to the server. Not very modern.
Universal Print offers the same, and more features while it also eliminates the need for on-premises infrastructure. It enables you to manage printers directly through a centralized portal in Microsoft Azure. Say goodbye to install (and maintain) printer drivers on devices and/or golden images. Also, everything works with Azure AD. This means that users can use the same set of credentials they use for other Microsoft services, whether they logon to a physical or virtual desktop running in the Cloud. You can read more about the supported print options here. Supported print options – Universal Print | Microsoft Docs
Here are the #5 most important things to remember the service before moving to the next section.
- Move to a print setup that’s scalable and easy to configure.
- Eliminate the need to manage print servers.
- Enjoy robust management capabilities through the centralized Azure portal.
- Control print environment and reporting.
- Gain visibility and insights into your print environment.
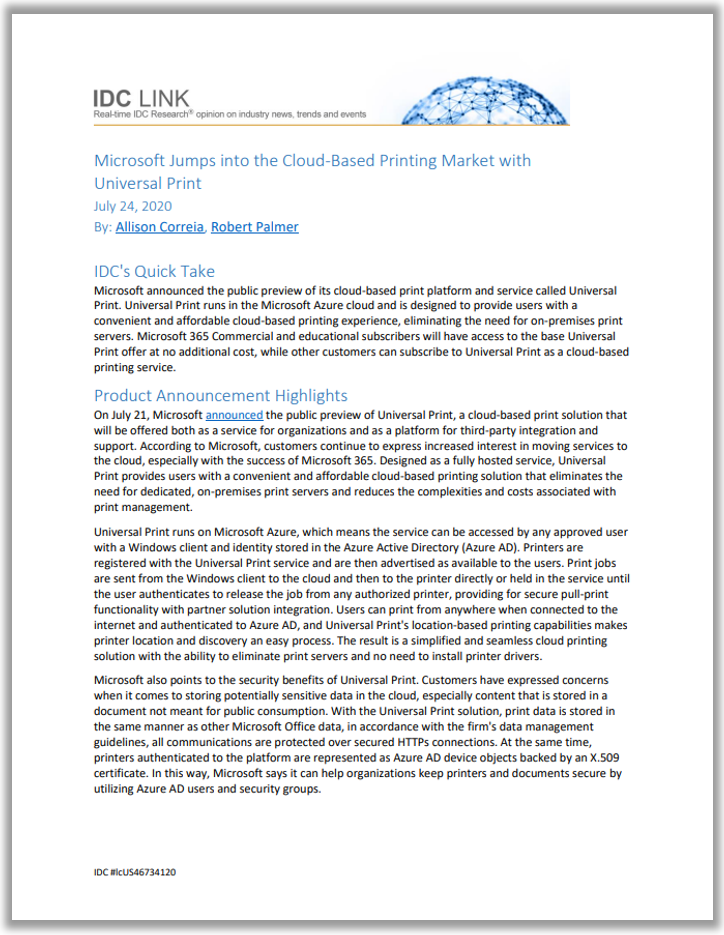
What IDC says about Microsoft’s new Universal Print service?
“Microsoft announced the public preview of its cloud-based print platform and service called Universal Print. Universal Print runs in the Microsoft Azure cloud and is designed to provide users with a convenient and affordable cloud-based printing experience, eliminating the need for on-premises print servers. Microsoft 365 Commercial and educational subscribers will have access to the base Universal Print offer at no additional cost, while other customers can subscribe to Universal Print as a cloud-based printing service.”
Source report: https://query.prod.cms.rt.microsoft.com/cms/api/am/binary/RE4I7QZ
Universal Print – High-level Architecture
As most of my followers know, I’m an engineer that likes to explain new technology in-depth. The architectural concept around Universal Print is as below drawing. The core-print services are running in the Cloud as Platform service running on Azure, while the Universal Print connector(s) have to be installed on device running either a Windows Server of Windows Client OS. The connector device may be a physical device, virtualized on-prem or hosted in Azure. You may chose to install connector on an existing print server to quickly add all the printers on that device to Universal Print.
The Print Connector is the proxy between your on-premises location and the Universal Print service—in case your printer doesn’t support Universal Print. Is your printer Universal Print Ready (e.g. Canon – Epson – Toshiba – Lexmark)? You can then connect the printer directly to the Cloud! There’s no need for an ExpressRoute or site-2-site VPN connection for all scenarios. Did you share and connect your printers correctly? You can then start assigning printers via Microsoft Endpoint Manager to your virtual (and physical) Windows 10 Enterprise desktops!
Where does my printed data go? Universal Print stores all print queues in Office data storage. This is the same storage that stores customer’s Office 365 mailboxes and OneDrive files. A job stays in the print queue for a few days. If the job is not claimed at the printer within three days, it gets marked as aborted. Even after printing, a job may stay in Universal Print for a few more days (up to a total of 10 days).

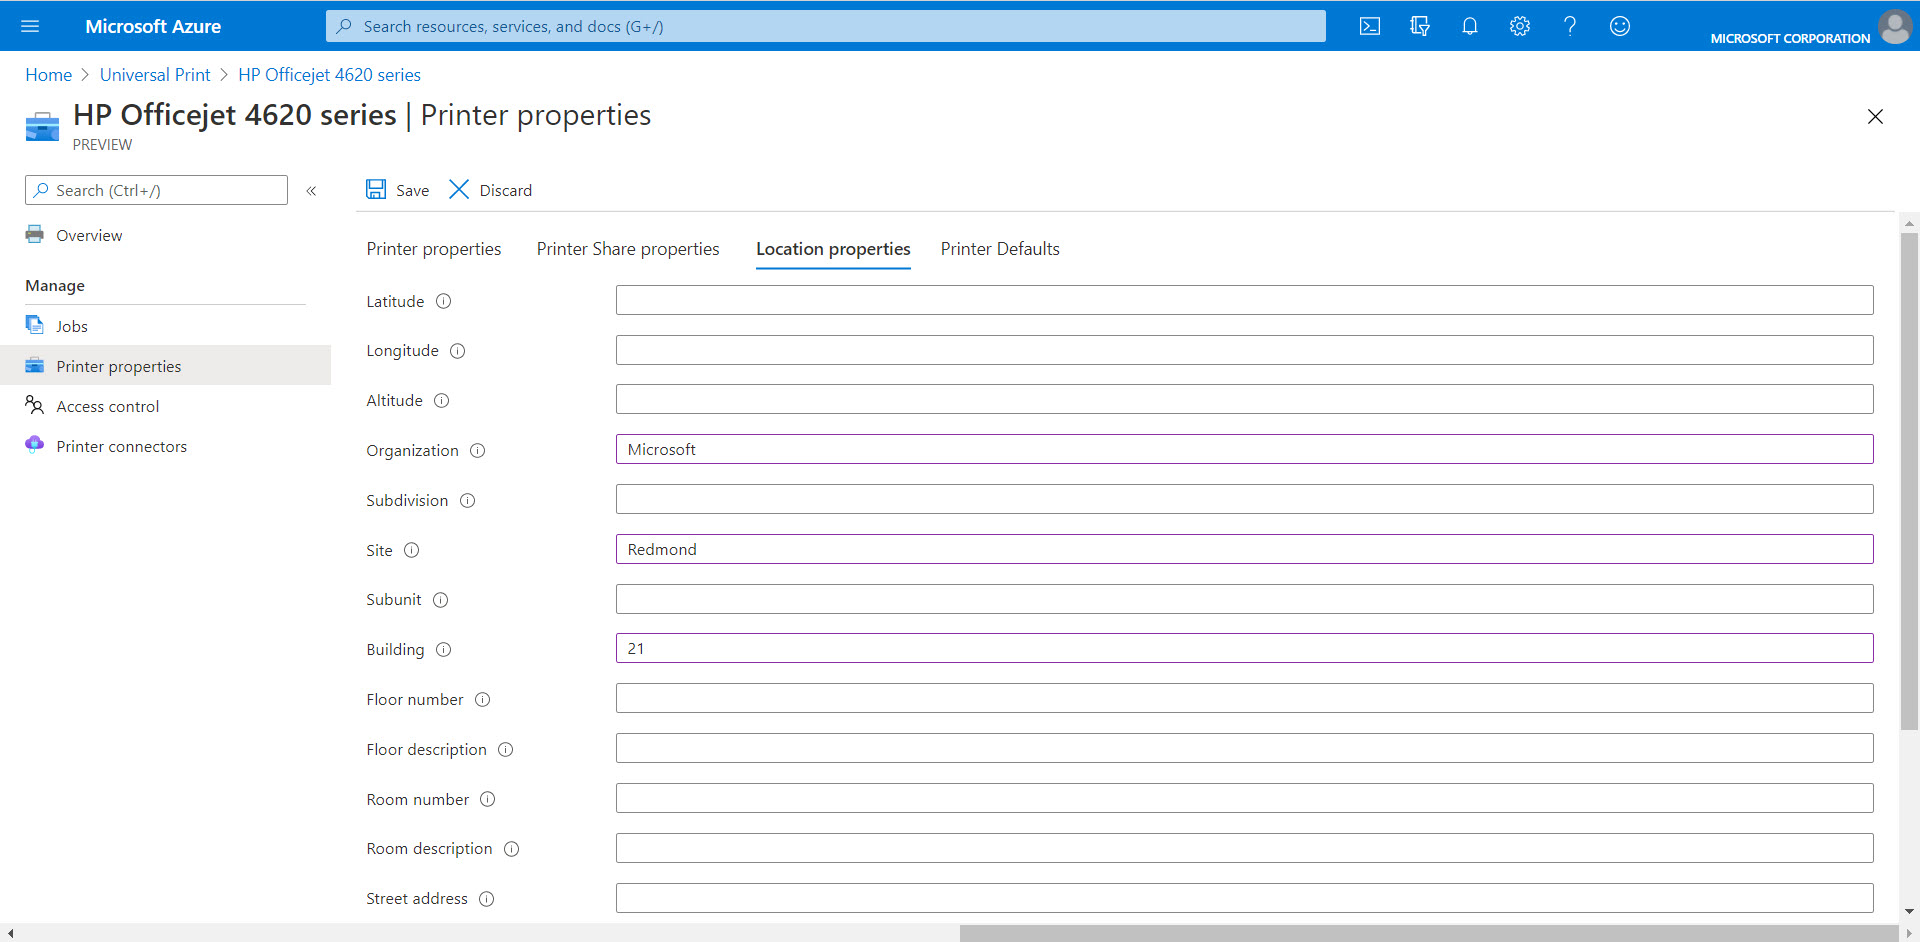
Built-in location detection – your printers follow you based on your location
With WFH – remote working so popular today due to the pandemic, it’s unlikely that you shift from home to different office locations in the next couple of months.
However, when life does get back to the new normal, whether that’s 1-2 or more days at the Office – know that Universal Print offers the option to assign a printer based on a location – and once you move back to home, your home printer gets auto-assigned.
How does that work? You can use filters based on Country, City, Building, Floor, etc. Alternatively, there’s even the option to use GPS based location-allocation. The Printer Administrator can configure the latitude and longitude of their printers in the Universal Print Admin portal. In order to track the location of the user, location sharing should be turned on the user’s Windows physical endpoint device
Connect directly from your printer to Universal Print! Here are the supported hardware partners.
Universal Print has been built as a platform. While Universal Print works on its own, there are plenty of reasons to add any of the software vendors add-value partners to the solution. For example, if your hardware printer is a Universal Print ready printer via one of the hardware solutions below (e.g. Canon – Epson – Toshiba – Lexmark)? You can then connect the printer directly to the Universal Print service – Cloud. You won’t need a Universal Print connector (proxy) in your on-premises environment to connect to the service! You can find the full list of partners here: Partner Integrations – Universal Print | Microsoft Docs
Note: There’s also an option to use the Y Soft Omni Series, which makes any in-market multifunction device or network printer compatible with Universal Print without requiring a local or remote Windows 10 or Windows Server machine.

Universal Print is most likely already part of your existing Microsoft 365 license
Universal Print is – next to other Microsoft 365 services, like Azure Virtual Desktop – part of almost all the common Microsoft 365 licenses. So there a likely chance that you are eligible for using Universal Print today.
See below all the supported licenses. Click here to go to the official documentation for the most recent list too. https://docs.microsoft.com/en-us/universal-print/fundamentals/universal-print-preview-access#which-subscriptions-are-eligible
- Microsoft 365 Enterprise F3, E3, or E5
- Windows 10 Enterprise E3 or E5
- Microsoft 365 Education A3 or A5
- Windows 10 Education A3 or A5
- Microsoft 365 Business Premium
Note: To use the preview, you must have one of the above mentioned – eligible Microsoft 365 (not Office 365) licenses or Windows SKUs as listed and your tenant must NOT be a trial tenant, so a production Microsoft 365 license.
Desktops in the Cloud Episode 13: Simplifying traditional printing with Microsoft Universal Print, Issa and Saurabh, UP PM
We had Issa and Saurabh from the Universal Print Engineering team as guest on episode 13 of Desktops in the Cloud. Where they showed how this service works and how this can be beneficial for your Desktops running in the Cloud!
Did this make you curious? Let’s start episode 13!
00:25 Intro
01:25 Tell the viewers a bit about yourself and your role
06:55 Level-set the audience: Explaining the Universal Print Architecture
12:40 Demo 1: Connect a Universal Print ready printer directly to the Cloud
15:50 Demo 2: How to publish a printer to users
19:10 Demo 3: Perform a test print from a Windows 10 Enterprise desktop
26:50 Demo 4: Publish universal print – printers via Microsoft Endpoint Manager
30:25 How can people provide feedback or find the resources used in this episode
31:00 Closing words
Requirements
- Your desktops should be joined to Azure Active Directory. Hybrid AAD (HAADJ) joined devices/virtual desktops are also supported.
- Eligible Microsoft 365 or Windows SKUs license as listed above, not a TRIAL license but a normal production license.Universal Print licenses assigned to the Azure AD tenant via the Global Administrator
- A Universal Print supported printer that can connect directly to the Cloud – without connector
- A normal USB or Network Printer (via Connector)
- To configure Universal Print, the administrator doing the work should have either the Printer Administrator – Azure AD role, or should just be the Global Administrator.
- Windows 10 physical and virtual desktops must be enrolled with Microsoft Endpoint Manager
- Window 10 client device – on version 1903 or later
- Windows 10 devices need to have the latest Windows Update installed:
- Windows 10, version 2004: KB4571744
- For Windows 10, versions 1903 and 1909: KB4566116
- Windows 10, version 2004: KB4571744
- For Windows 10, versions 1903 and 1909: KB4566116
- Universal Print connector host
- Network requirements – The connectors and your Desktops should be able to connect the Universal Print – service URLs below.
- https://login.microsoftonline.com
- https://aadcdn.msftauth.net
- *.print.microsoft.com
Learn how to deploy Universal Print
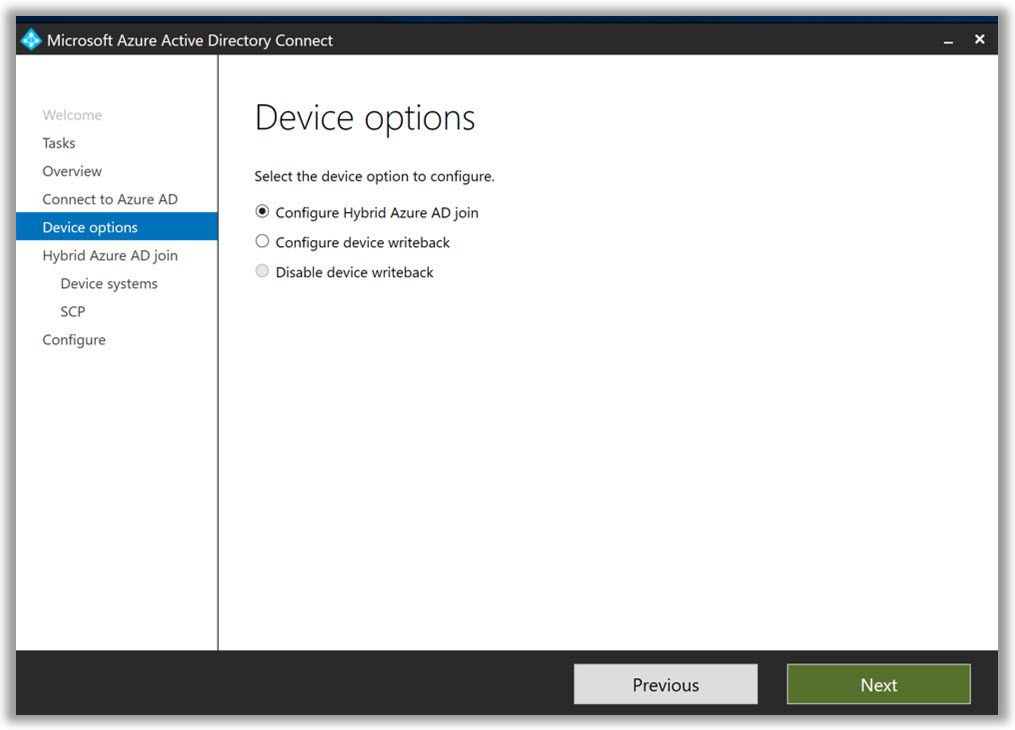
Before we start, make sure that your environment is Hybrid Azure Active Directory enabled – or Azure AD only. Make sure the first “Windows 10 or later domain-joined devices” box has been ticked. Read more about the process here: Configure hybrid Azure Active Directory join for managed domains | Microsoft Docs
Configure Universal Print licensing
You have one of the above mentioned – eligible Microsoft 365 (not Office 365) or Windows SKUs as listed on the page and your tenant is NOT a trial tenant, so a production Microsoft 365 license.
Note: Trial licenses are not accepting the Universal Print license, you MUST run the steps below as production tenant – or one test tenant with normal Microsoft 365 licenses.
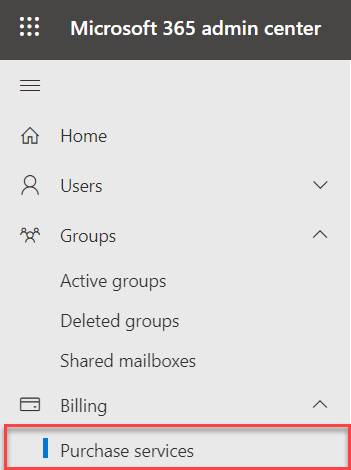
Go to the M365 admin portal.
https://admin.microsoft.com/adminportal/home?#/homepage

Go to Purchase services
Scroll to the bottom of the page and click “Add-ons”
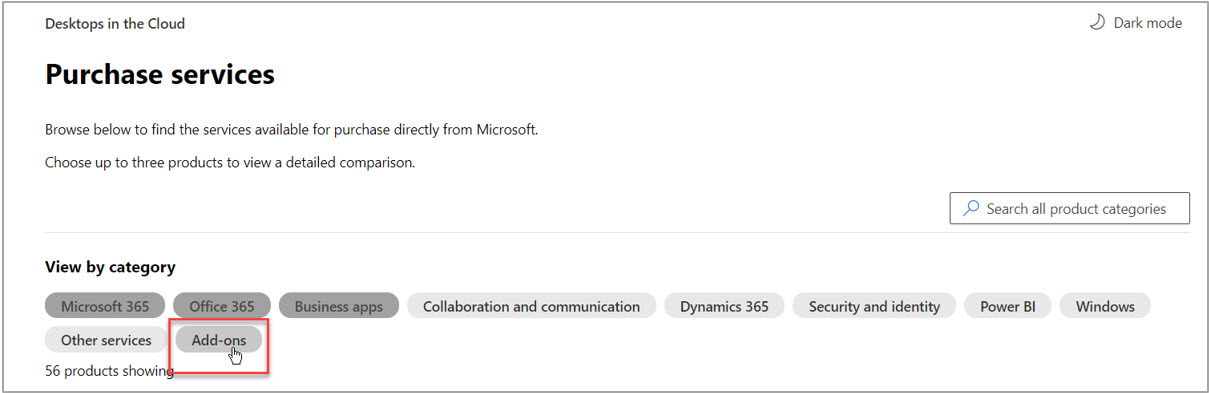
Click on Details for as part of Universal Print Trial
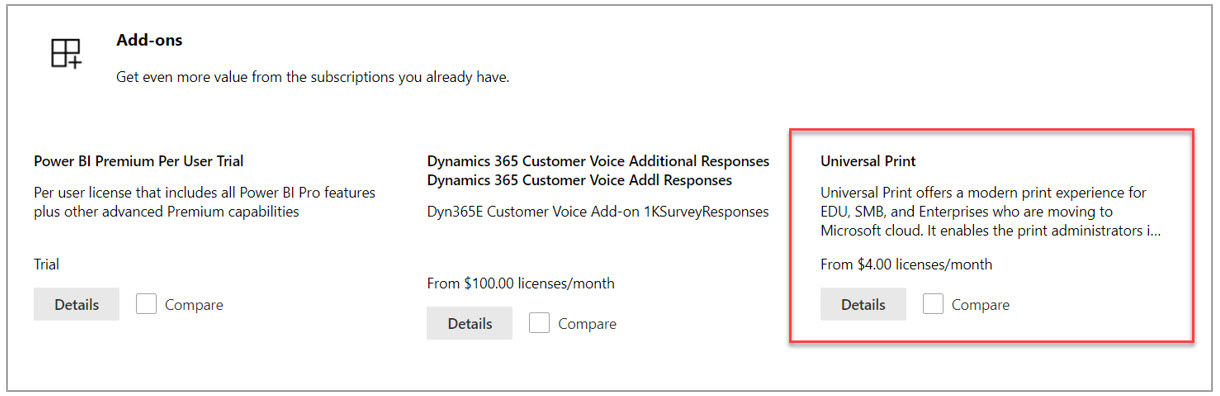
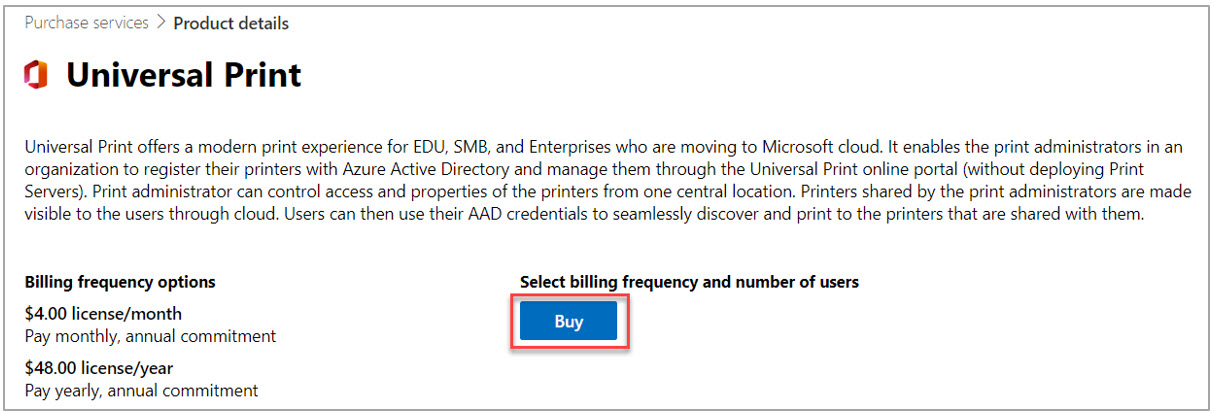
Click on Buy
Assign the licenses to all your users – via the users menu in the admin portal.
If you want to delegate access, so configure the Universal Print service with an account other than the Global Administrator? Please assign your Printer Administrator – user account the following two roles.
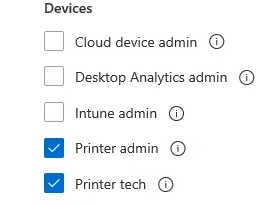
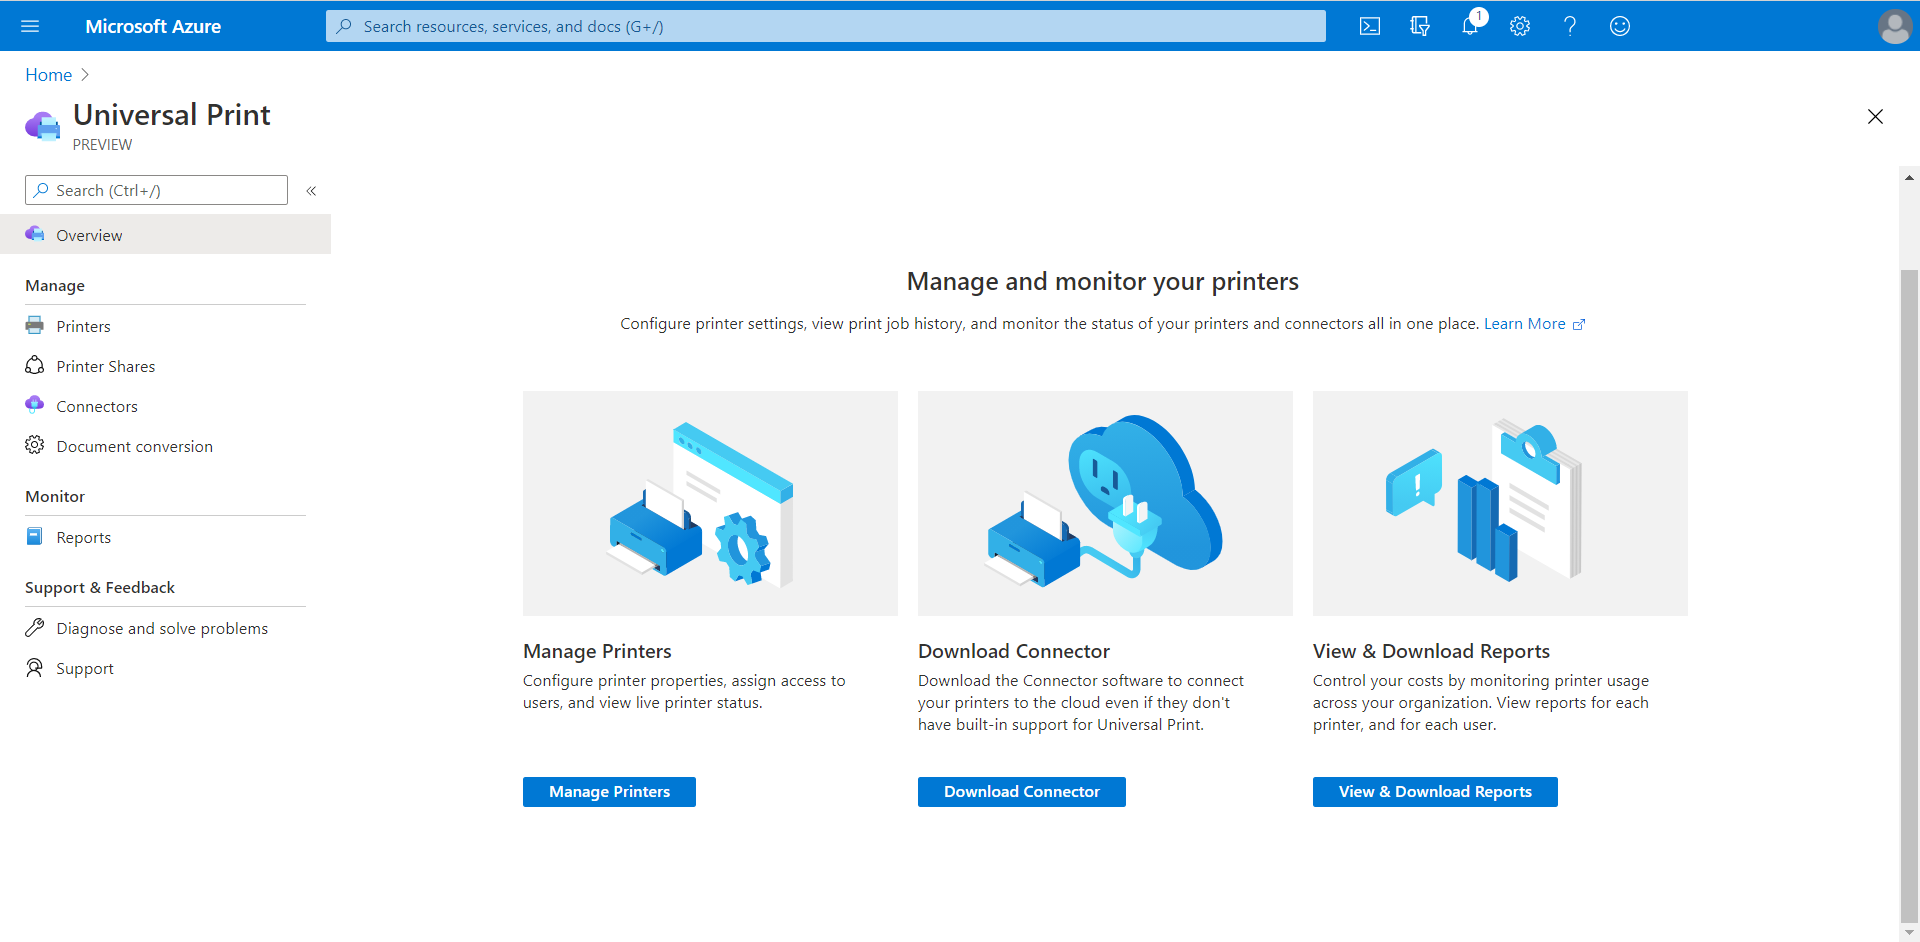
Start the Universal Print configuration in the Azure Portal
Go to the Azure Portal – and logon with either our Global Administrator or the account with the Printer admin/tech roles assigned.
Search for Universal Print

Are you getting this error? Make sure you have a Universal Print license assigned.

Setup Universal Print – on a Lexmark Universal Print Ready printer
You can perform the following steps if your printer is Universal Print ready. If it’s not, please start your configuration journey here.
Note: Other printers like Canon, Brother, and Konica Minolta are supported too. Here’s a full list Partner Integrations – Universal Print | Microsoft Docs
Open the Web management console of your Lexmark printer
Go to the Network/Ports menu under Settings
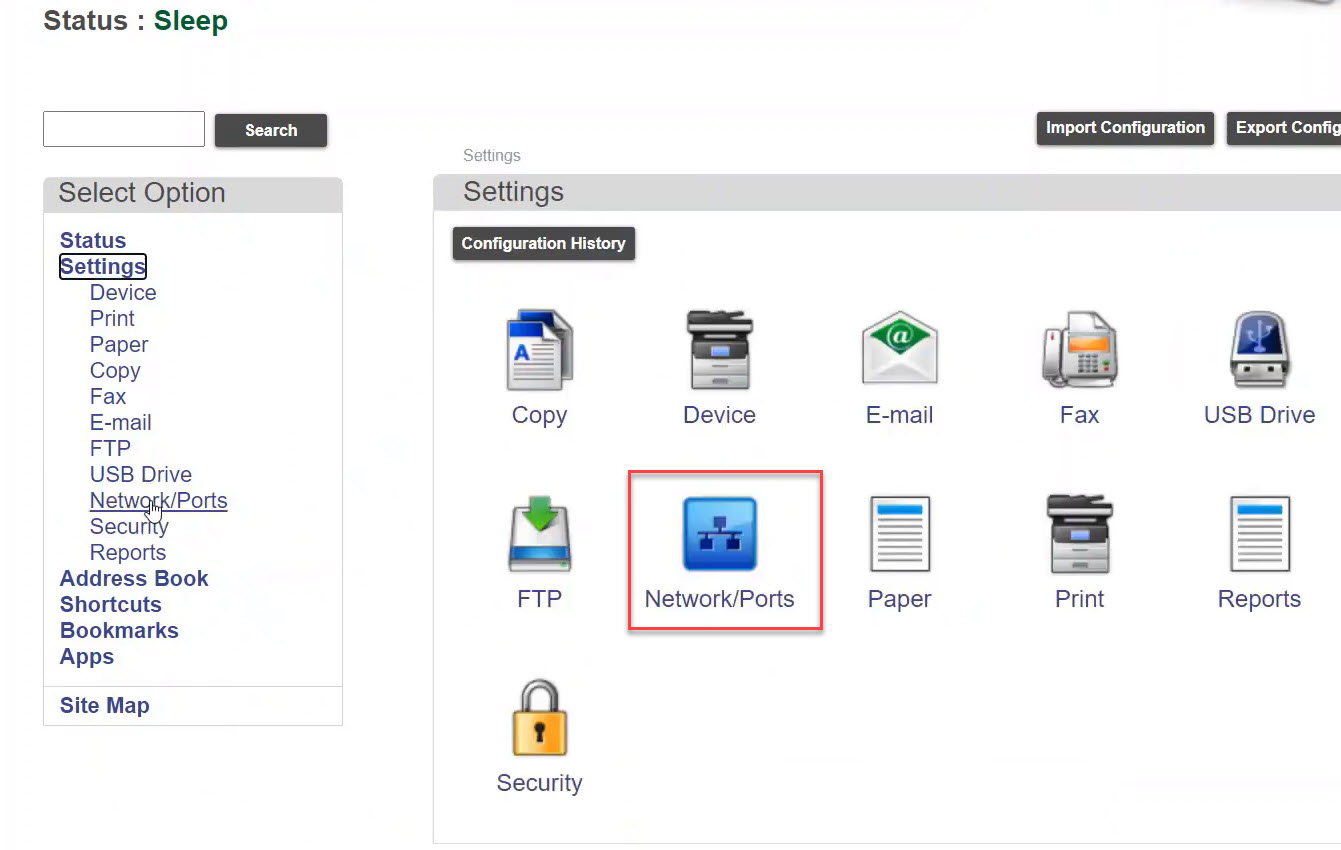
Scroll down to the Universal Print section
Click on Register
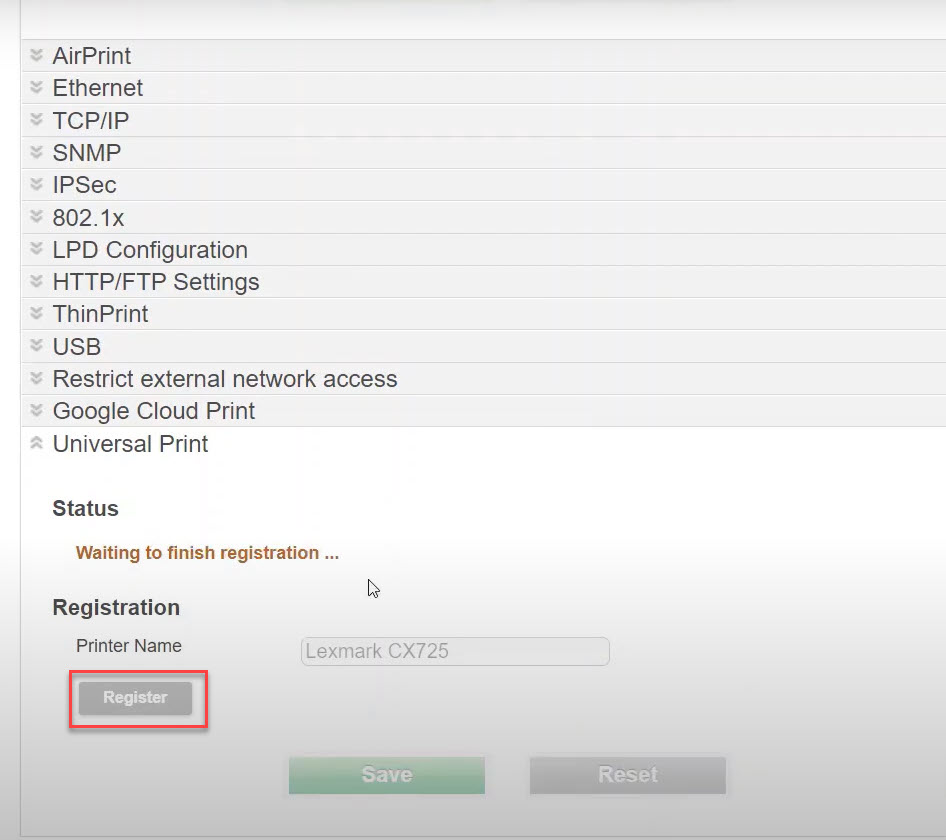
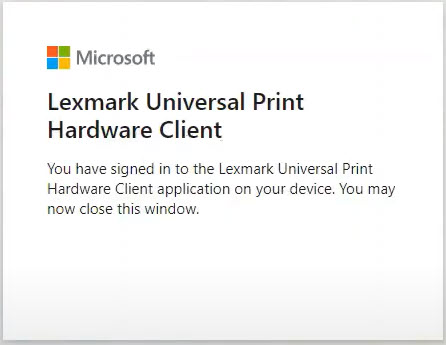
Logon with your Printer Operator – or Global Administrator Azure AD account credentials.

You Printer has successfully be registered to Universal Print. Continue the Print sharing and Publishing steps here.
Set up the Universal Print connector – to connect to your On-Premises location/printers.
Please perform the following steps if your own printers are not able to connect with Universal Print (not Universal Print ready) directly and do require a bridge/proxy which has to be done with the Universal Print connector
Note: You can also install the software on one of your legacy print-servers to connect them to the Universal Print service. The Print Connector must run in order to connect to the printer, it’s possible to let other users print via a printer that is connected via a print connector on someone else’s desktop.
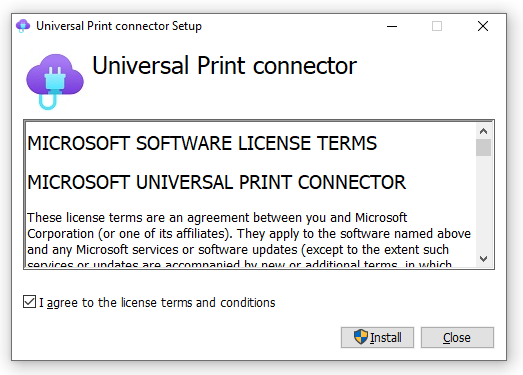
Install the Universal Print Connector on your local physical desktop, that is in the same network as your Printers.
Download the latest Print Connector here: https://aka.ms/UPConnectorMSI
Install the Print Connector. Click Install
Once the installation is ready. Click on Launch

Click on Ok – to confirm the diagnostic data prompt.
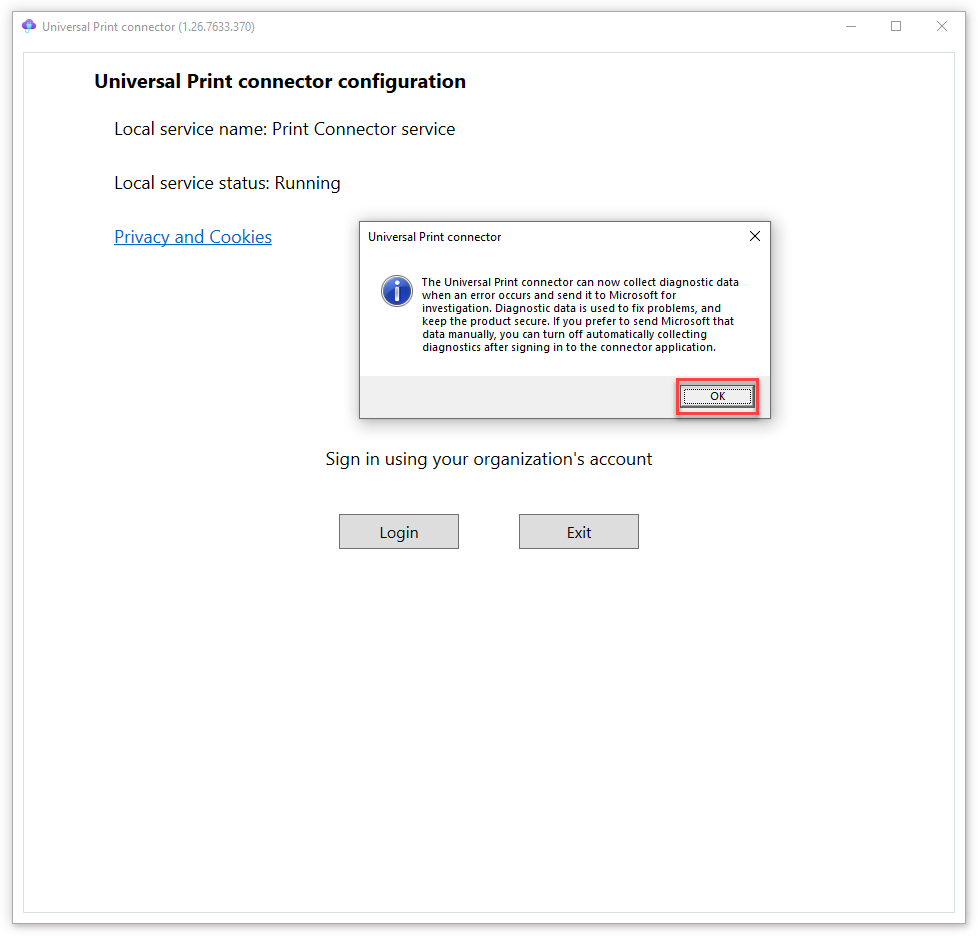
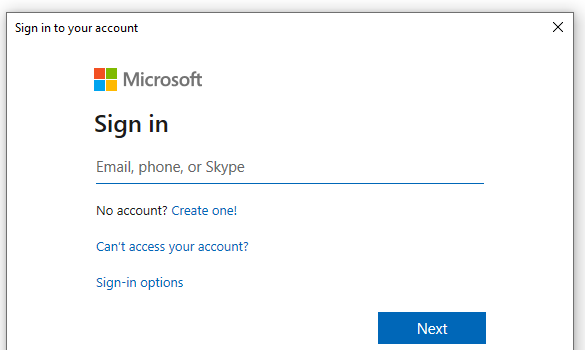
Click on Login

Logon with your users Azure AD credentials
Note: Not needed to use the Print Administrator / Global Administrator account.
Enter a name for the Connector – the connector will show up later in the Universal Print – admin portal as proxy for that designated printer(s).
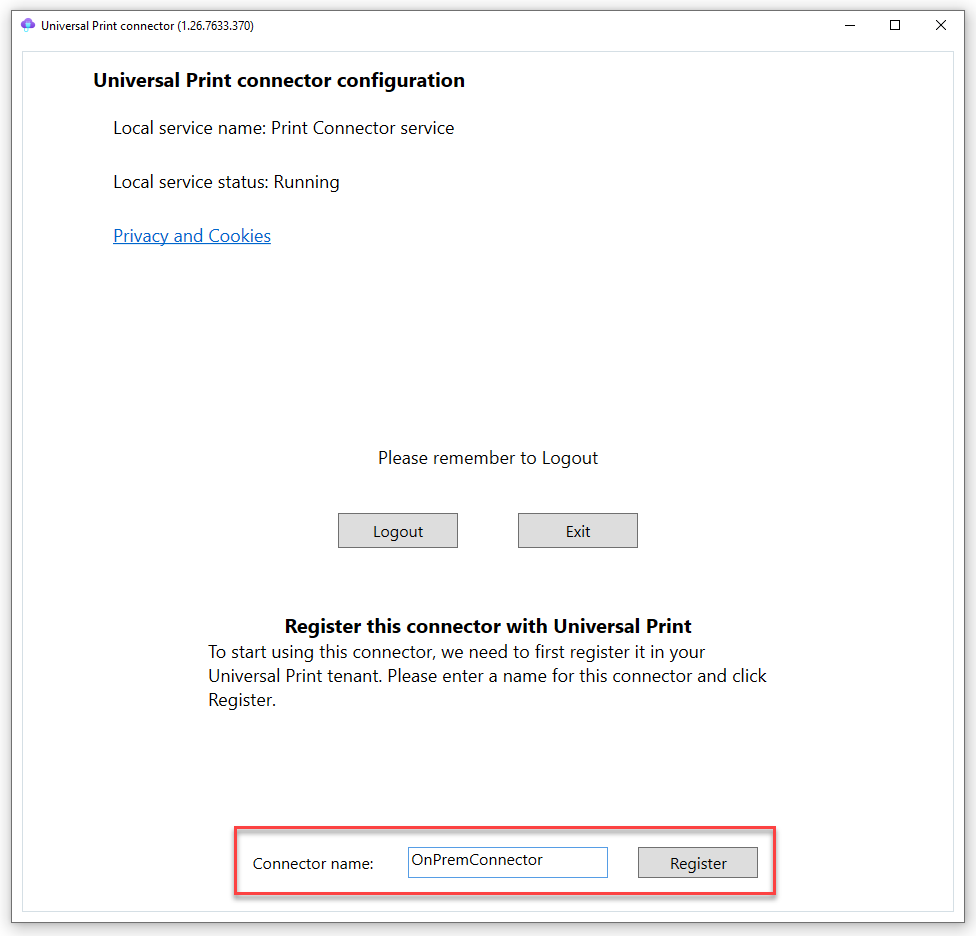
The Connector will now be registered to the Universal Print Service.
In the Connectors menu – you’ll see the Connector name showing up.
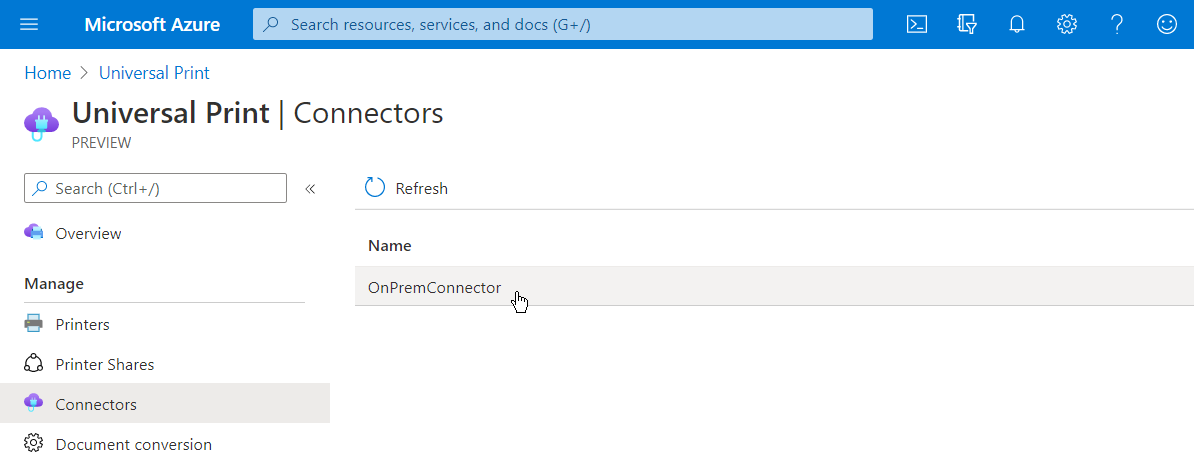
You can click on the connector name to see some of the details of that specific machine and its status.

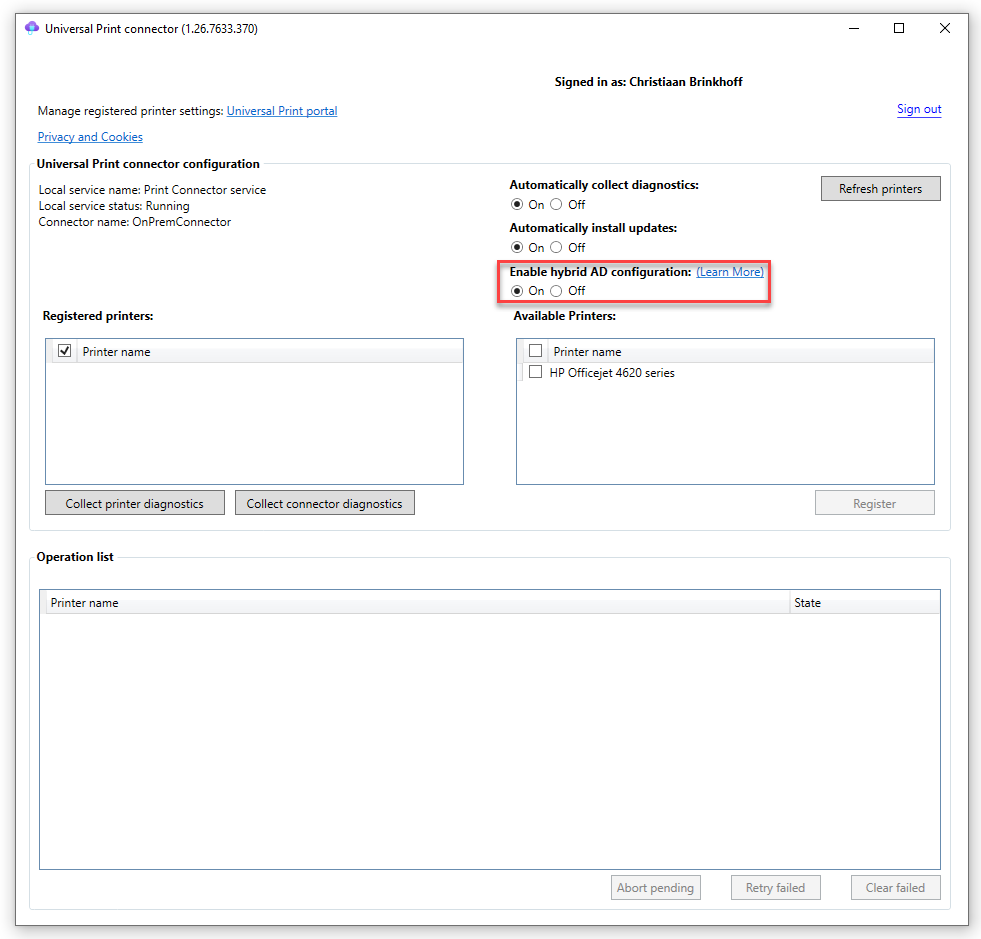
Enable hybrid AD configuration – via the Universal Print Connector
Note: This step only applies to Azure Virtual Desktop or any other Hybrid Azure AD physical endpoint scenario.
Activate Hybrid Azure AD in the Universal Print connector.
Tick the box to ON
Register your own custom Printers to Universal Print
We are ready with the connection part; we now need to make them available in the Cloud – as part of the Universal print service.
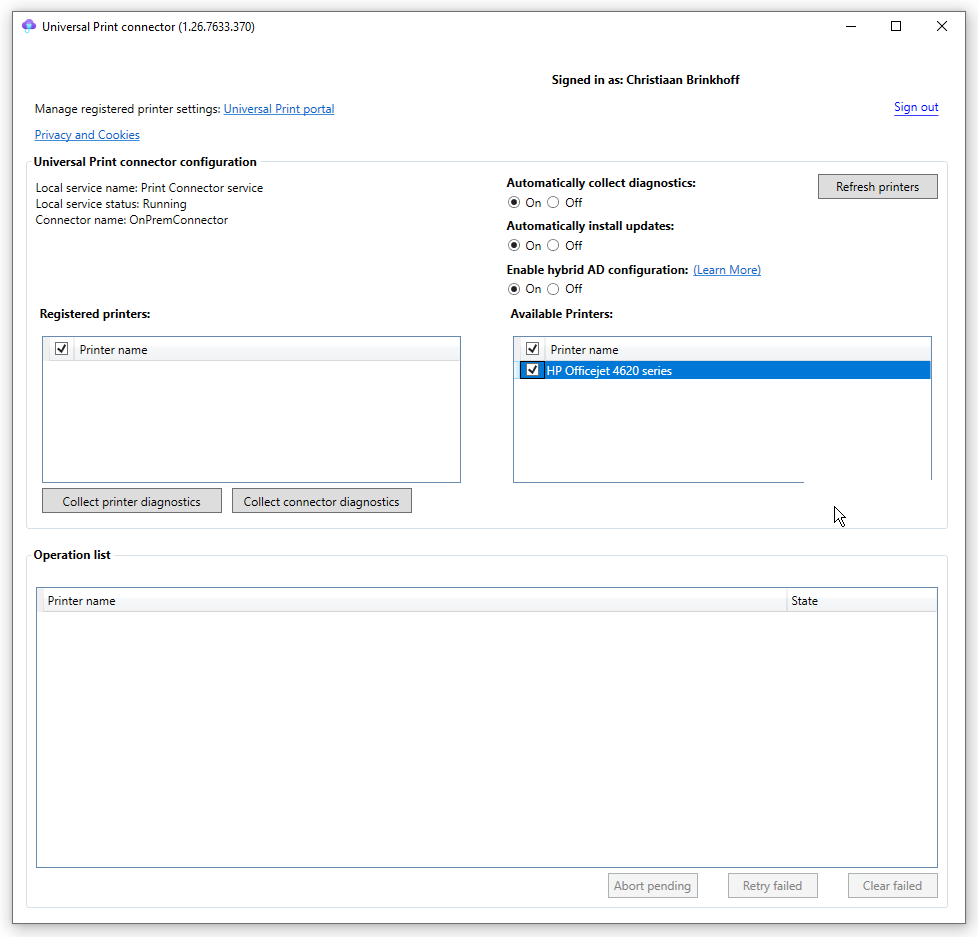
Select the printers that you want to add – the list of available printers is being detected from the printers attached to the desktop/server you install the Printer Connector on.
Select the Printers – in the available Printers list. Click on Register
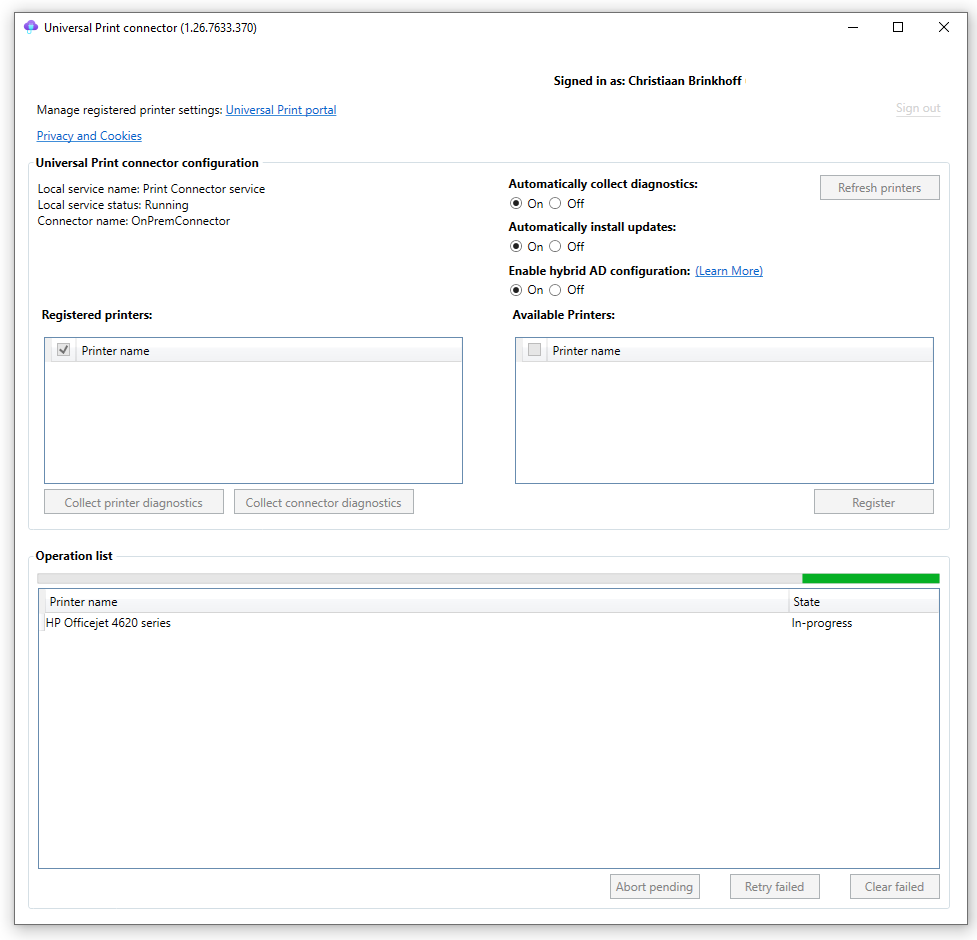
The printers are being added to the Cloud. The status is in progress. This takes a minute or so.
Share your Printers with your users
We’ve done all the pre-steps now, the printers are now all visible in the Printers list – however, as you can see, they aren’t shared yet. That’s something we are going to do now.
Go to the Universal Print Portal – and open Printers. As you can see, they have the status “Not shared”
Select the Printer(s) you want to share. Click on Share

Assign permissions to use Printer(s)
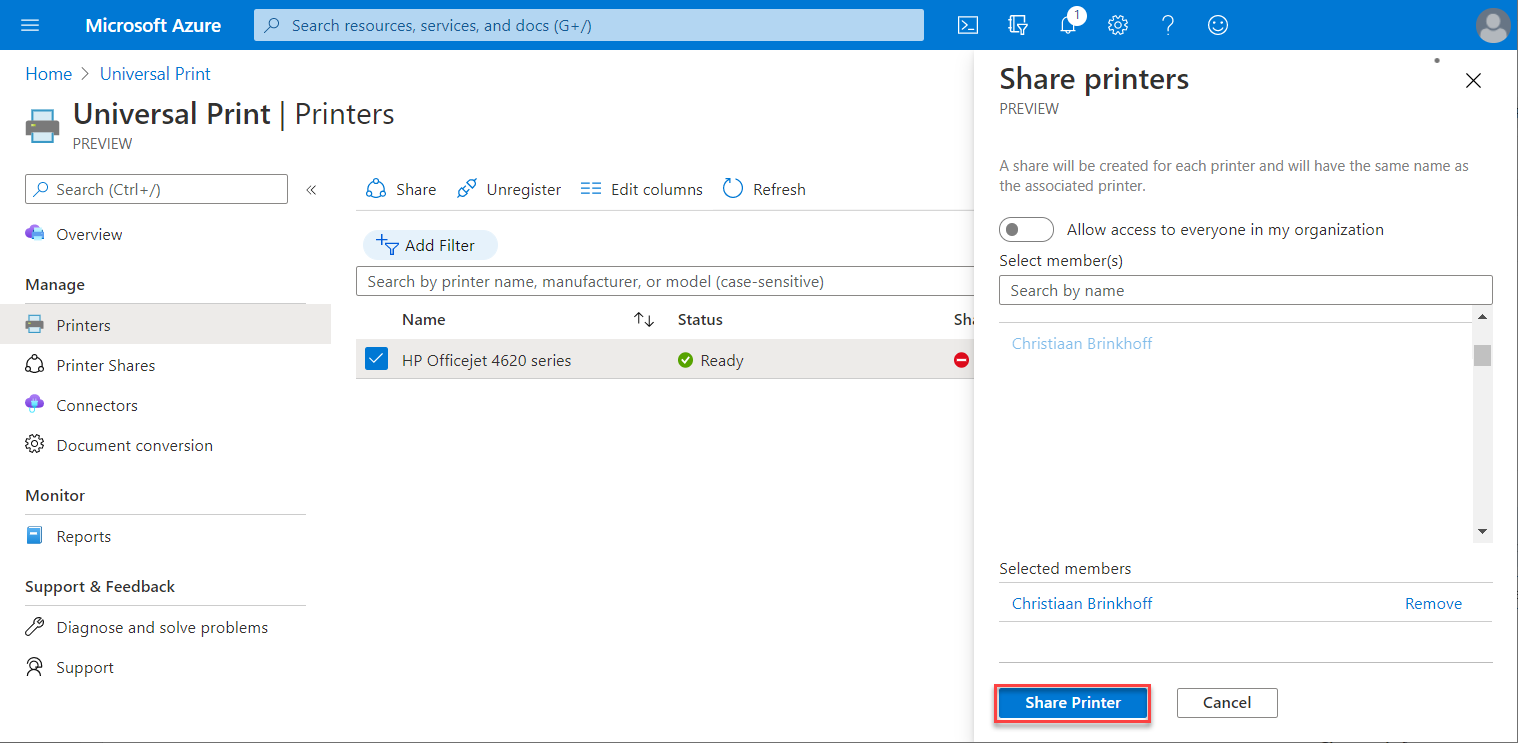
Now we are ready with the Print sharing/publishing steps, the users are still not allowed to see and use the printers. Therefore, we need to add either an Azure AD Group – or the users directly to the list of members.
You can also select the “Allow access to everyone in my organization” option to allow all users to print.
Select your AAD users or groups. Once ready, click on Share Printer
The printer is being shared…
The printer is now ready to test within your desktop – as the status is Printer Shared.

Test your printer assignment – logon to your virtual or physical Desktop
Logon as an Azure AD user to your Azure Virtual Desktop – that is assigned to one of the previously shared printers within Universal Print.
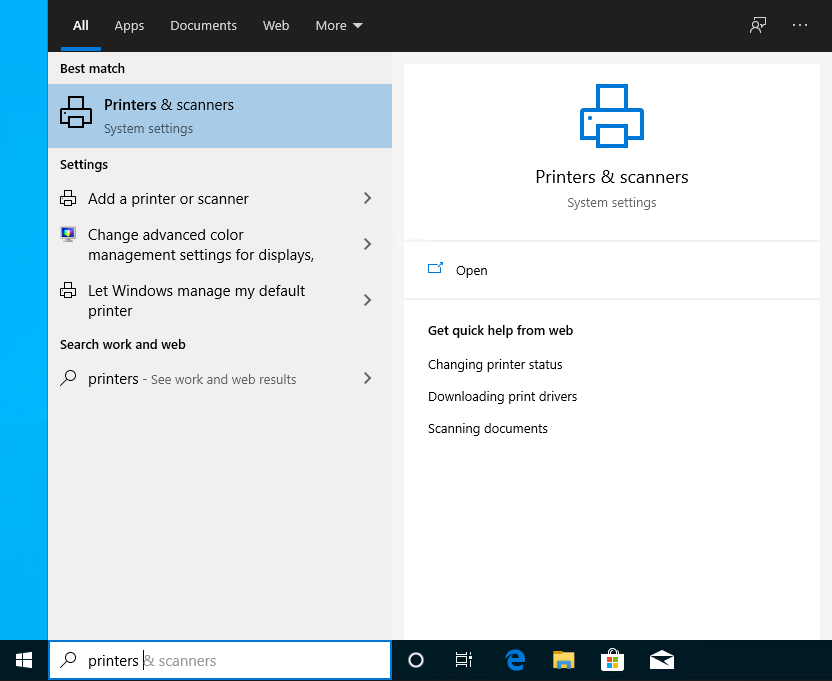
Go and search for Printers & scanners – in the start menu
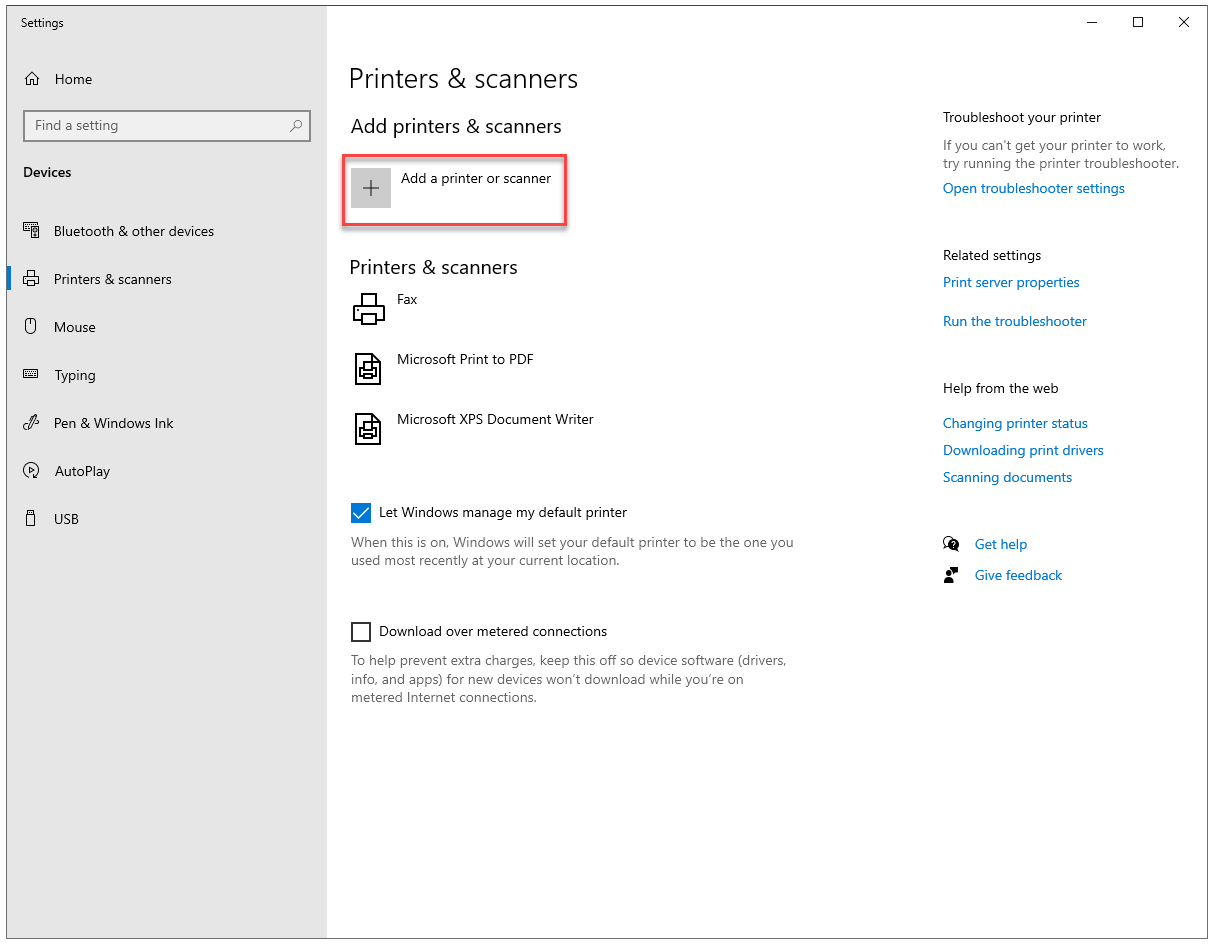
Click on Add a printer or scanner
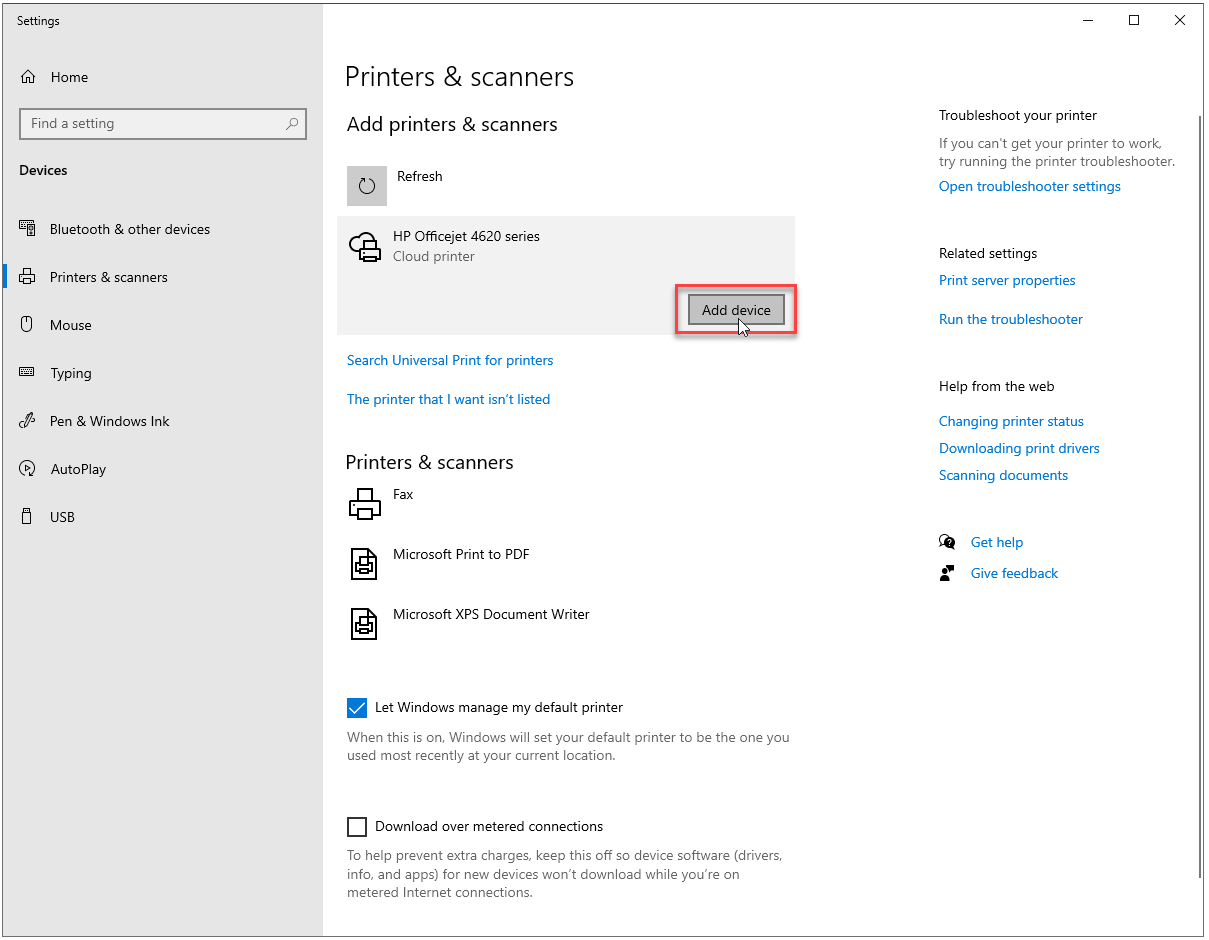
Click on Search Universal Print for printers – your assigned Cloud printers should pop up automatically.
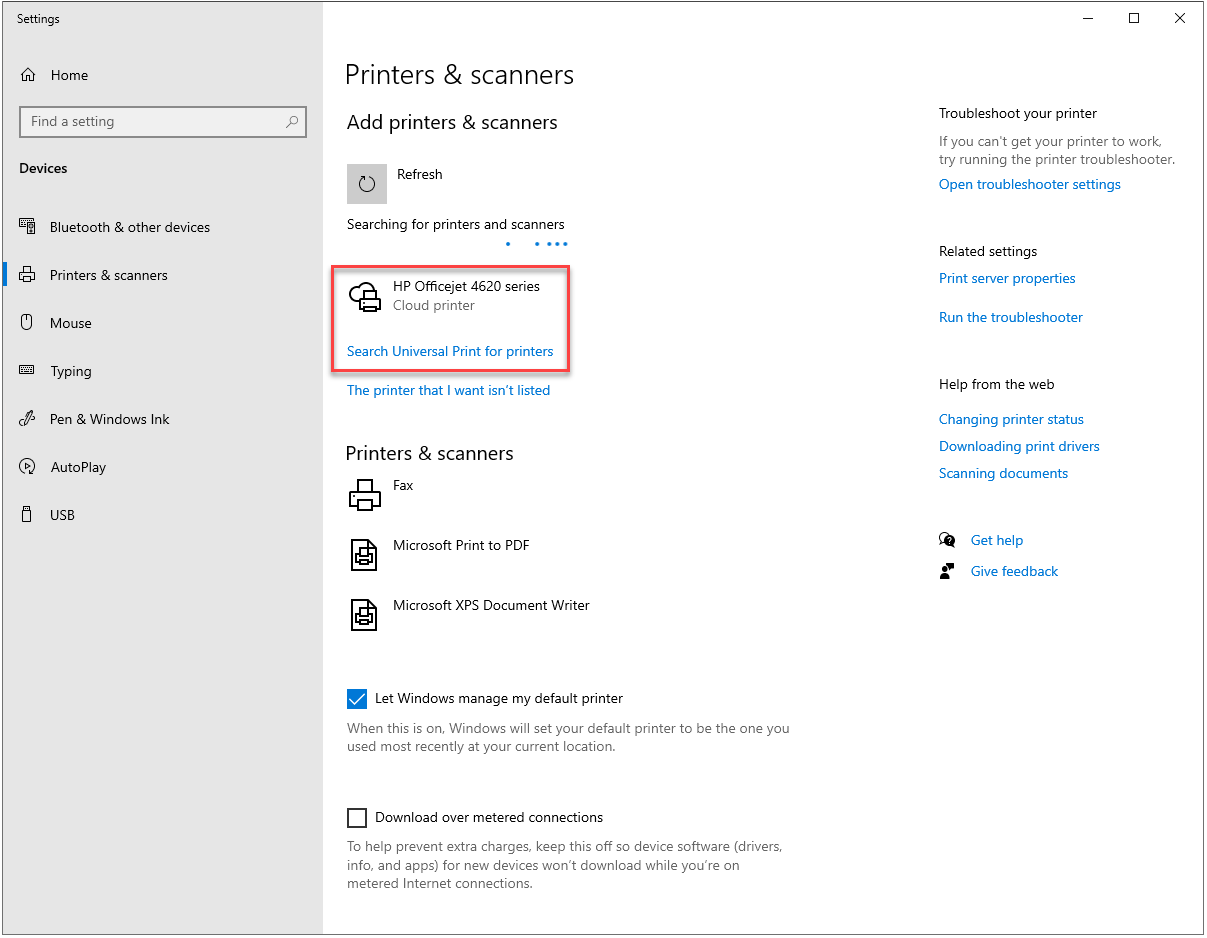
Click on Add device to add the Cloud-based printer to your virtual or physical desktop
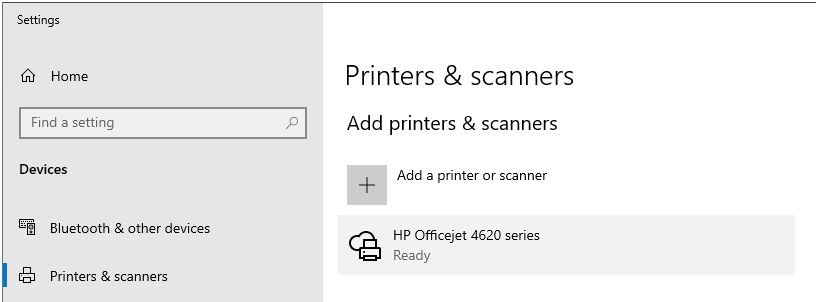
The printer has now been added and is ready to test.
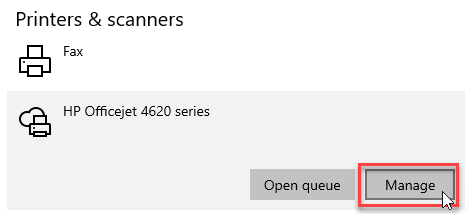
Open the Cloud-based Printer – Click on Manage
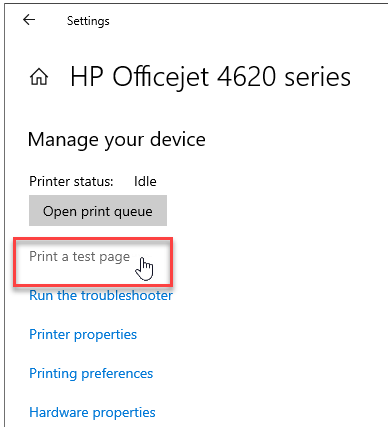
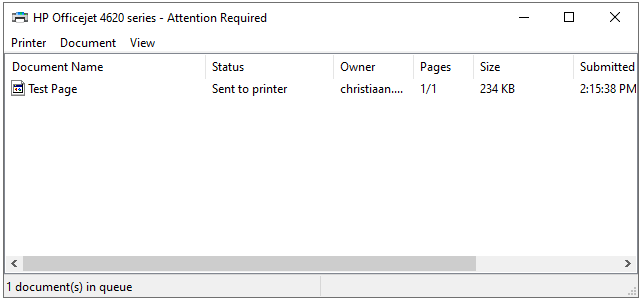
Click on – Print a test page. The test page has been sent to the printer. You can open the print queue to see if something happens.
The test print job has been sent to the printer.
Note: Attention required means, I have to refill my cartridges 😊
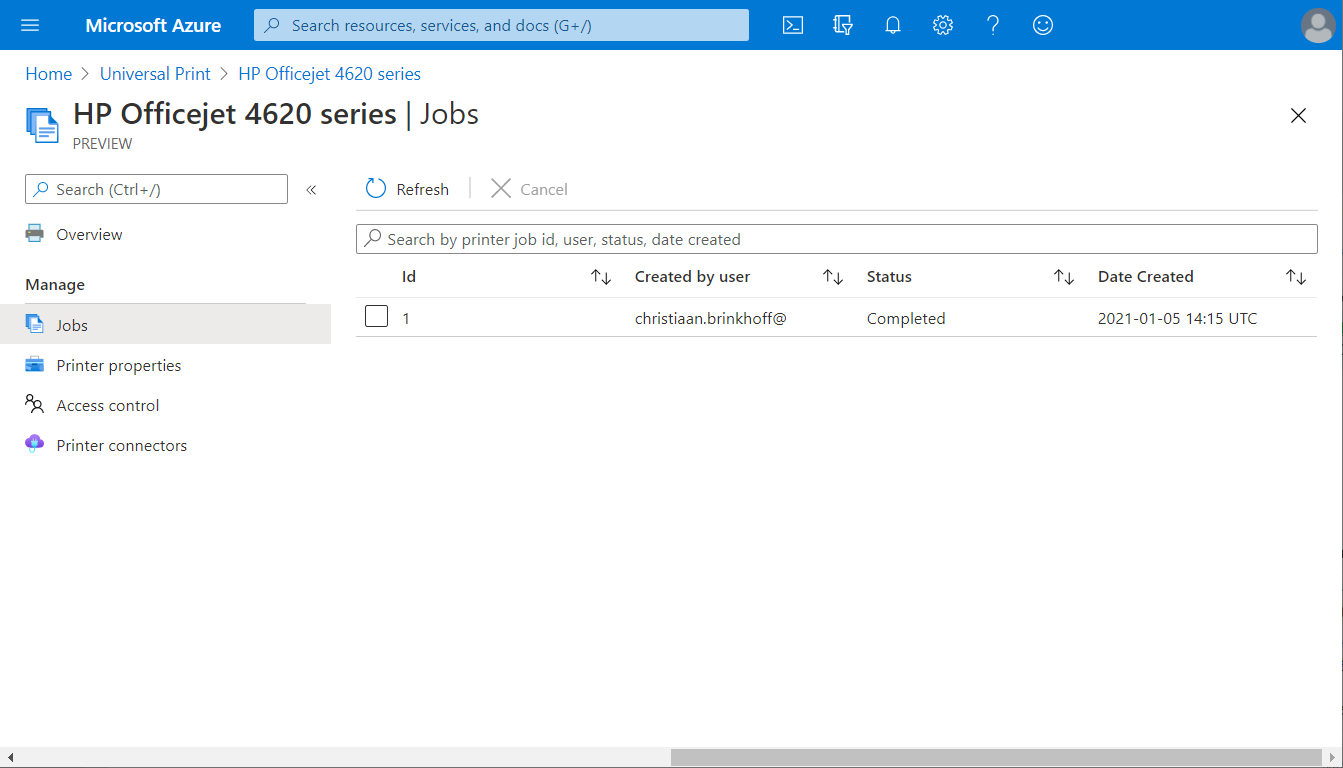
If everything goes fine, the print job should be available and listed in the Universal Print – Admin portal too. You can find the jobs in the Universal Print portal by clicking on the Printer, followed by jobs.
You should see the job as status Completed. Great job!
Assign and deploy Cloud-printers with Microsoft Endpoint Manager
In the previous section, you’ve learned about all the basics as well as the manual process of assigning printers. This process is also possible to perform via Microsoft Endpoint Manager (as explained earlier) – as a more Enterprise-ready approach to e.g., assign hundreds of printers across the globe to your users.
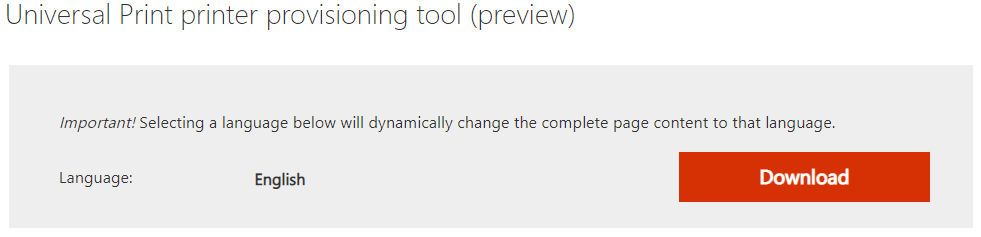
First, download the Universal Print – provisioning tool via Download Universal Print printer provisioning tool (preview) from Official Microsoft Download Center
Make the CSV list ready for deployment as the Microsoft Endpoint Manager enrolment will be using the CSV as source. You can find the printers.CSV file in the tool – as part of SamplePolicy.zip.

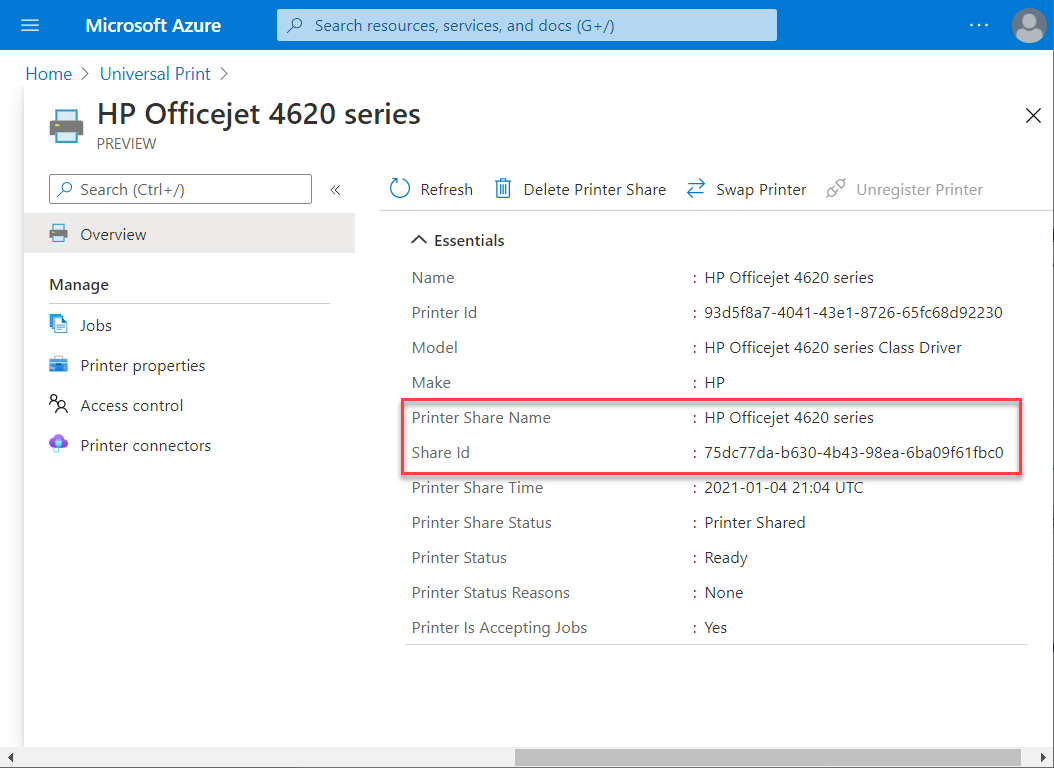
Add all the Universal Print – Printer Share Name and Share IDs – and if the printer should become the default printer – into the CSV file in the following order.
SharedId,SharedName,IsDefault
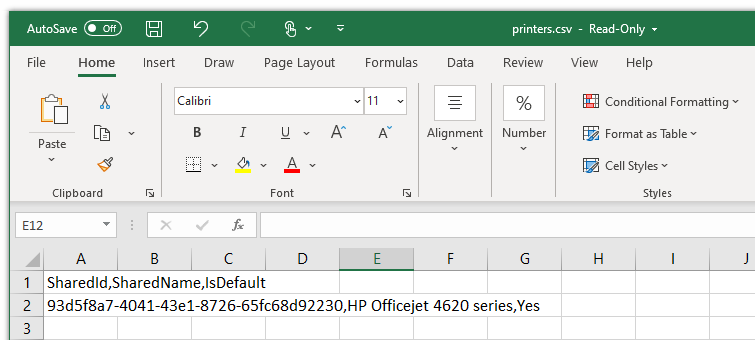
Look up the Printer Share Names and Share IDs that you want to add via Microsoft Endpoint Manager.
Generate the custom Win32 application package that includes the new .CSV file with the correct printer share names and IDs.
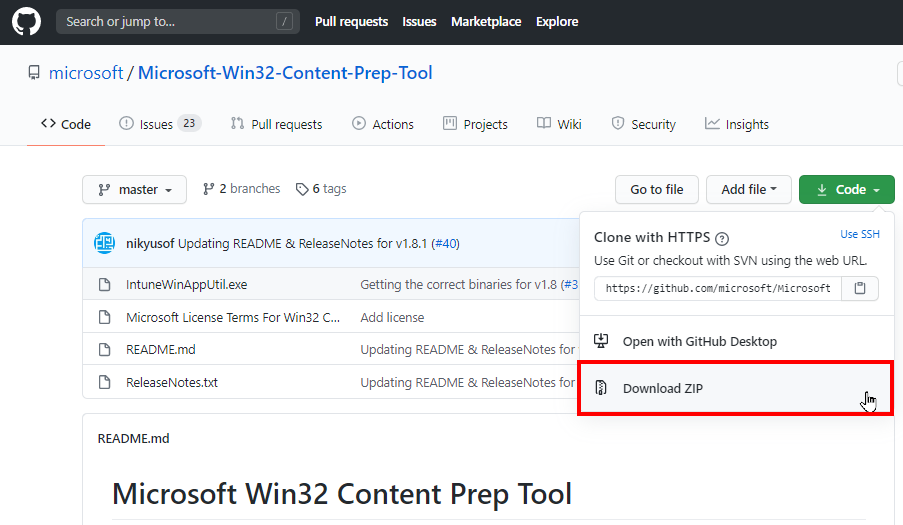
Download the – Microsoft Win32 Content Prep Tool.
Unzip the tool e.g. on the C:\ drive (you could pick a random folder as well)
https://github.com/Microsoft/Microsoft-Win32-Content-Prep-Tool
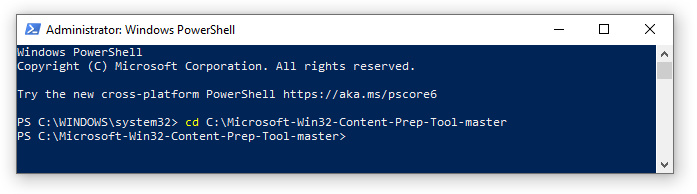
Open PowerShell – and change directory to the Intune Prep tool location e.g. C:\Microsoft-Win32-Content-Prep-Tool-master
Cd “C:\Microsoft-Win32-Content-Prep-Tool-master”
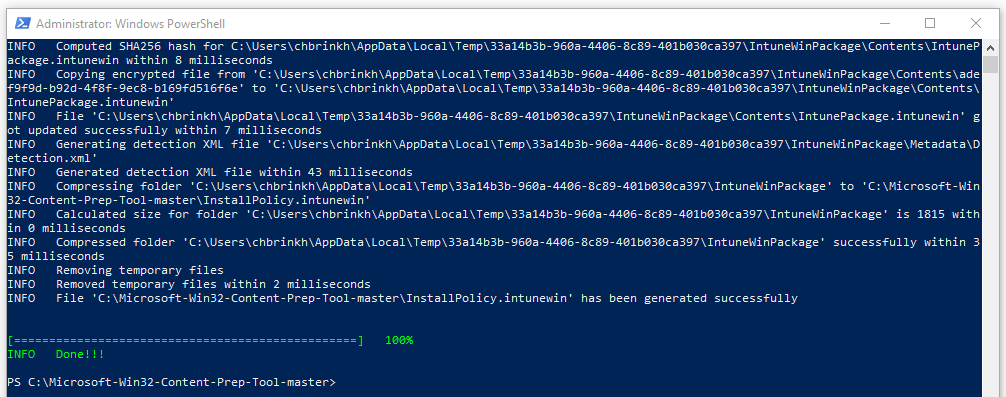
Run .\IntuneWinAppUtil.exe and fill in the following requirements:
- Source folder: The folder where list of printers (printers.csv) and InstallPolicy.cmd files are present.
- Setup file: Path of the InstallPolicy.cmd file (or any other script that will be used to copy the printers.csv file on users’ devices)
- Output Folder: Folder where you will like the generated intunewin package file to be stored.
- Do you want to specify catalog folder (Y/N): Enter N.

The .intunewin package is ready to use within Microsoft Endpoint Manager
Open the Microsoft Endpoint Manager Console via – endpoint.microsoft.com
Open the Apps menu
Click on Add
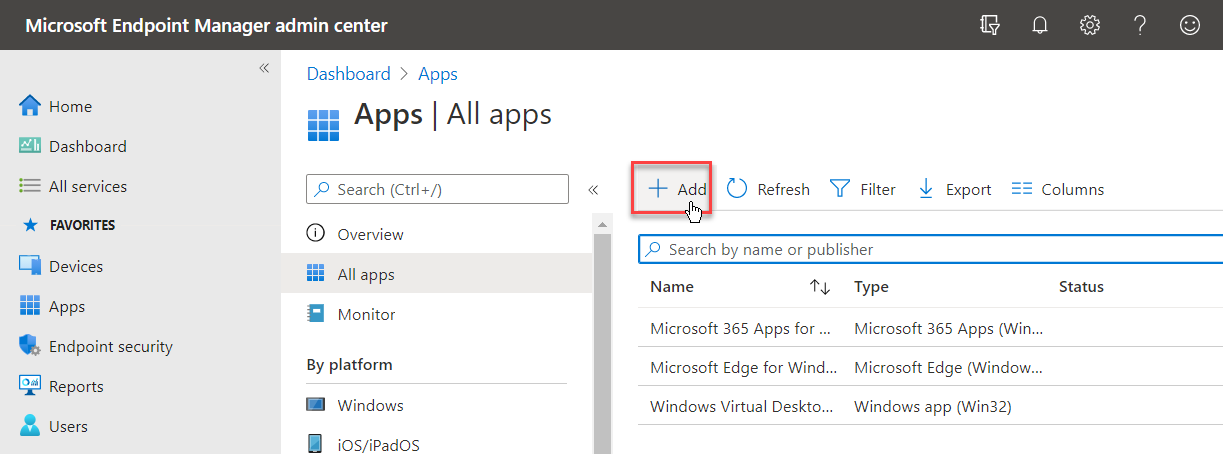
Choose for Windows app (Win32)
Click on Select

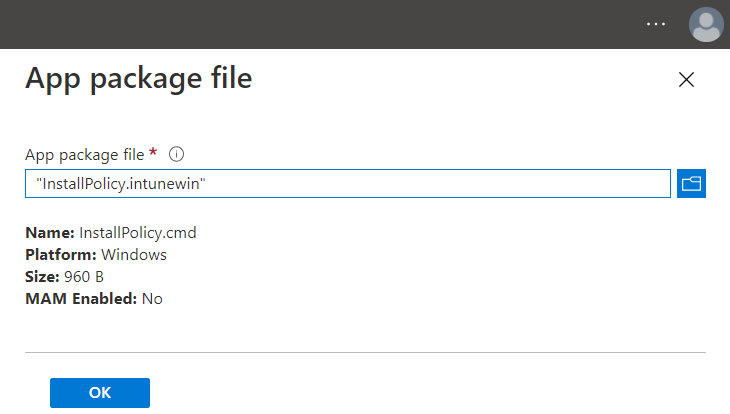
Click on – Select app package file and browse to the .intunewim file output – e.g InstallPolicy.intunewin in folder C:\Microsoft-Win32-Content-Prep-Tool-master
Click on Ok
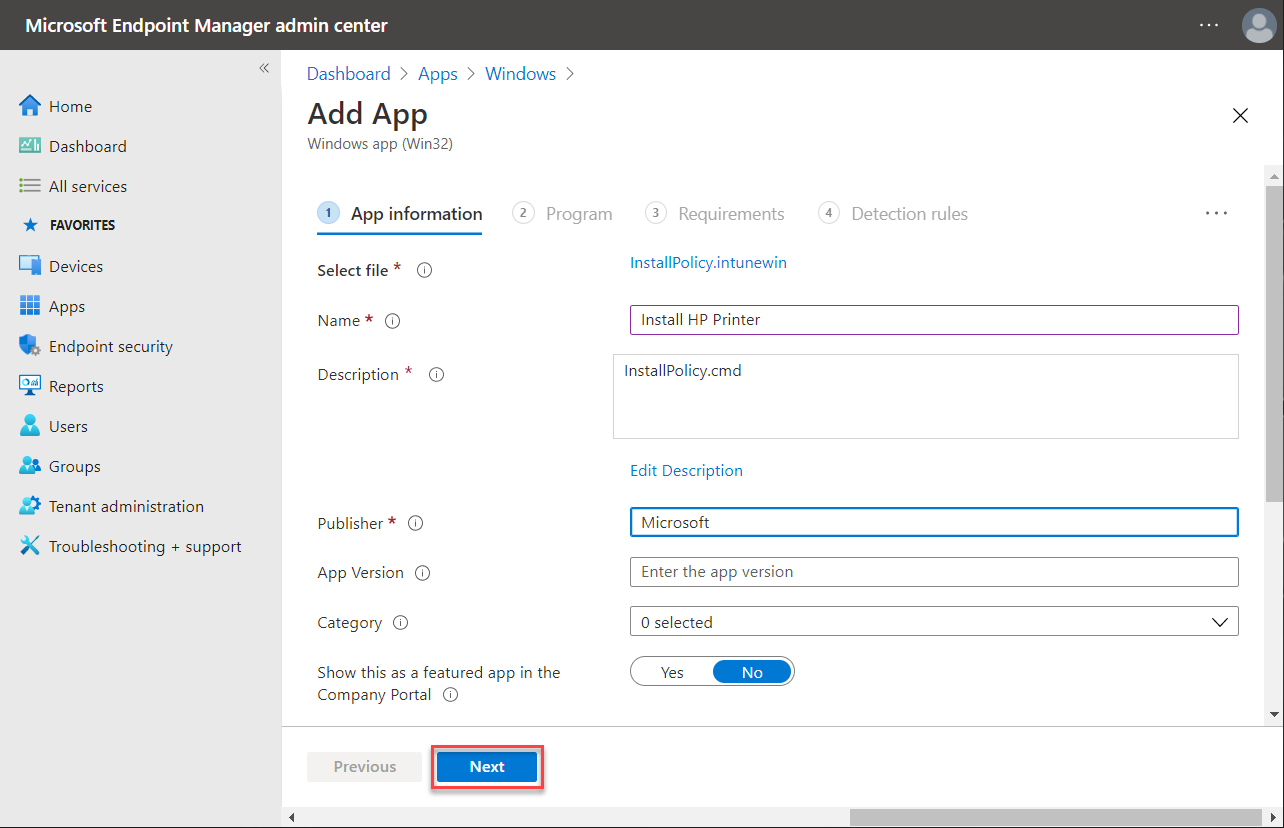
Give the app a custom name such as the Install HP Printers example below. Click next
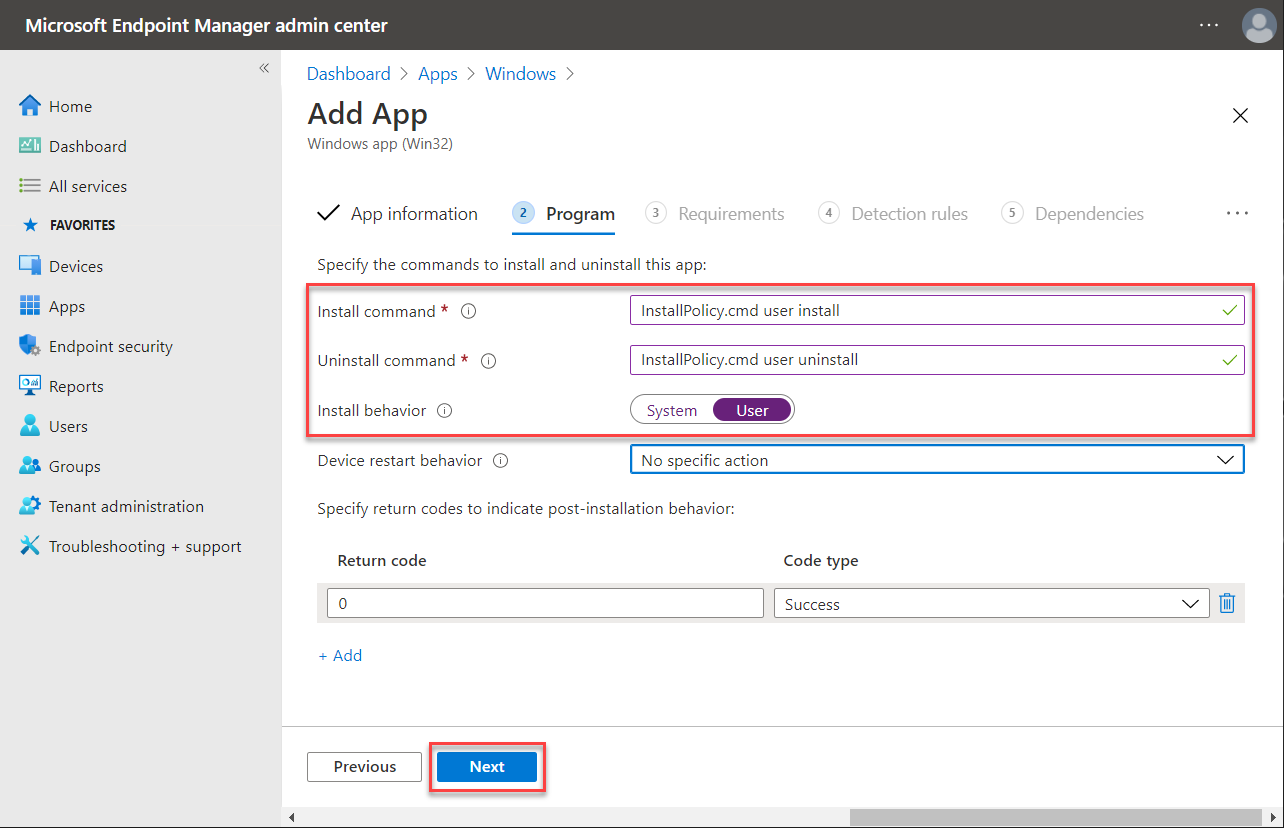
Take over the line below in the Install and Uninstall command field. Make sure it’s a User installed application.
InstallPolicy.cmd user install

InstallPolicy.cmd user uninstall
Click on Next
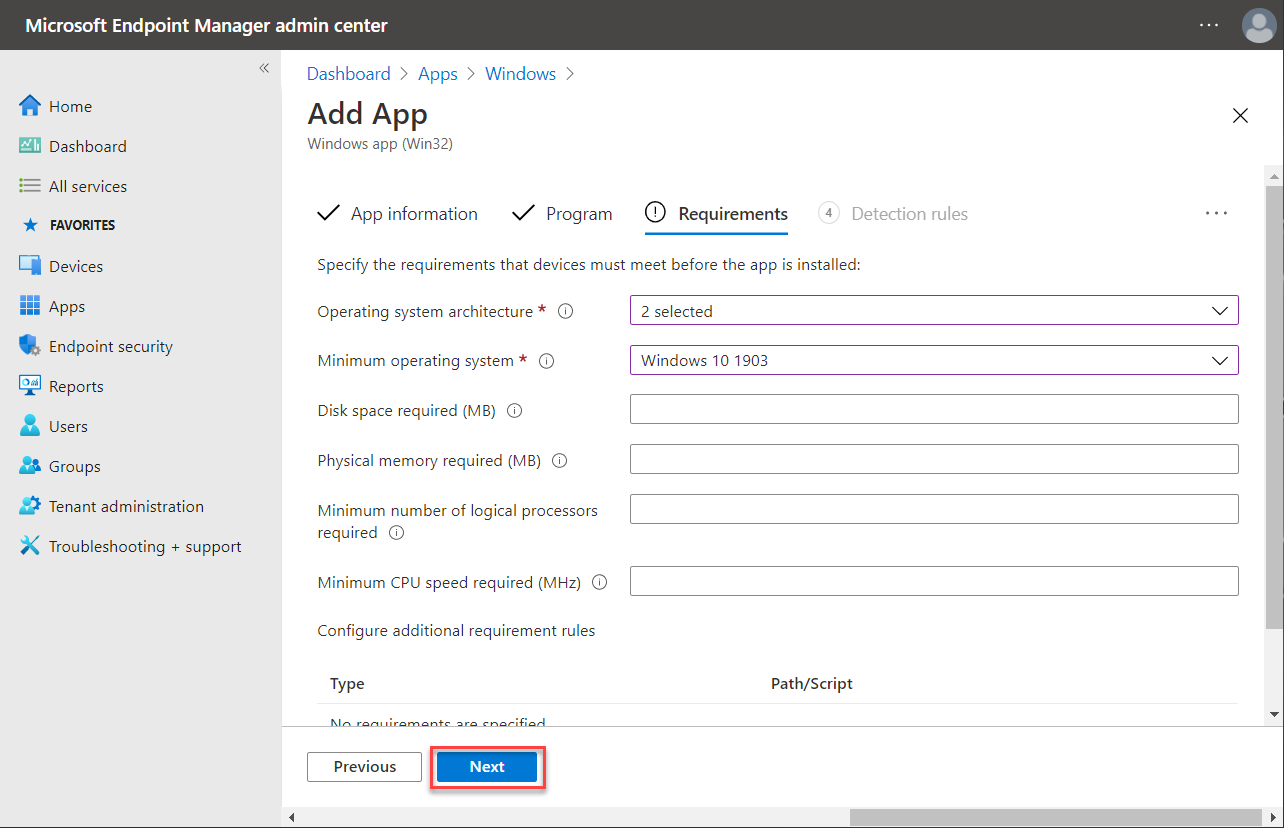
Take over the requirements as baseline OS version.
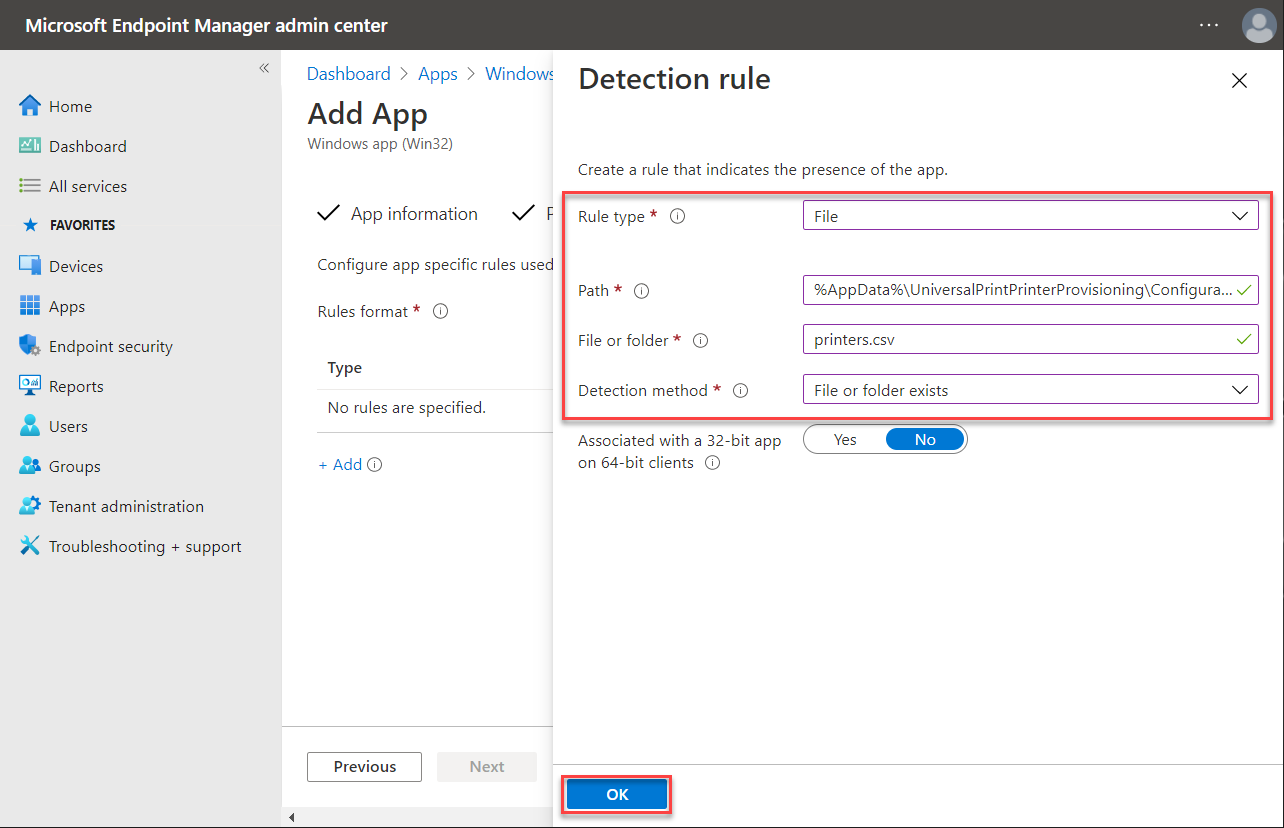
Fil in the detection rule based on the CSV file – that included your printers to be added. Add the location below in the path section and printers.csv in the file or folder field.
%AppData%\UniversalPrintPrinterProvisioning\Configuration
Make sure Detection method is set to File or folder exists. Click Ok.
Click Next
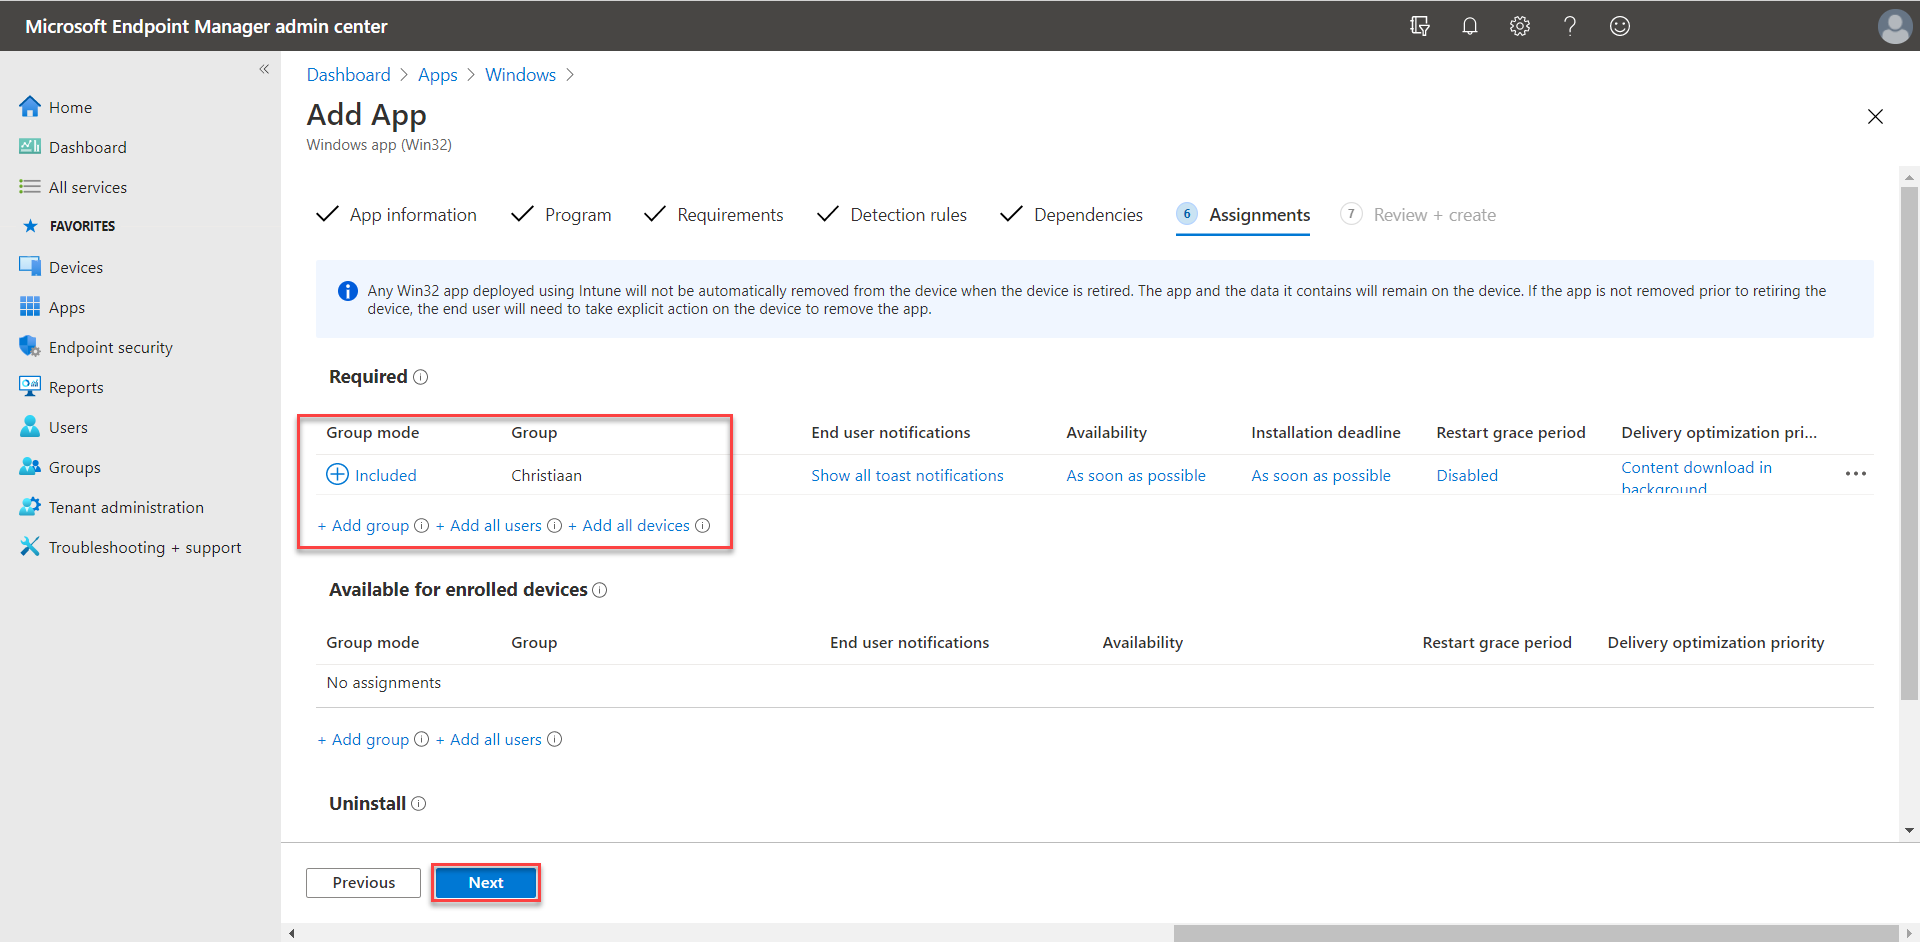
Filter the list of printers in the assignment’s menu to e.g. AD groups per department.
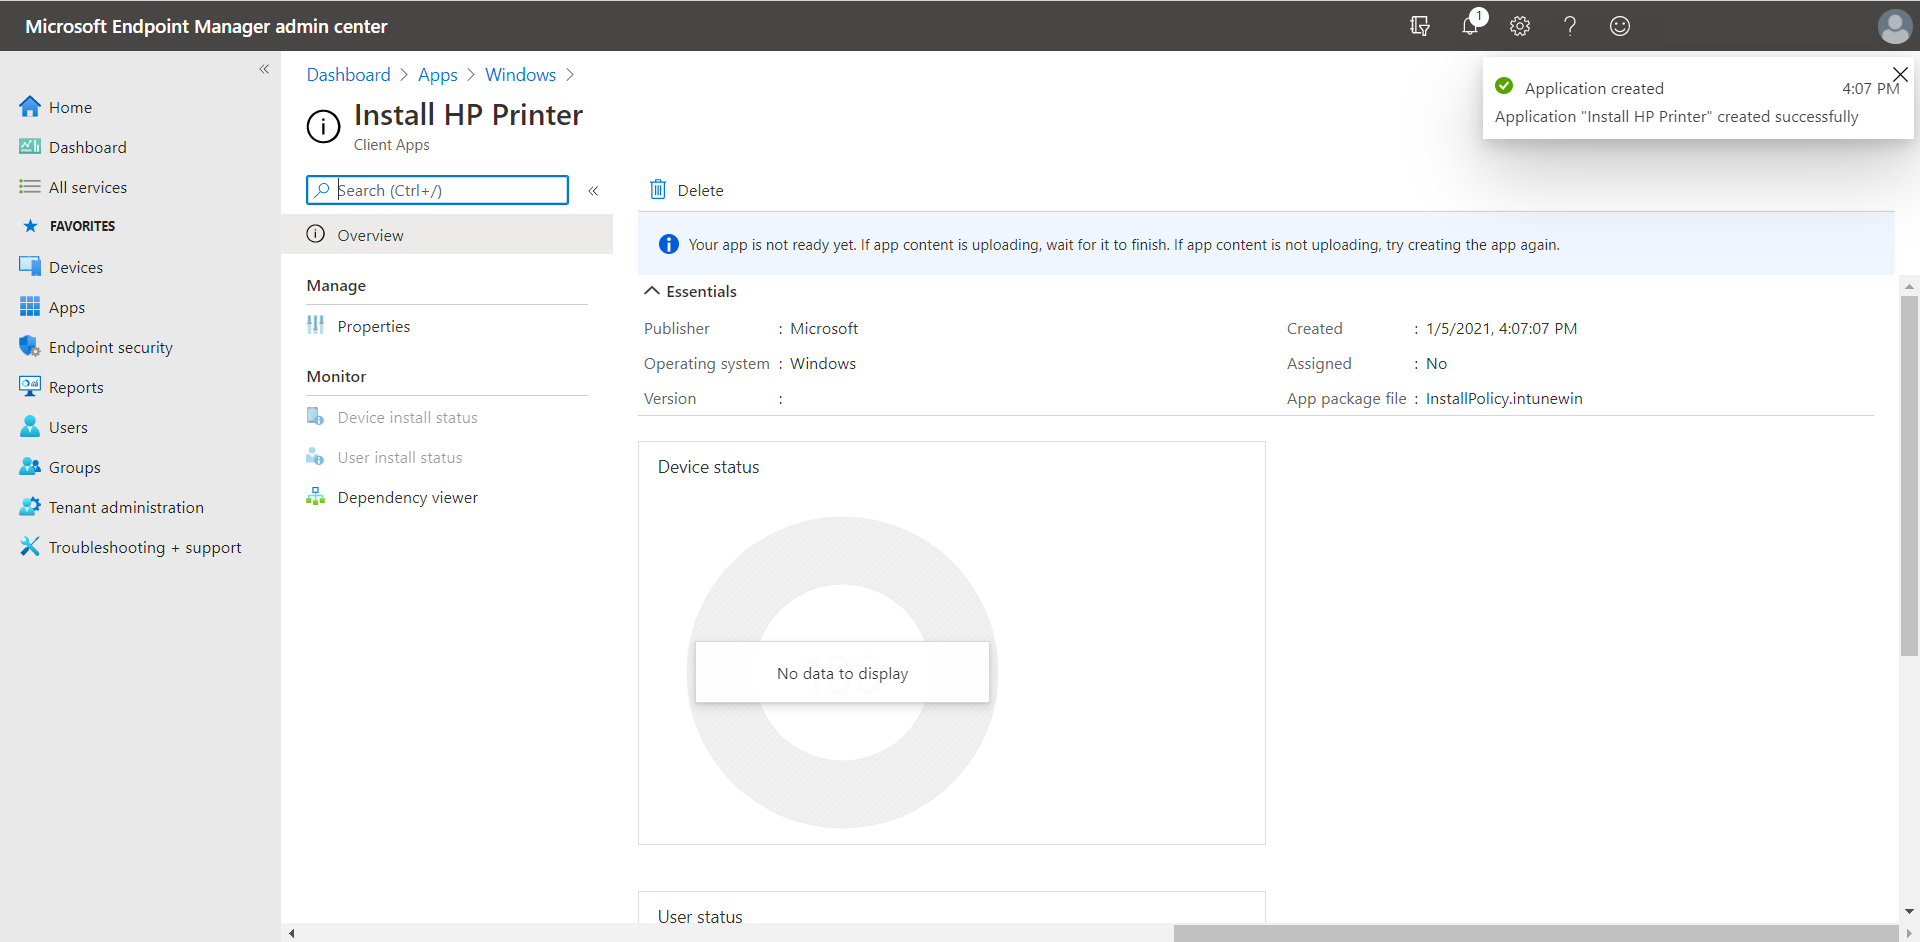
Confirm the settings, click on Next and Create
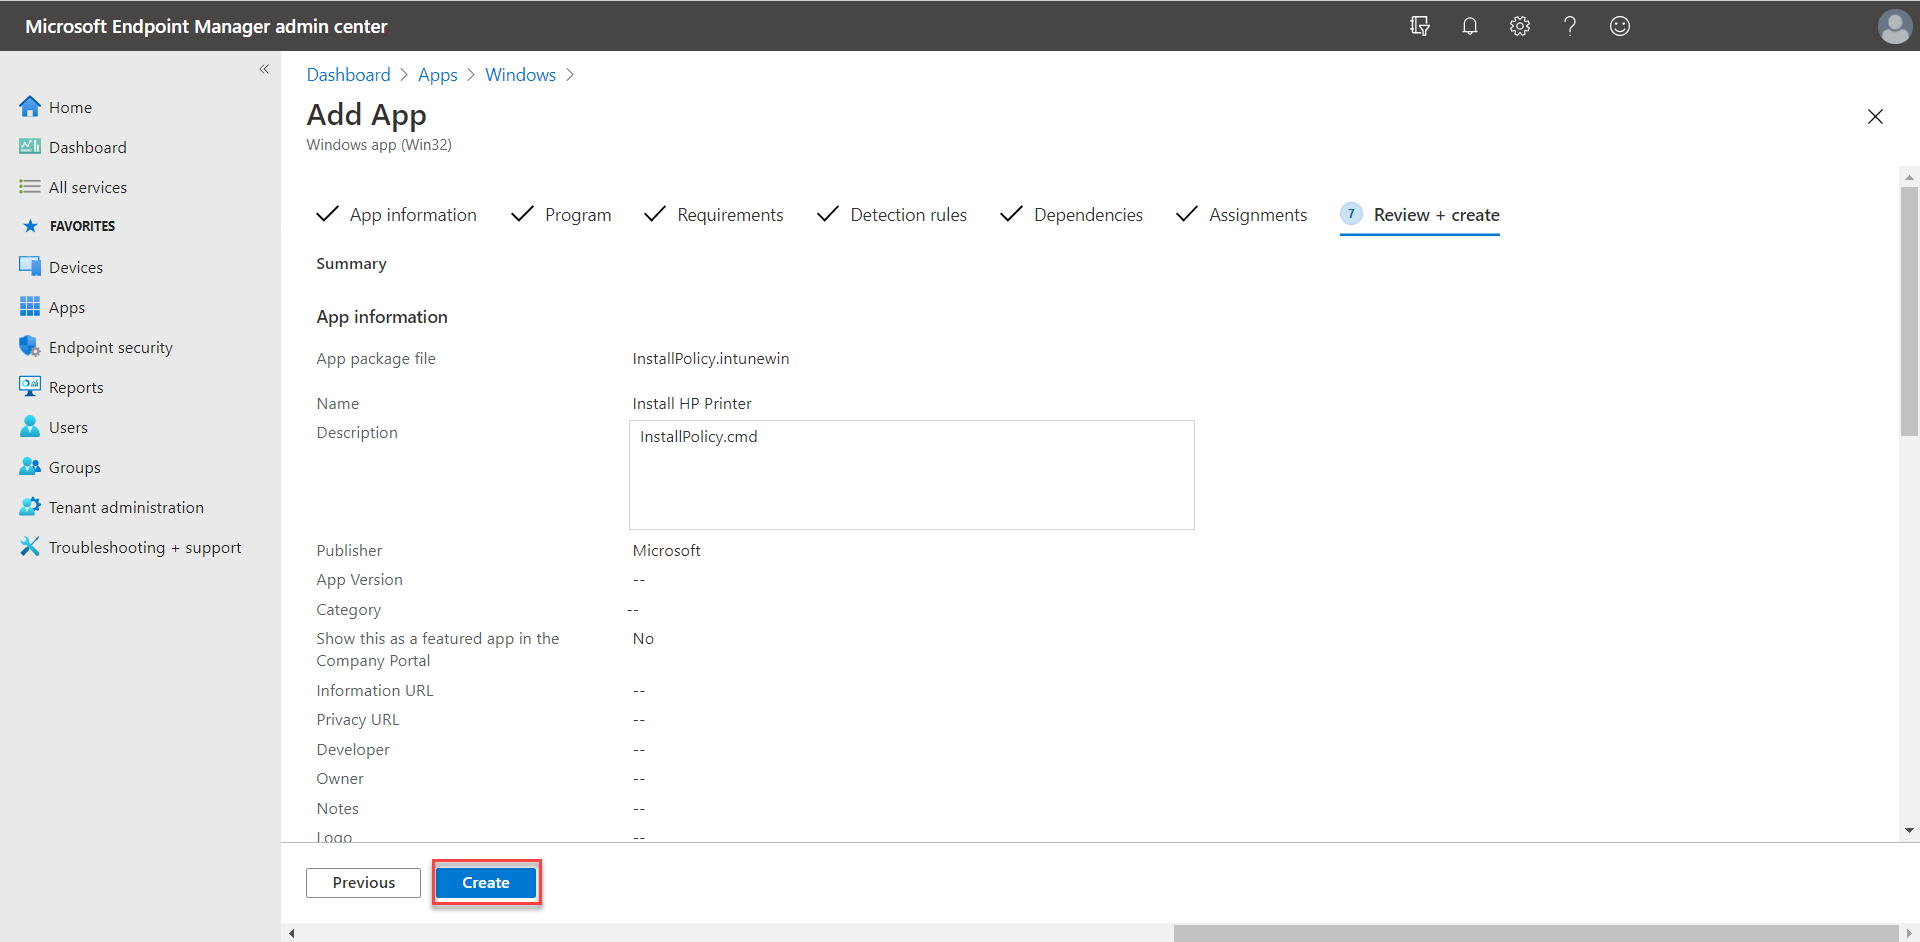
Your printers are now being pushed to your users and virtual desktops!
Want to see all the above in action? Watch this Universal Print demo!
Experience the outcome of this article, I’m showing you in the demo how the configuration looks from the Azure Portal and perform a test print to my own home office printer, too. Go check it out below. 😊
Need help? Visit the Universal Print FAQ
Please visit the official Universal Print FAQ here: Universal Print – Frequently Asked Questions (FAQ) | Microsoft Docs – or join join the Universal Print community on Tech Community to ask questions directly to the product group – or provide feedback on the service!
