
Use Azure File Sync to bridge your storage SMBs and NFS needs with Azure Files Cloud Storage for Azure Virtual Desktop, Citrix Virtual Desktops and other DaaS workloads on Azure


We all configured, let’s name it like traditional network file servers, and probably chained them together with DFS namespaces – activated replication for redundancy reasons – and we’re all set on our on-premises file server environment.
This approach requires a lot of management effort to make it highly available, redundant and reliable for enterprises. Azure File Sync is a relatively new service within Azure that takes away the complexity and put in lots of simplicity to make this process as easy as you will think how it should be working in from Cloud point of view.
“Everything is going to be connected to cloud and data… All of this will be mediated by software.” – Satya Nadella, CEO of Microsoft
In a nutshell, with Azure File Sync, you don’t have to choose between the benefits of cloud and the disbenefits of your on-premises file server because you can have both. Azure File Sync replicates files from your on-premises Windows Server to an Azure file share, eventually enabling you to centralize your file services in Azure while maintaining local SMB access to your data.
Continue reading to know more about Azure File Sync…
So, what is Azure File Sync?
You probably know OneDrive for Business, right? OneDrive for Business is an Office 365 storage service which comes with almost all the Office 365 licensing models. The behavior of OneDrive synchronization technology works pretty similar to Azure File Sync, although there’s a significant change in data management support – It’s able to create SMB/NFS file shares! However, Azure File Sync has more the focus to create hybrid storage environments for enterprise environments. All based on the synchronization approach of OneDrive, therefore now with the compatibility of traditional storage environments, such as Windows network shares. The Azure File service gives you a fully managed cloud file share and extends the ability of organizations to share files across on-premises and the cloud. Users will not notice whether the data is running on the Azure Cloud or on-premises!
This can also be very beneficial when you’re running Desktop Virtualization / DaaS environments on-premises, and in the Azure Cloud – in a hybrid way with a sort of best of both world regarding App and Data compatibility, and save costs for traditional file server needs in Azure IaaS.
On-premises, hybrid Cloud Data – best of both worlds
As we’re moving towards a more Digital World, leveraging platform and other Cloud services, we still have to deal with hybrid scenarios / on-premises whether that’s for legacy, app compatibility or other compliance reasons. With support for the SMB protocol, this service is cross-platform and can support mounting as file share from any client that implements SMB 3.0 with encryption.
Also, another great thing is that your data persists locally and in the Cloud. For resiliency and throughput reasons this can be very relevant in a hybrid Cloud scenario. There are workloads, such as CAD/CAM drawings for AutoCAD application, for which latency is very important and could be an issue. Organizations cannot have users in specific sites dealing with 100ms latency and get the job done.
Dealing with large files in general in a hybrid scenario can be beneficial as well when using Azure File Sync. Eventually, all your files are copied to Azure Files in your Azure Storage Account, with all the benefits of this service includes, such as LRS. Azure Files supports locally redundant storage (LRS), zone redundant storage (ZRS), and geo-redundant storage (GRS). Microsoft plans to support read-access geo-redundant (RA-GRS) storage in the future, but we don’t have timelines to share at this time.
An easy way to go full on Cloud
Another great benefit of this service is that your data will be replicated from on-premises to your Azure Storage Account – as part of the Azure File Sync Service. So, ultimately your data is already in the Cloud. For instance, when you decide to decommission file servers in an on-premises site – the data always stays behind within Azure. What I’m trying to say with this, that you no longer have to migrate data to Azure when you use Azure File Sync – just for the simple reason: It’s already in there
This can be relevant for Disaster – outages, natural disaster Recovery scenarios as well.
” I hear you saying, What about other data, such as User Profiles and VHDx’s
As mentioned earlier in this article, Azure File Sync support SMB and NFS all based on “traditional” NTFS ACLs, which effectively means that everything can be stored on the endpoint of the Azure File Share hierarchy.
So, when you’re a Citrix, VMware or Microsoft RDS / AVD customer, and still have legacy applications or any other legitimate reason to have corporate data running on-premises. Azure File Sync can be an excellent approach to use for your on-premises workloads, and later (or mixed) Cloud workloads. Best of both world though.
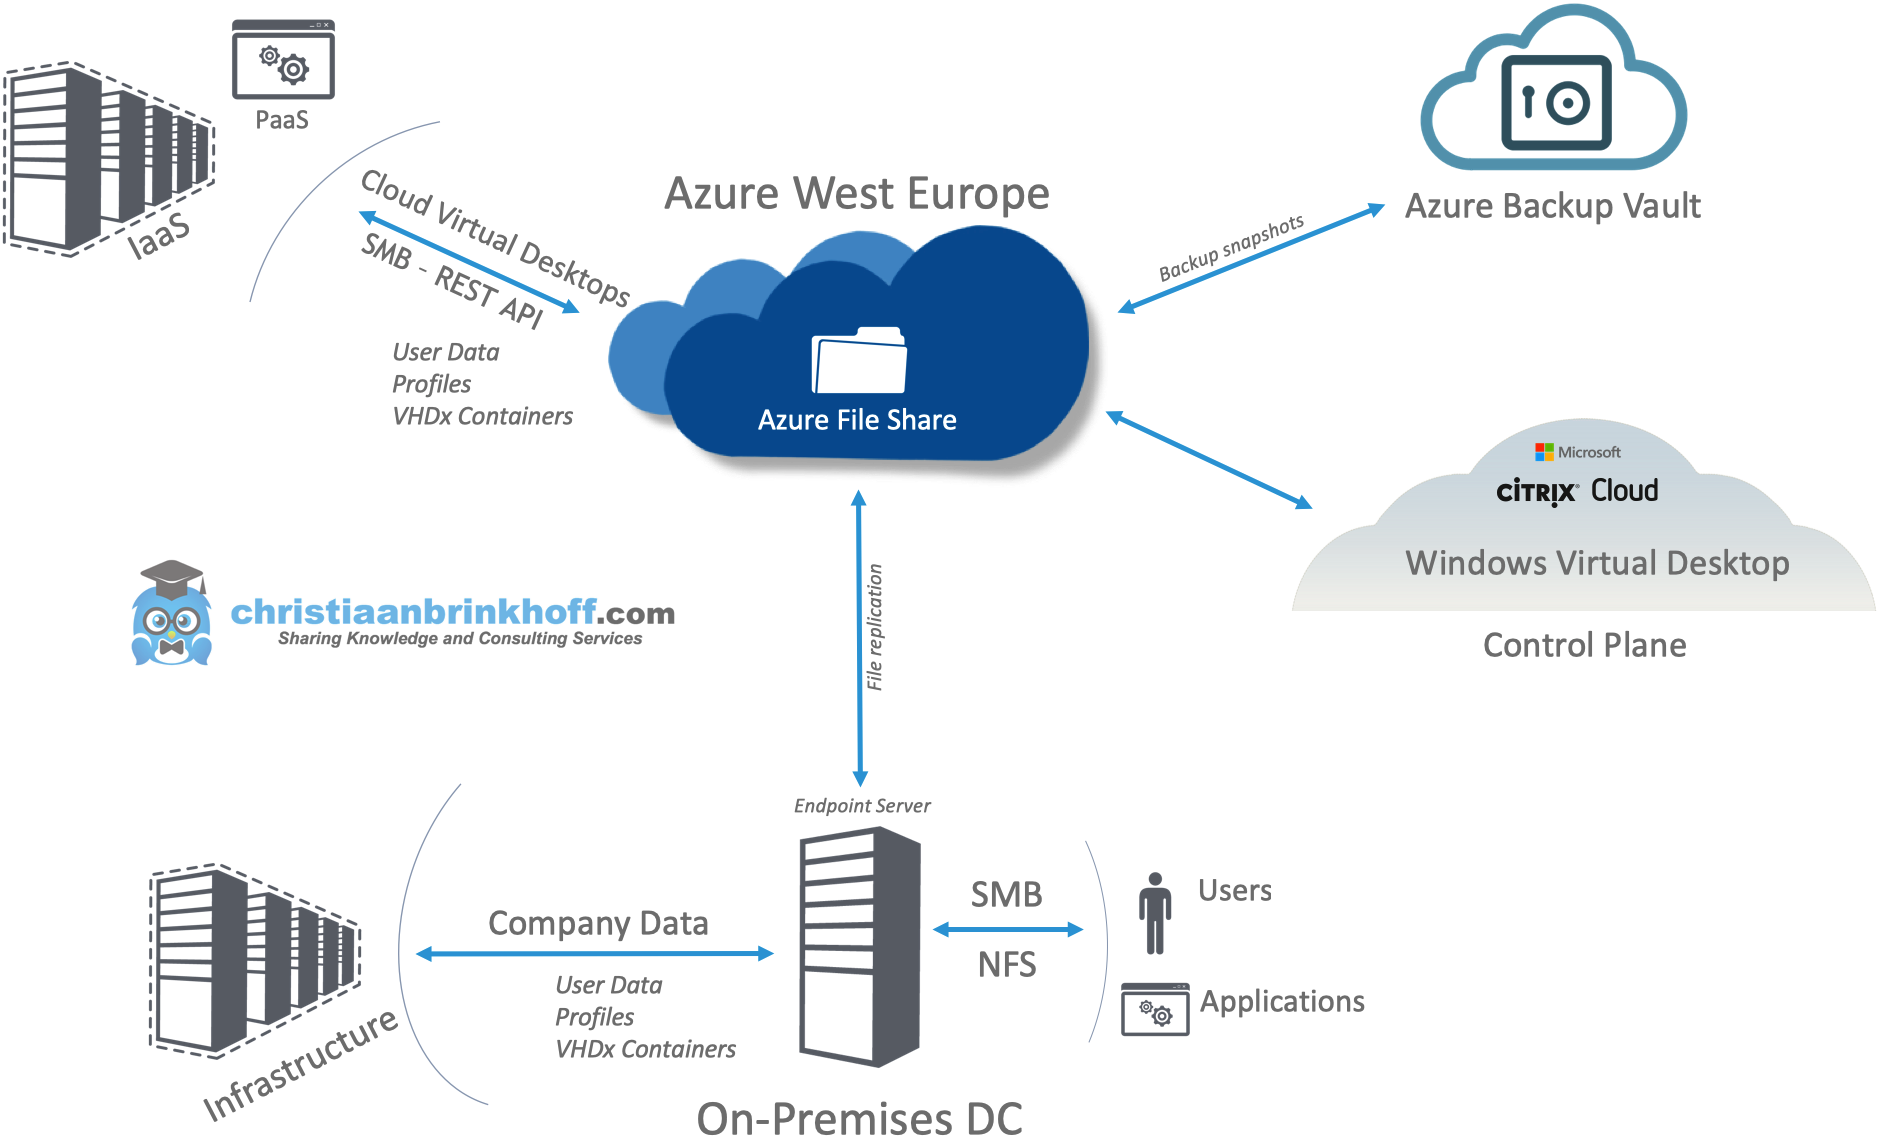
From an architecture perspective
Azure Files Sync replication process is default going over the internet. You could manage the traffic by using either an ExpressRoute with Public Peering’s activated or using an SD-WAN solution to managed your storage account traffic to Azure. When a file server needs to be added to the Azure File Share environment after an outage, or simply because it’s a new branch office. Just simply connect your new Windows Server to your existing sync group in the Azure File Service. Everything will be synchronized automatically, and your Endpoint is ready to use in a snap!
See below an architectural example how Azure File Sync comes together in a hybrid cloud scenario when using Desktop-As-a-Service workloads on-premises and/or on Azure Infrastructure-As-a-Service. This example contains Azure Virtual Desktop or Citrix Cloud, but technically this setup applies for any other Virtual Desktop or normal physical workload which is supported for Azure!
In this blog – I would like to share my insights around how you could manage your local data better with the relatively new Azure File Sync service within Azure. I’m also giving you some use-cases when this service is a good fit and when not…
And as always – Enjoy reading!
Table of Contents
Click on the title to forward in the article:
- End User Computing – Performance survey report – 2019
- Decision diagram – when to use what?
- Azure Backup now supports ACLs for Azure File
- Cloud Tiering
- How to get started
- Create an Azure Files Cloud Network Share Connection – without an endpoint server
- What about FSLogix Cloud Cache – Containers?
Did you know?
- Azure File Sync is supported for Windows Server 2012 R2, Windows Server 2016, Windows Server 2019 right now
- Application compatibility: File shares provide SMB semantics that provides ACLs to port, long path name, extended characters in the path name to name a few. There are a lot of functionalities you don’t get in Azure, say in BLOB storage. So, organizations continue to use File servers.
- NTFS ACLs carried from on-premises file servers are persisted by Azure File Sync as metadata. Azure Files does not support authentication with Azure AD credentials for access to file shares managed by the Azure File Sync service.
- Azure File Sync can be used for Desktop Virtualization environments as well, such as Citrix, VMware, RDS/AVD as well for UEM solutions, profile management storage and VHDXs containers technologies.
- FSLogix Profile and Office 365 Containers can directly be stored within Azure Files – Storage Blobs – for the purpose of Profile and Userdata storage on the Cloud.
- Please check https://docs.fslogix.com/display/20170529/FSLogix+Cloud+Cache+Technology for more information
- FSlogix will support direct storage of Profile Containers and Office 365 Containers in Azure Files as a result of the Azure Files NTFS ACLs and classic Active Directory public preview which is available right now. The huge benefit of this that you overcome the need for a dedicated fileserver / DFS server or Azure Files endpoint in Azure Infrastructure-As-a-Service (IaaS), which effectively saves you money! I did not list it due to the preview state and will update the diagram once it becomes GA.
- Are you interested in this and want to participate in the public preview – please see the link below how to participate.
- Performance: There are workloads, a good example being customers who have collaboration scenarios like CAD/CAM drawings, for which latency is an issue. Organizations cannot have users in specific sites dealing with 100ms latency and get the job done. They are dealing with large files that are collaborative and need to be more performant.
- The total cost of Azure File Sync (AFS) services is determined by the number of servers that connect to the cloud endpoint (Azure File Share) plus the underlying costs of File storage (including storage and access costs) and outbound data transfer.
- Azure Files supports locally redundant storage (LRS), redundant zone storage (ZRS), and geo-redundant storage (GRS). We plan to support read-access geo-redundant (RA-GRS) storage in the future, but we don’t have timelines to share at this time.
- The maximum number of file system objects (directories and files) in a directory has increased to 1,000,000. The previous limit was 200,000.
- Sync will try to resume data transfer rather than retransmitting when a transfer is interrupted for large files
- The maximum size of a file share of Azure File is 5TiB, but Microsoft is working to increase it to 100TiB, according to the Azure File FAQ document. The service can handle up to “2,000 open handles”
- Azure Files is very useful for Disaster Recovery – it’s supported by georedundant storage, which means that it uses a second region to assure against disasters.
- It supports the Azure Government cloud
- Data Deduplication is now fully supported with cloud tiering enabled on Windows Server 2016 and Windows Server 2019. Enabling deduplication on a volume with cloud tiering enabled lets you cache more files on-premises without provisioning more storage
- Easily migrate large amounts of data into Azure File Sync via any means you choose. You can choose Azure Data Box, AzCopy and even third party migration services. No need to use massive amounts of bandwidth to get your data into Azure, in the case of Data Box – simply mail it there! To learn more, see Offline Data Transfer Docs.
Please check the Azure public FAQ article to get more answers that might be worth checking how Azure Files fits in your use-case – https://docs.microsoft.com/en-us/azure/storage/files/storage-files-faq.
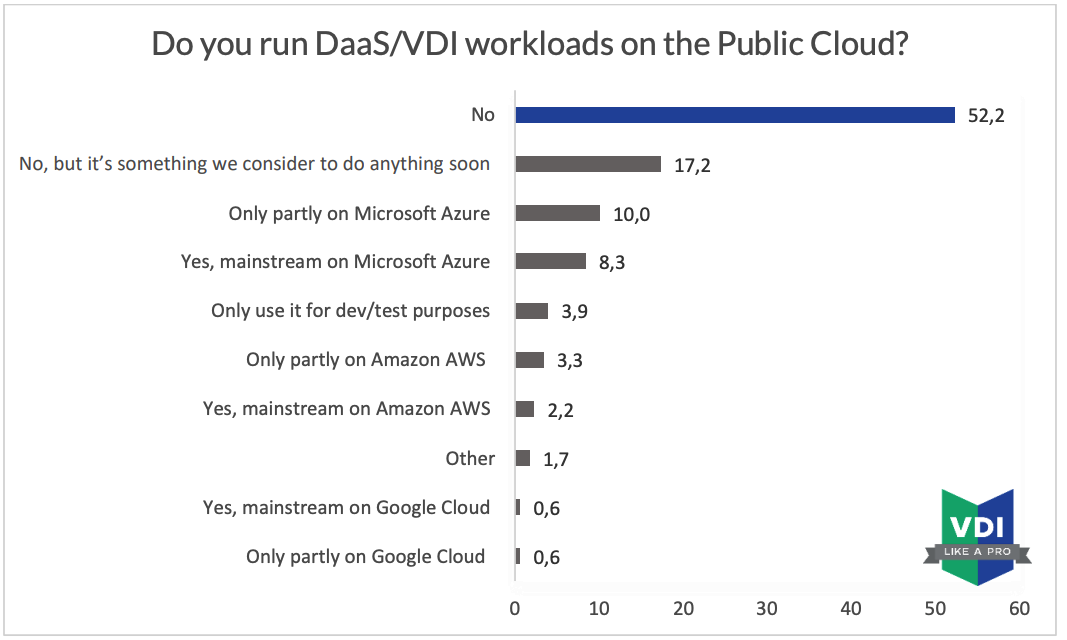
End User Computing – Performance survey report – 2019
As part of the first VDI Performance Summit in Amsterdam, we held another greatly appreciated VDILIKEAPRO survey for the community. One of the interesting results of this survey was around Desktop-As-a-Service workloads on the Public Cloud.
“Do you run DaaS/VDI workloads on the Public Cloud?”
“Moving desktops to the cloud remain something a lot of companies are still undecided on. In 2019 it will be interesting to see if Microsoft’s Azure Virtual Desktop offering will make a big change in the number of people migrating to the cloud.”
Download the complete survey with also the other results over here.
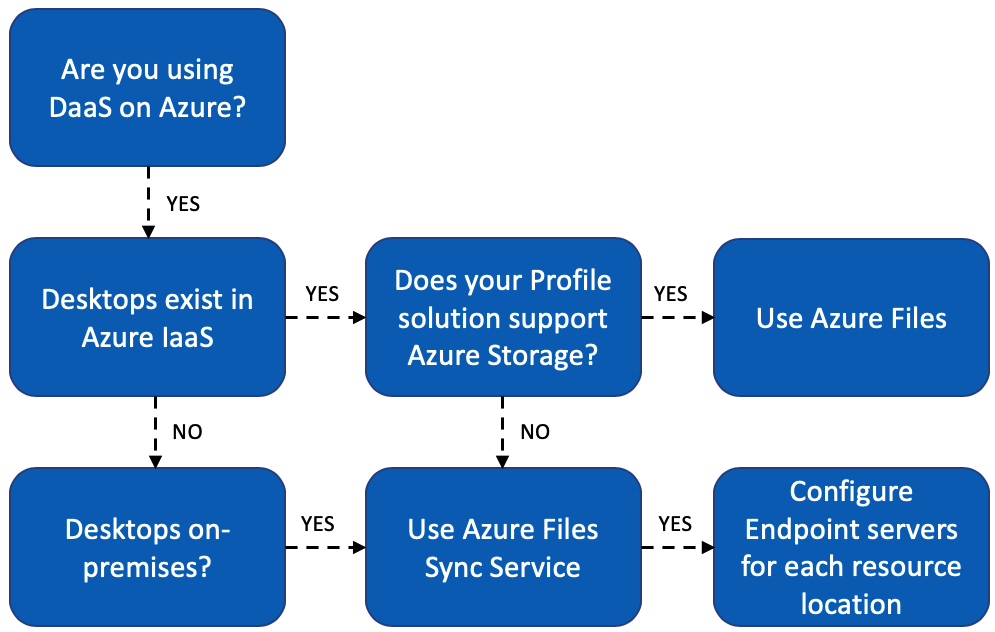
Decision diagram – when to use what?
As mentioned earlier in the article, not every feature or solution, which was not originally built for the cloud supports the use of Azure File storage. For the sake of profile management solutions and Desktop-As-a-Service solutions – integration is needed directly into Azure storage to have the most cost-effective file server benefit without the need built it yourself on top of Azure Infrastructure-As-a-Service. There are not many solutions that support direct connections to Azure Files. One that is supported is the Cloud Cache product from FSLogix Inc. (acquired by Microsoft). In case your profile management solution or any other data required application needs a regular NTFS file share with full support for ACLs and SMBs must use the Azure Files Sync Service plus endpoints on every resource location closest to the application(s) or Desktop Virtualization environment. It doesn’t matter whether they exist on-premises or in the Cloud when using this. I cover more about Cloud Cache at the end of this blog article as well.
Another huge benefit to mention are all the Azure Storage account benefits, which are included as default when choosing Azure Files, such as replication to different datacenter regions and Zones, integrated backups and DR solutions.
Note: FSlogix will support direct storage of Profile Containers and Office 365 Containers in Azure Files as a result of the Azure Files NTFS ACLs and classic Active Directory public preview which is available right now. The huge benefit of this that you overcome the need for a dedicated fileserver / DFS server or Azure Files endpoint in Azure Infrastructure-As-a-Service (IaaS), which effectively saves you money! Are you interested in this and want to participate in the public preview – please see the link below how to participate. I did not list it due to the preview state and will update the diagram once it becomes GA.
Azure Backup now supports ACLs for Azure File
Azure Backup now supports preserving and restoring new technology file system (NTFS) access control lists (ACL) for Azure files in preview. Starting in 2019, Azure Backup automatically started capturing your file ACLs when backing up file shares. When you need to go back in time, the file ACLs are also restored along with the files and folders.
Accidental deletion of data can happen for storage accounts, file shares, and snapshots taken by Azure Backup. It is a best practice to lock your storage accounts that have Azure Backup enabled to ensure your restores points are not deleted. Also, warnings are displayed before protected file shares or snapshots created by Azure Backup are deleted. This helps you to prevent data loss through accidental deletion.

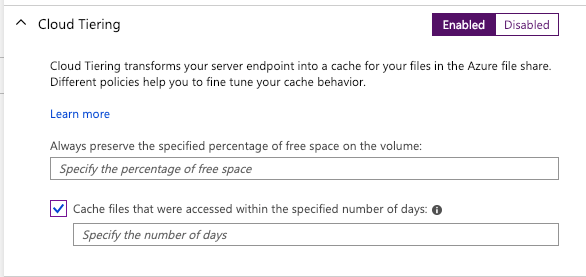
Cloud Tiering
Cloud tiering is an optional feature of Azure File Sync – in which frequently accessed files are cached locally on the server, while all other files are tiered to Azure File based on policy settings. It mostly can be used for Cold Data to free up space on your endpoint fileserver and request the files from the Azure File Cloud location on-demand.
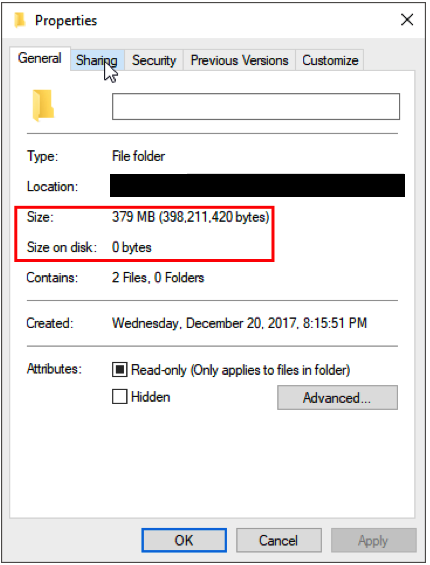
In OneDrive terms, you can compare it a little bit with Files On-Demand where you click on files. After that, files will download to your client. Requesting the properties of those files will show you’re the size of the data and the size (allocated) on the disk of the endpoint.

How to get started
In the following section, I’ll explain how you can implement Azure File Sync in Azure and eventually deploying endpoints and creating Local File Shares in your hybrid Cloud environment.
Create an Azure Storage Account
Skip this step when you already have one storage account in your Azure tenant.
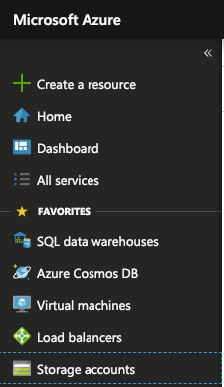
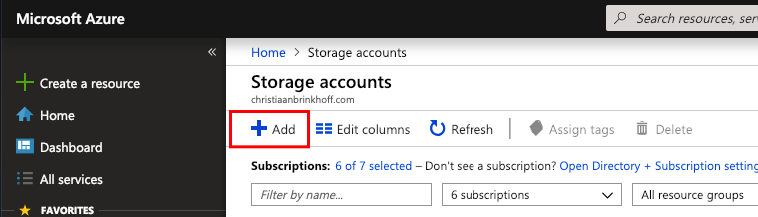
Open Storage Accounts
Click on Add
Select your subscription and resource group.
Make sure to select Account set v1 or v2 (preferred).
Select the type of Azure File redundancy for your own business needs.

Click Review + Create
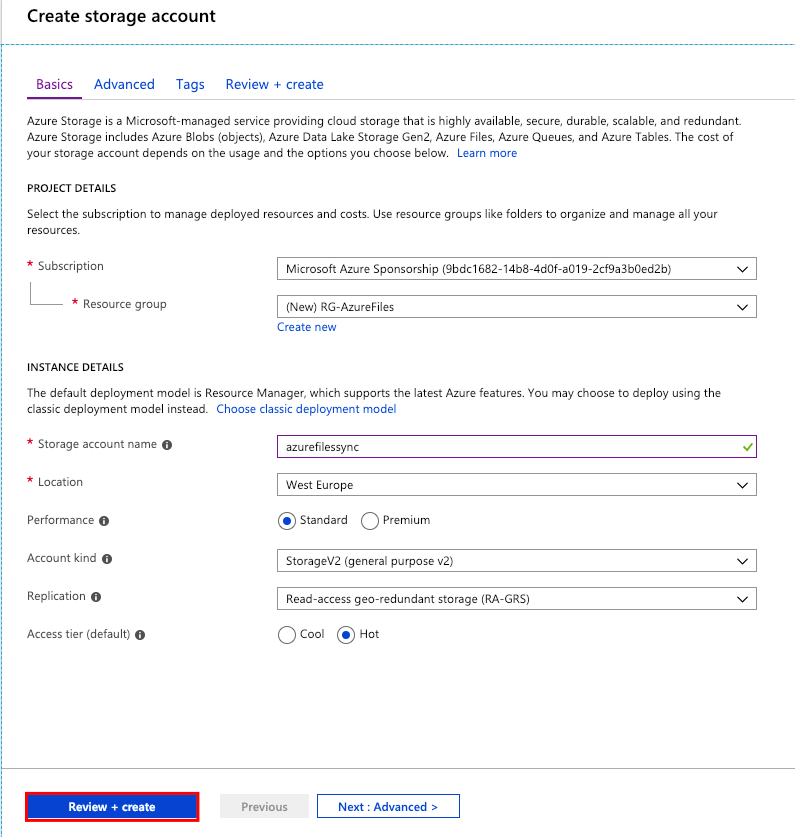
Click on Create

Create a File Share in Azure
Open the newly created Storage Account, click on Files
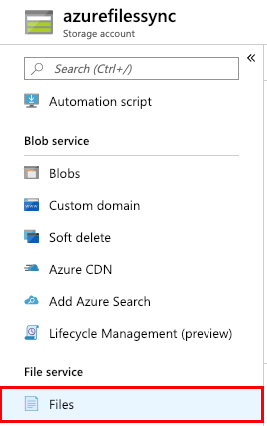
Create a File Share
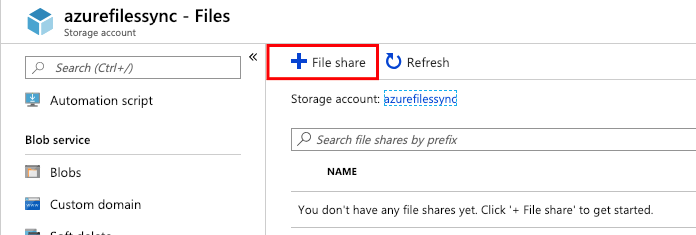
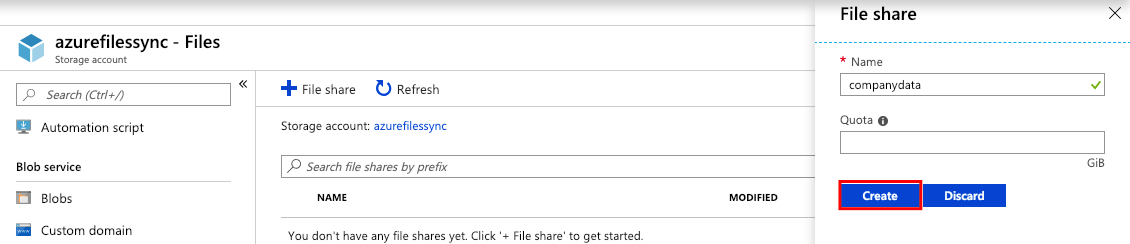
Name your File Share as one of your Companies folders, or just Company Data and expand underneath the folder hierarchy.
Click Create
Note: The maximum quota size can be 5TB, leaving it blank will allow the share to expand to that maximum amount.
Add other folders/shares if that’s needed to the list, or continue with the next step
Create/activate the Azure Storage Sync Service
Open the Azure Marketplace and search for Azure File Sync
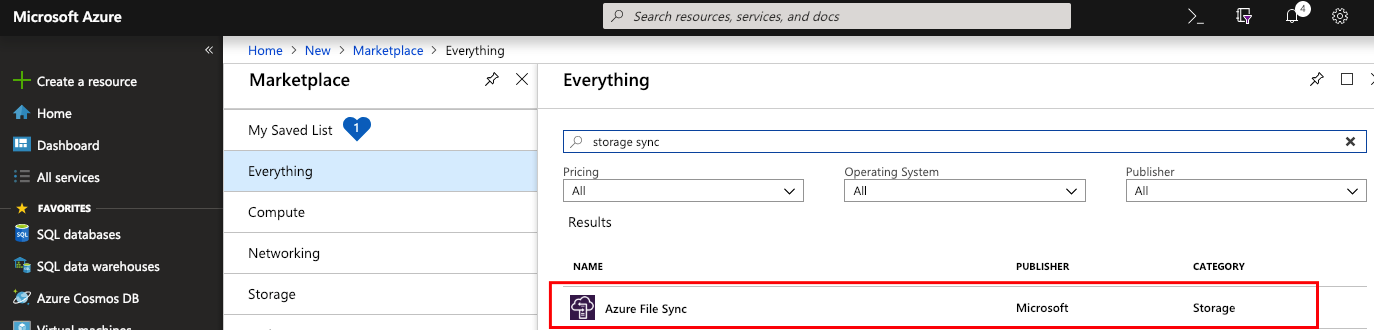
Click on Create

Name your Storage Sync Service, add them to the same subscription as the storage account and resource group.
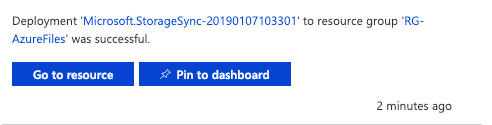
Click Create

The creation of the service only takes seconds…
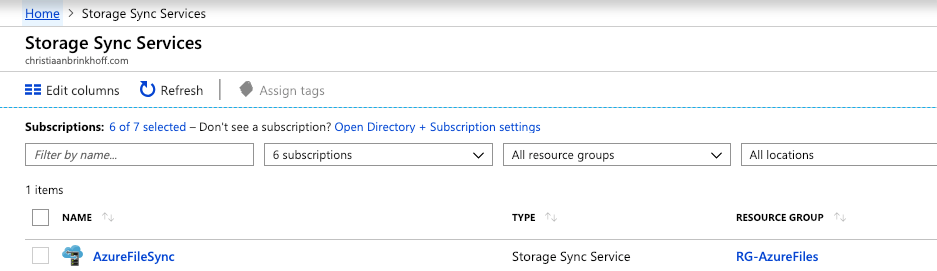
When the service is created – add the Storage Sync Services to your Azure Favorites

open the service and continue with the next step
Install the File Sync Agent on your local storage endpoint – local server
Before you start: I’ve creates a separate Windows Server 2016 STD server named AFS-Endpoint1 with an extra data disk where I’m going to store my Azure Files replication on.
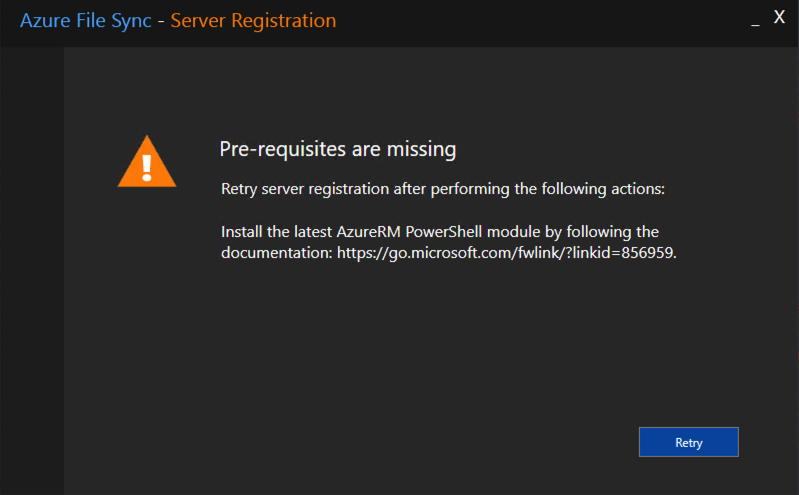
Also, make sure to install the latest AzureRM PowerShell module before you install the Sync Agent by performing this command.
Install-Module -Name AzureRM-AllowClobber

Check this docs article how to activate and import the AzureRM module: https://docs.microsoft.com/powershell/azure/install-azurerm-ps
If you don’t run these commands, you’ll end up with this error below.
Note: The Azure File Sync agent is supported for Windows Server 2012 R2, Windows Server 2016, Windows Server 2019.
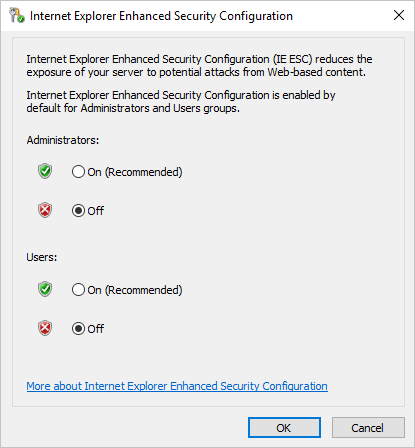
Also, make sure to disable Enhanced Security
Open the Registered servers menu
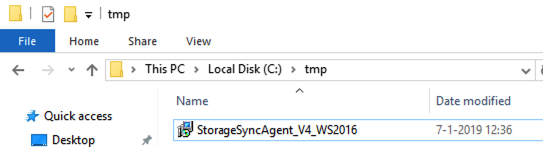
Download the Azure File Sync agent to your endpoint
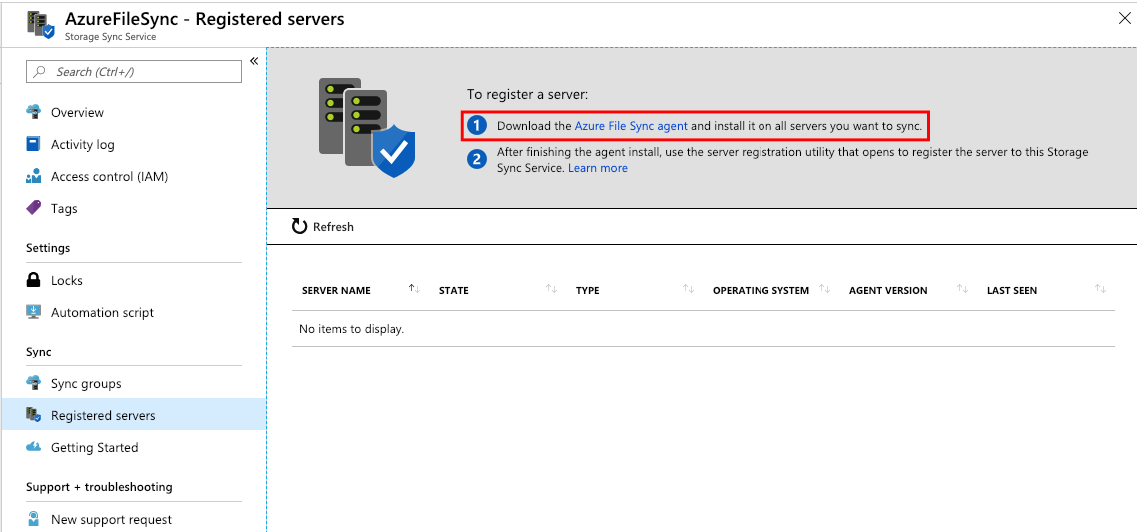
Direct download link: https://www.microsoft.com/en-us/download/details.aspx?id=57159
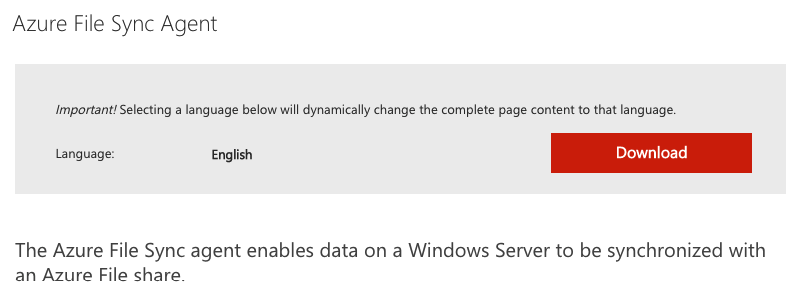
Select the MSI that correlates with your OS version

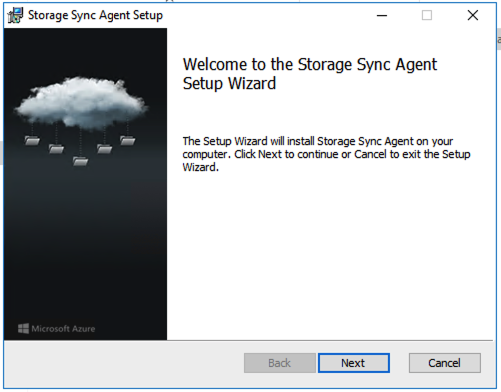
Start the MSI installation
Click on Next
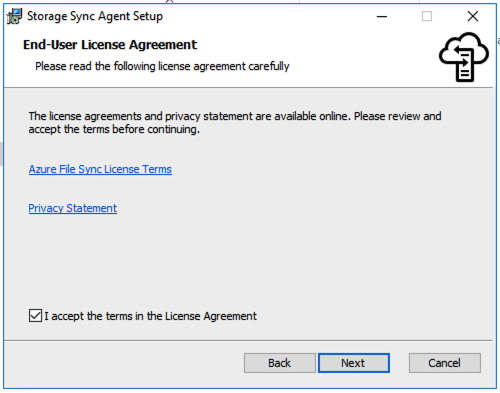
Accept the terms, Click Next
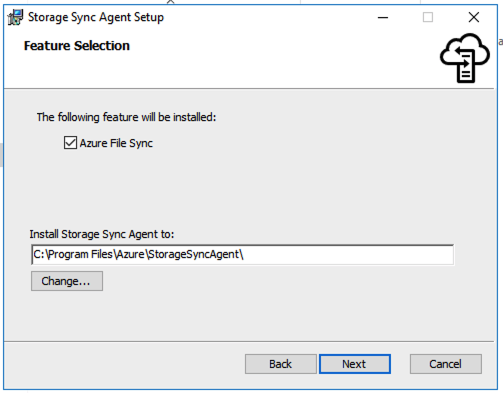
Select your installation path, Click Next
Give in a Proxy if that’s required to get internet access in your environment for the synchronization.
Click Next

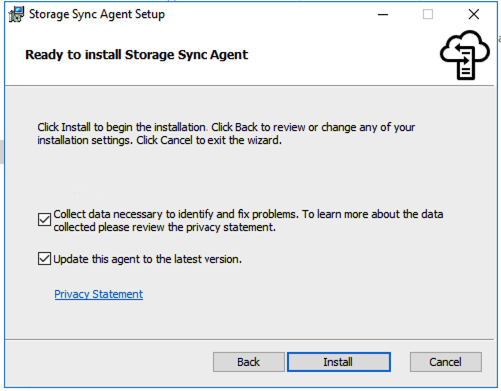
Choose what fits best to your strategy – I’m using automatically due to the easy way of auto-updating the agent.

Click install
Installation can take up to 5 minutes…
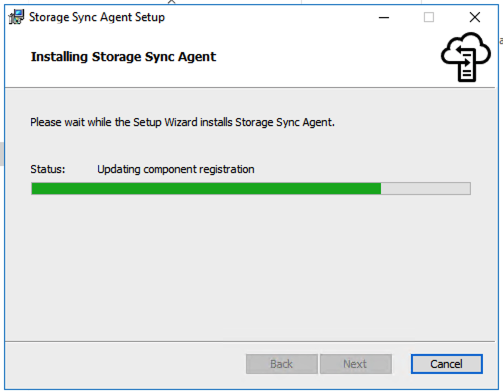
The installation is finished.
…Click Finish
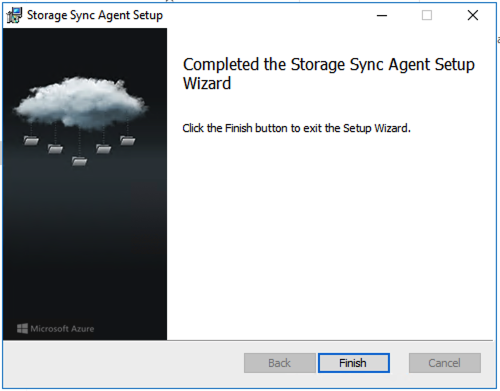
The Azure File Sync Configuration Process will start automatically after the setup…
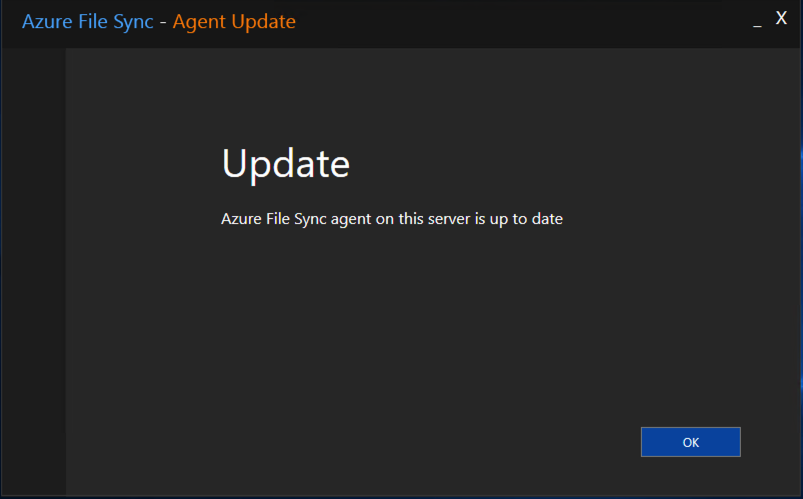
Register the File Sync Agent to Azure
It first checks for updates.
Click Ok
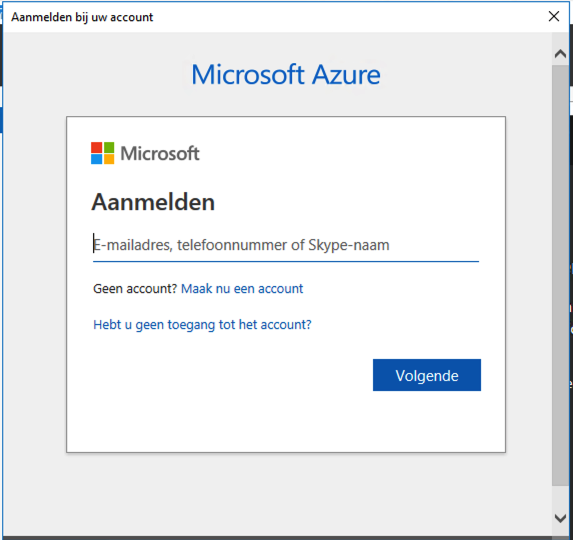
Click on Sign in
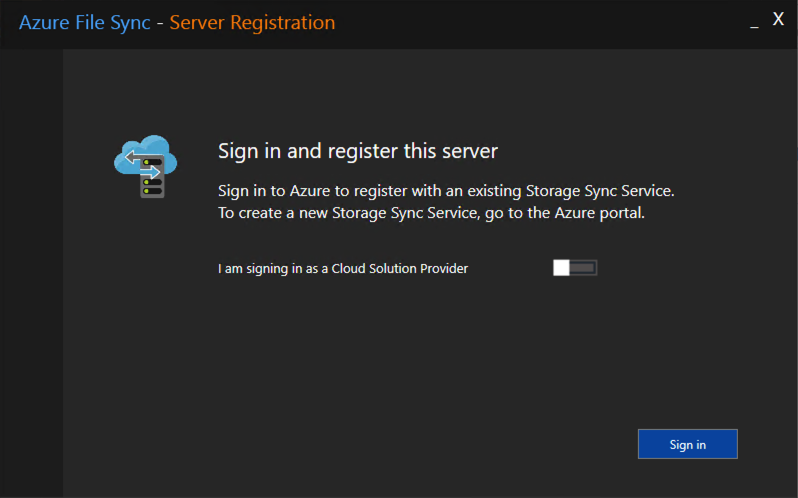
Logon with your Azure Administrator account
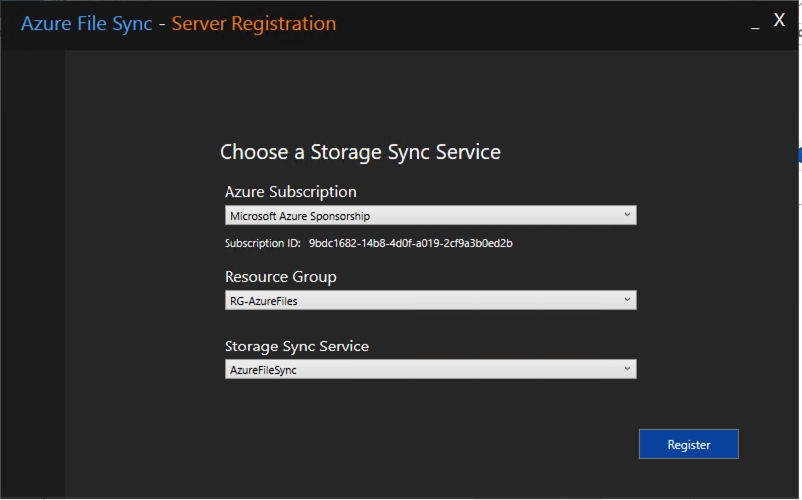
When that’s done, enter your Azure subscription where you activated the Azure File Sync service on.
Select the Resource Group and Storage Sync Service
Click on Register
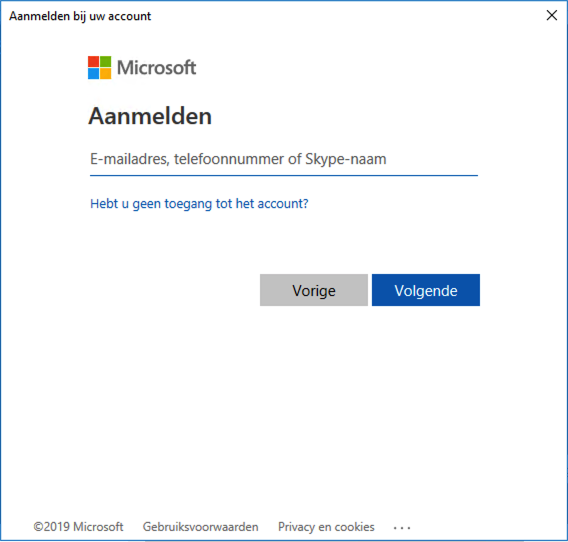
Authenticate once again with the same Azure Administrator credentials.
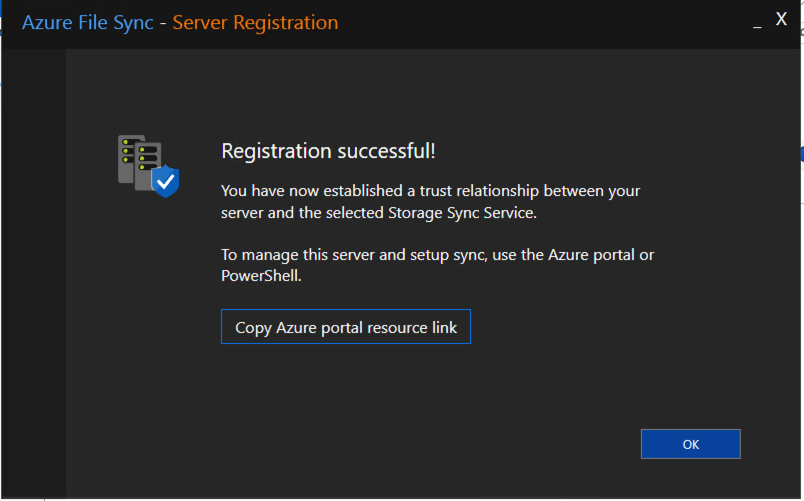
The endpoint registration is finished!
Click on Ok
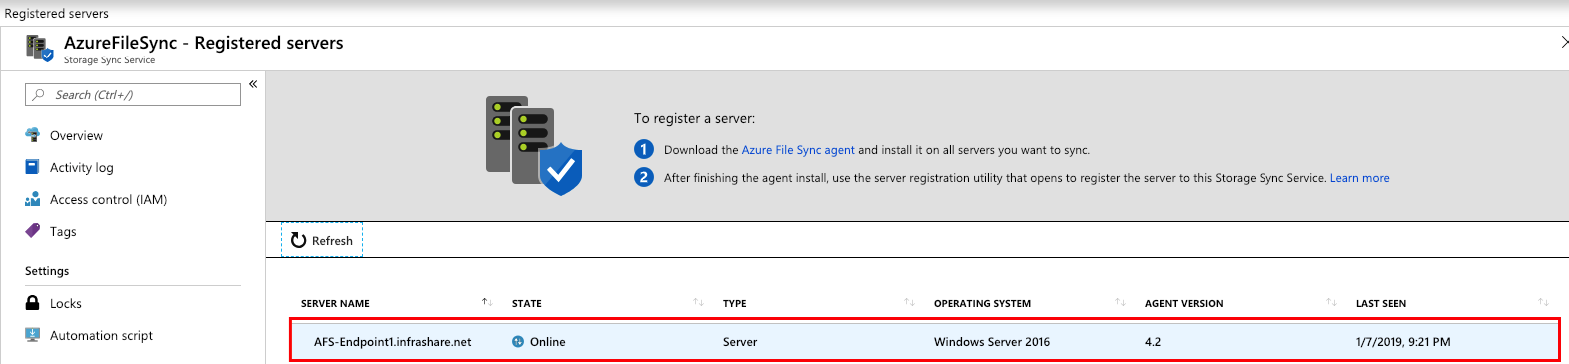
When we now switch back to the Azure portal, we’ll see our endpoint listed on the registered servers section.
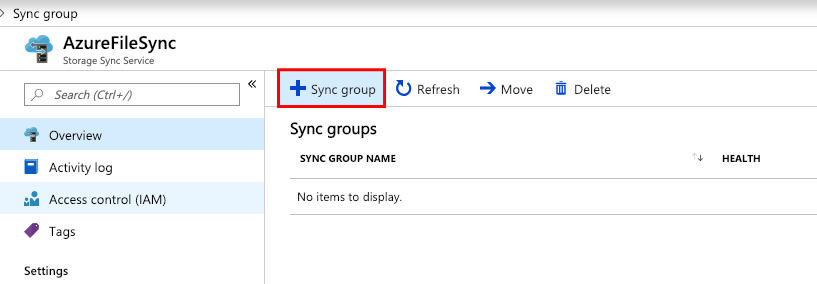
Create custom Sync Groups
A sync group defines the sync topology for a set of files chained to the Azure File Share that you created.
Click on + Sync group
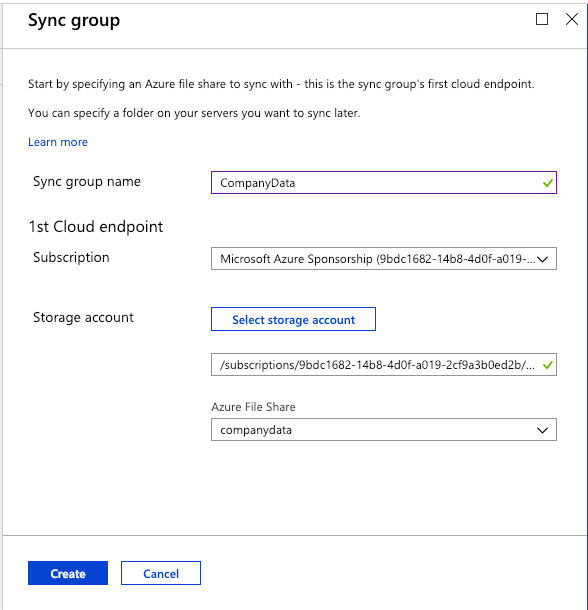
Name the Sync Group to the File Share
Select the Azure subscription
Select the Storage Account
Click on Create
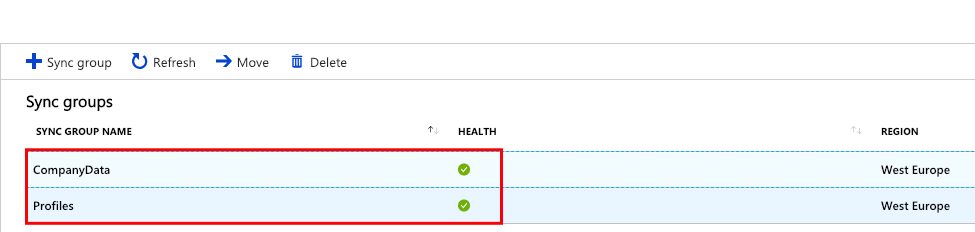
Repeat the same step for all the other File Shares – they all must be listed in the Overview dashboard with a green checkmark

Assign Endpoints to the Azure File Shares
Now we have to assign the endpoint to the designated File Shares to make it usable as SMB or NFS file share.
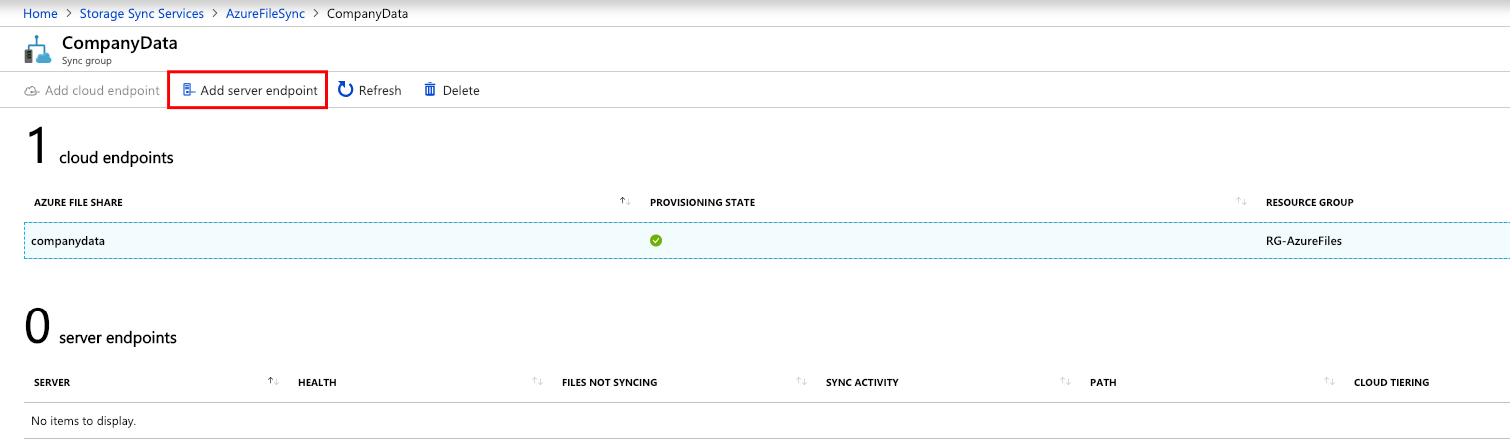
Click on the Sync Group
Click on Add server endpoint
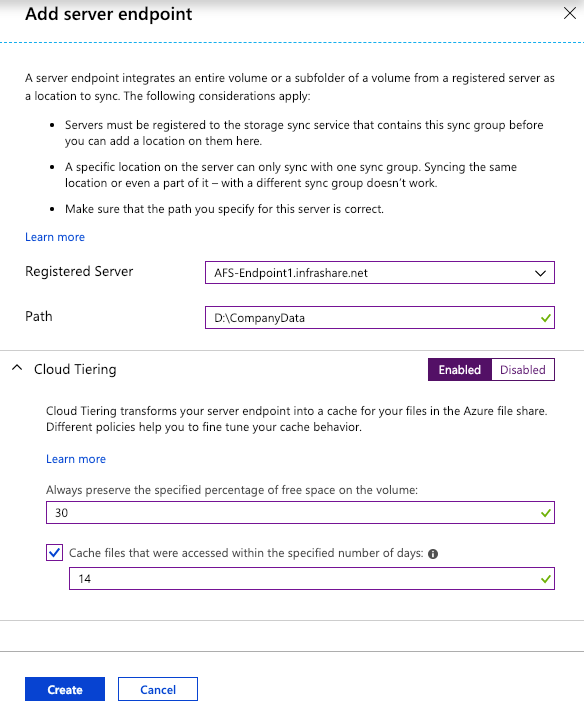
Select the endpoint server and local server path to create the Share
(I’ve used my Data partition for that purpose.)
Enable Cloud Tiering if you want to save up space for the use of Cold Data older than the number of days you define in the second option. I’m going for 14 days old data. Files that are untouched for 14 days will not be copied to the endpoint – but will be visible on the file share as mentioned in the beginning of this article.
Click on Create
Note: Files will be visible on the share, however, they don’t allocate any data on the File Share Directory – after the retention date defined in Cloud Tiering.
Repeat the same steps for the other Azure File Shares – Endpoints. When you have multiple endpoints on different locations, please assign the designated file shares to the endpoint that needs to share the file share.
Once the folder is created on the endpoint – you’ll see the Health checkmark again.
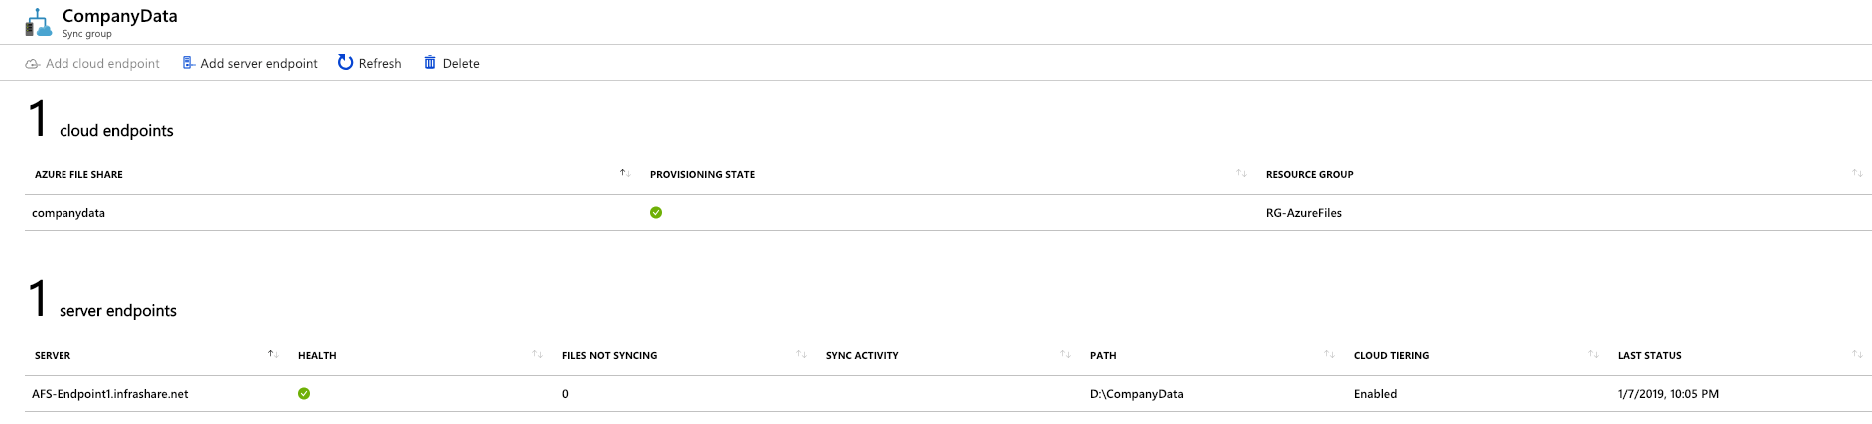
The folder(s) are created on the endpoint on the designated location!

Put some data into the folders to check if the files are uploaded to your storage account
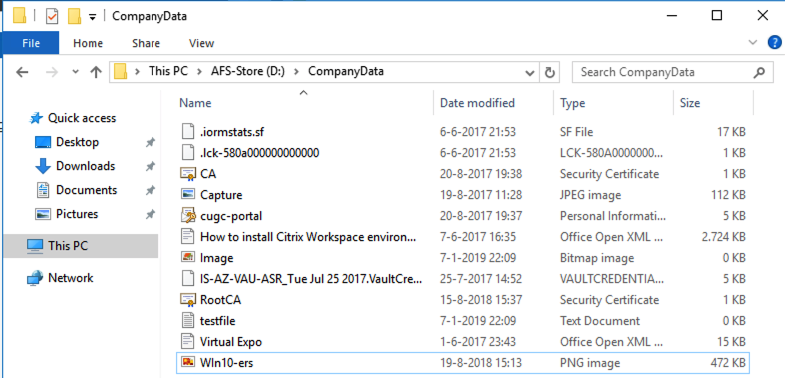
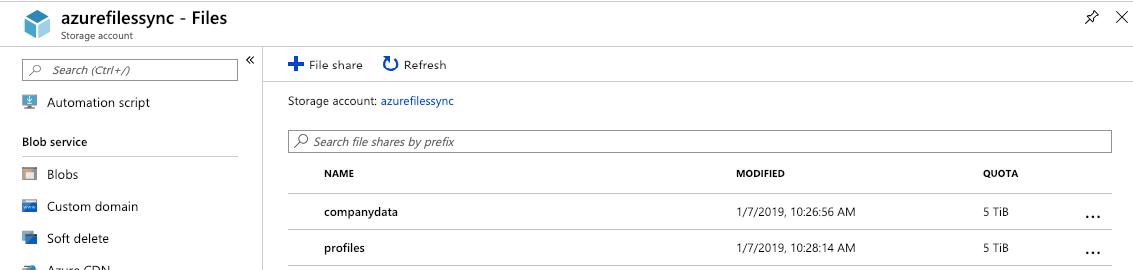
Go to your storage account and click on File service – Files
Open your Azure File Shares and check if the data is uploaded to Azure!
It is in their – awesome right?

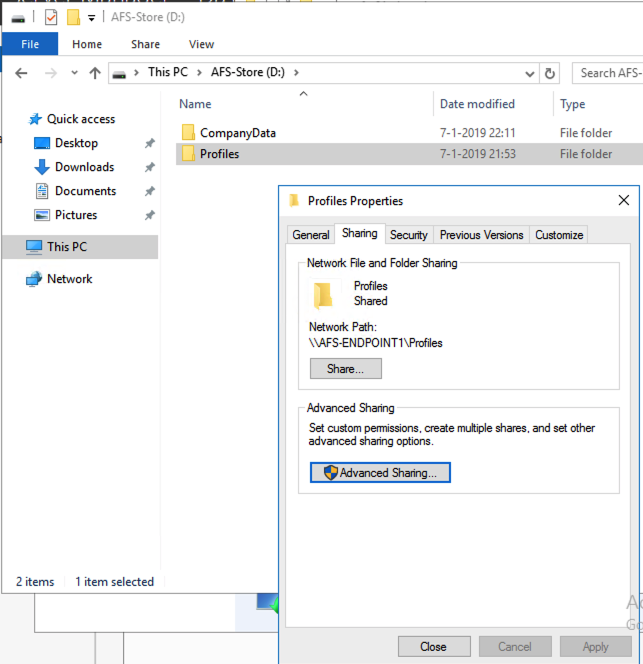
Create SMB File Shares for Profile storage
You can now proceed as you do normally in creating a local SMB or NFS File share on one of the shared folders locally and use it for Application purposes or Profile Storage for Desktop Virtualization environments, such as Citrix, or Microsoft RDS/AVD. Later in this article, I’ll show you how FSLogix/Microsoft Cloud Cache Containers can solve this directly, without the need for an endpoint server in Azure.
Only now – your data will automatically be copied to Azure with all the replication and backup benefits of Azure included!
Ready to go Hybrid? 🙂
How to create an Azure Files Cloud Network Share Connection – without an endpoint server – inside Azure
The benefit of this Hybrid Cloud solution is that you can use Azure Files on-premises and directly from the Azure Cloud without the need for an Endpoint server in Azure.
Note: Unfortunately, Azure Files doesn’t support regular ACLs on top of the SMBv3 shared directly from the storage account (don’t confuse with Azure File Sync). When you need ACLs in Azure and still want to benefit from the Azure Files service. Just deploy another endpoint in your Azure IaaS environment. By work around this limitation, you could still benefit from all the Azure storage benefits, such as replication, backup, and snapshots. Please check the public FAQ article to get more answers that might be worth checking for your use-case – https://docs.microsoft.com/en-us/azure/storage/files/storage-files-faq. Or this TechCommunity article for tips and tricks https://techcommunity.microsoft.com/t5/ITOps-Talk-Blog/Tips-amp-Tricks-for-Azure-File-Shares/ba-p/277943.
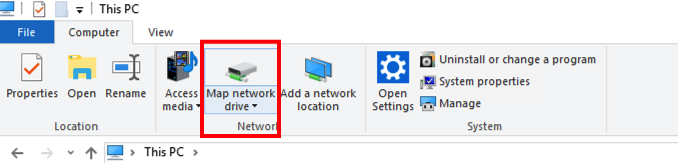
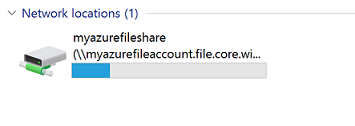
Open Windows File Explorer and open This computer
Create a new network drive
Copy the UNC path from the Connect pane in the Azure storage account menu
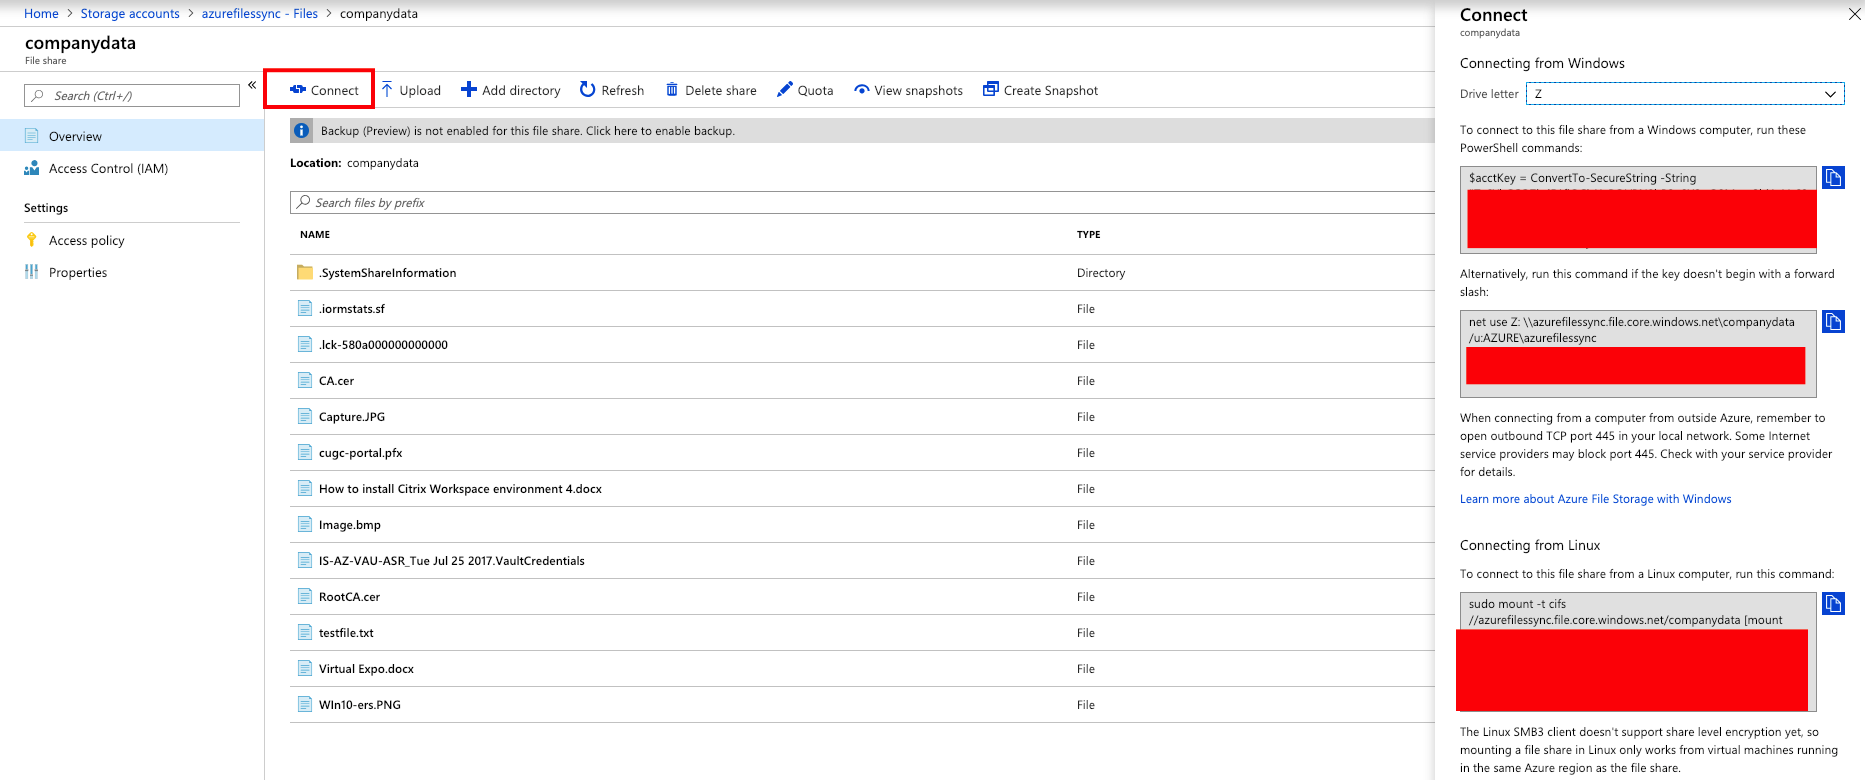
Paste the location to the Folder section and assign a drive letter

Use the storage account name prepended with AZURE\ as the username and a storage account key as the password.

The share can now be used in your environment right now!
What about FSLogix Cloud Cache – Containers?
As mentioned several times in this article, FSLogix (now part of Microsoft) makes it possible to store your profile directly into Azure storage page blobs without the need for a file server in Azure Infrastructure-As-a-Service (IaaS). This consumes much more resources, and this is not the purpose of the cloud. You need to leverage as much as platform services, such as storage account to benefit from the extra services and cost savings.
Note: Cloud Cache for Azure is available in the FSLogix agent starting from version 2.9.5. It also supports Azure Premium Page Blobs right now!
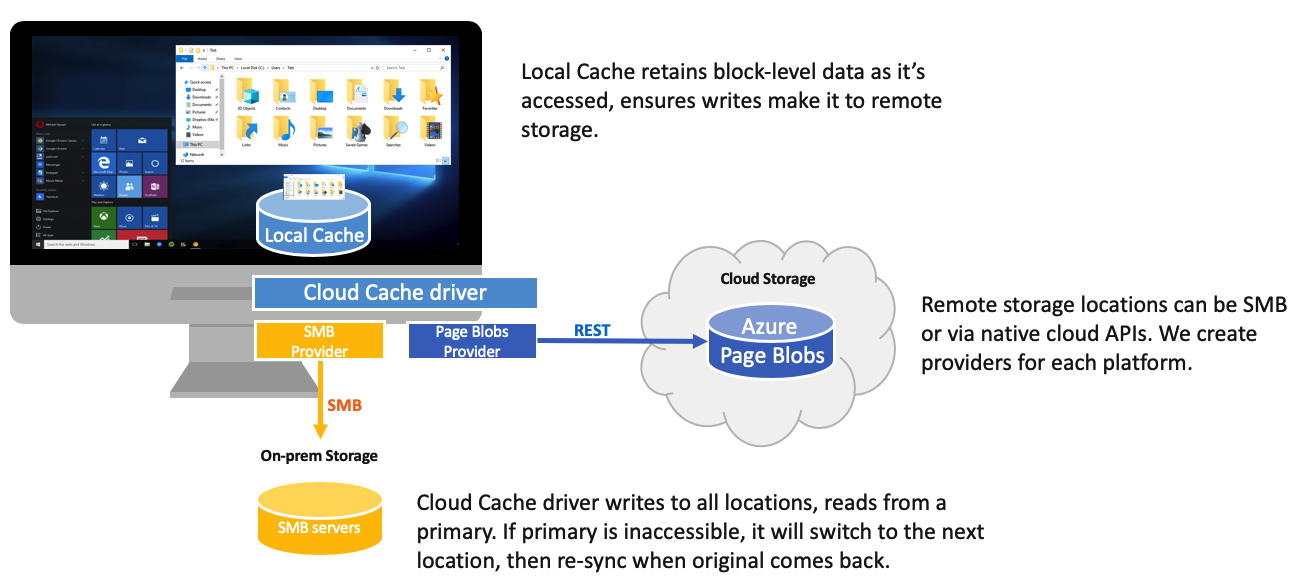
Activating Cloud Cache is relatively simple. Replace the VHDLocations path for the Cloud Cache Locations.
See below an example of how it works in a nutshell.
Activate the Cloud Cache Locations setting, and make it customer specific with your own storage account, as in the example below.
Note: Also, multiple SMBs or a combination of Azure and SMBs is as well possible. This can, for example, be beneficial for reliability reasons between on-premises and Microsoft Azure.

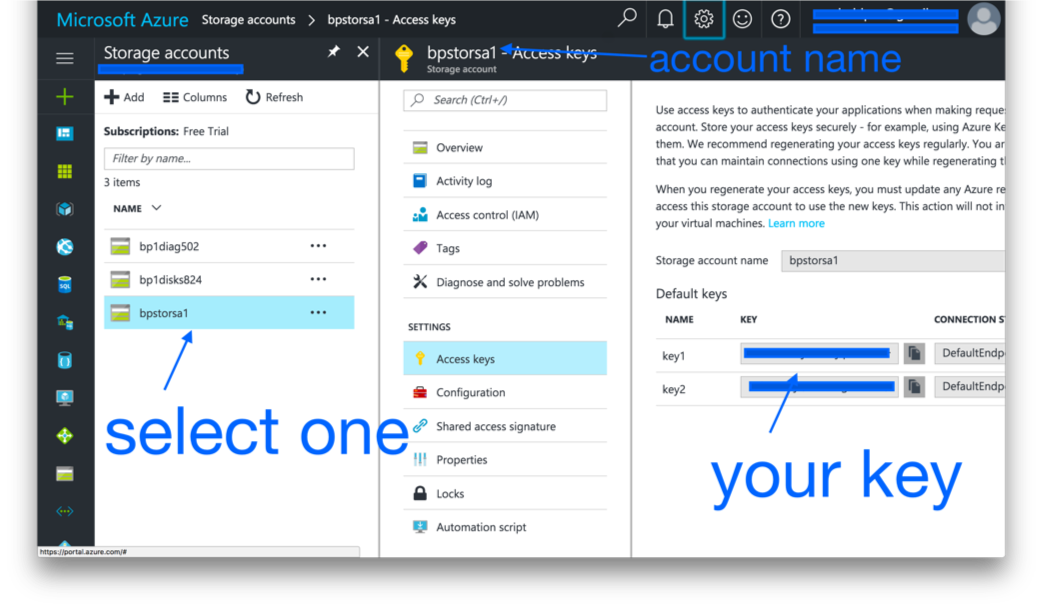
type=azure

connectionString=

DefaultEndpointsProtocol=[http or https]

AccountName=myAccountName

AccountKey=myAccountKey

EndpointSuffix=mySuffix
Example: type=azure,connectionString=”DefaultEndpointsProtocol=https;AccountName=myAccountName;AccountKey=myAccountKey;EndpointSuffix=mySuffix“
The required information can be found in Azure under the tab access keys
More information around FSLogix Cloud Cache for Azure can be found here and here.
I hope this helps to have a better understanding of how Azure File Sync operates.
Hope to see you back soon – and feel free to leave a comment if you’ve any questions.
Cheers,
Christiaan Brinkhoff