Configure Virtual Windows 10 (VDI) Desktops with XenDesktop – Virtual Desktops Essentials in Microsoft Azure


I’ve written a bunch of articles on the new Digital Workspace – or also known as the Future of Work in marketing terms, so to speak… Therefore, never on the XenDesktop – Virtual Desktops Essentials Azure service. Citrix currently offers several services to activate and configure Windows 10 VDIs in Azure, but the easiest one to setup is through the Azure Marketplace – purchasing Citrix Virtual Desktops – XenDesktop Essentials. Unfortunately, there isn’t much documentation on the internet on this solution, so I’m happy to fill in that gap for the community!
But first something else…
Currently, rumors were going on EUC market. Firstly, everyone thought that the new Windows Server 2019 version didn’t have the Session Host – RDS role anymore. The role wasn’t available in one of the early preview builds, which increased the rumors even more. Last week, Microsoft confirmed that Server 2019 would have the Session Host role in place. Read the official article here.

So, this means that we still have the opportunity to provide Hosted Shared Desktops in the future, therefore in my opinion, Virtual Desktops, such as Windows 10 can have much better user experience, and applications aligns most of the time better upon a Desktop OS than on a Multi-User server OS.
The other rumor still goes that Microsoft will release a different version of Windows 10, which includes some kind of this all in the Desktop OS. So, let’s wait and see what the time will bring. Microsoft just released latest build 1803 – named under codename Redstone, more on this specific topic later on in the article.
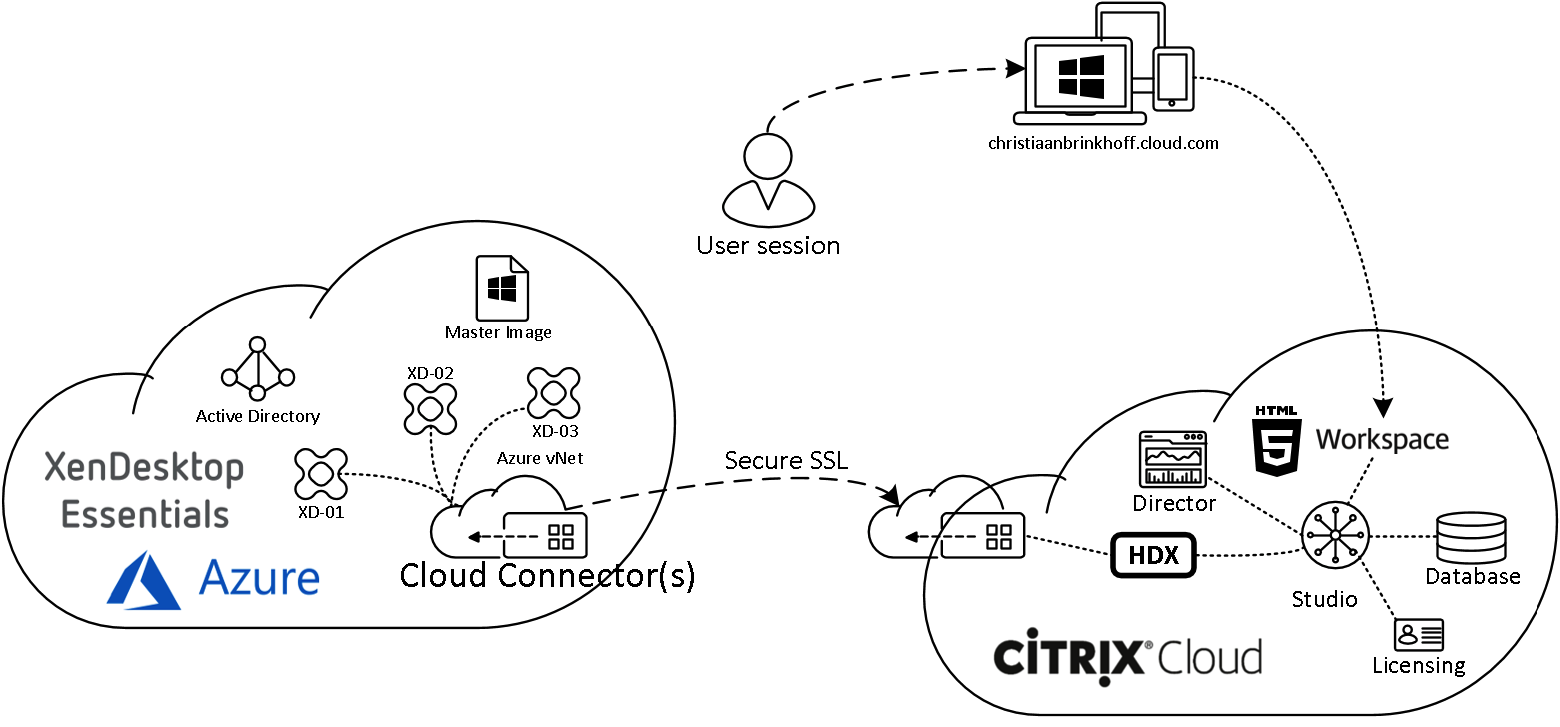
See below a technical explanation how all the pieces within Azure and Citrix Cloud come together…
In this article, I’ll show you how easy you can configure Windows 10 Virtual Desktop(s) in Microsoft Azure through XenDesktop Essentials – without the need to have an annual contract with Citrix. XenDesktop Essentials makes it possible to instantly deploy VDIs in Azure on monthly – OpEx based costs.
Enjoy reading!
Table of Contents
Click on the title to get forwarded in the article:
- Purchase the XenDesktop Essential Service in the Azure Marketplace
- Deploy the Citrix Cloud Connector(s) in Azure
- Deploy the Windows 10 Master image in Azure
- Install the latest VDA software
- Optimize the image with Citrix Optimizer
- Create the Azure Host Connection
- Create the Machine Catalog
- Configure the Delivery Groups
- NetScaler Gateway Service – XenDesktop Essentials configuration
- Customize the Citrix Workspace
- Access the Windows 10 Desktop through Citrix Workspace
- Extra: NetScaler Gateway Service – SSO to SaaS, web and VDI apps
More on Digital Workspaces in Azure?
This blog is part of a Citrix Cloud blog series about the different Citrix Cloud Digital Workspaces possibilities. Previous articles that I wrote around the Citrix Cloud, that you might find interesting to read as well:
- How to activate Azure AD Bring-Your-Own-Identity authentication for the Citrix Workspace Experience unified portal, including Conditional Access configuration
- How to configure Citrix Cloud – App Layering 4.8 to deliver virtualized apps and Office 365 caching – User Layers for XenApp and XenDesktop Service Cloud Workspaces in Microsoft Azure
- How to configure the Citrix Cloud XenApp and XenDesktop Service using Azure Managed Disks and Citrix Optimizer
- How to configure Citrix XenApp Essentials in Microsoft Azure, including Azure Active Directory authentication to Citrix Cloud
- How to use Citrix Smart Tools – Smart Scale to reduce your XenApp and XenDesktop on Azure Cloud resource costs
- How to configure a Bring-your-Own NetScaler VPX in Azure for XenDesktop Essentials and XenApp and XenDesktop Service from the Citrix Cloud
- How to configure Azure Active Directory Domain Services for Citrix Cloud Workspaces with the lowest Total-Cost-of-Ownership in Azure Infrastructure-as-a-Service
Did you know?
- The default Windows 10 build version in Microsoft Azure is 1709?
- XenDesktop Essentials can now also be sold via Microsoft CSP channel(s).
- Windows 10 Professional is available from the Azure marketplace without the need for an Enterprise Agreement?
- For new customers (from December 2017), XenDesktop Essentials includes a workspace URL, usually in the format https://<yourcompanyname>.cloud.com. After you set up XenDesktop Essentials, test and share the workspace URL link with your subscribers to give them access to their desktops.
- Microsoft and Citrix take care of the underlying updates, so you don’t need to worry about maintaining and replacing servers.
- Citrix Workspace Experience is included in the Cloud license
- NetScaler Gateway Service for Remote Access to your XenDesktop Essentials workspace is standard included in the license.
- Two Factor Authentication (2FA) is now supported with NGaaS
- The Enlightened Data Transport Protocol is not supported, coming soon available!
- There is no need to buy RDS CALs for Windows 10 Desktop deployments – those are all included in the license.
- Use your own StoreFront and NetScaler with XenDesktop Essentials to provide a higher level of security and optimizations of StoreFront CSS / NetScaler themes?
- Citrix App Layering can increase huge management benefits to the VDA imagining and application virtualization process.
- User Layers can provide persistence of the complete C:\Users\Username profile location to non-persistent Windows 10 desktop pools. This can decrease the logon duration by more than 50% – to 10 seconds in total!
- Office 365 layers are a small piece of the User Layers, which make the Outlook Offline Cache folder (.OST location) persistent.
- User Layers can provide persistence of the complete C:\Users\Username profile location to non-persistent Windows 10 desktop pools. This can decrease the logon duration by more than 50% – to 10 seconds in total!
- One of the great new things that are now integrated into Windows 10 is the OneDrive (files) On-Demand functionality. Which makes it possible to only synchronize OneDrive repository files to your Virtual Desktop when needed. For instance, you’ll see the complete inventory of your OneDrive account on your Virtual Desktop, without the files allocated. Clicking on the file will instantly download the file and place it on Virtual Desktop.
- XenApp Essentials can also provide Desktops, instead of only Published Applications?
- Licensing on Azure works in much the same way as on-premises; you can even bring your own licenses if you are simply migrating from one virtual machine to another. Organizations with hybrid cloud scenarios in mind might also be able to save money using Azure Hybrid Benefits.
- Azure and Citrix Subscriptions – Citrix on Azure uses a per-user/per-year model as its subscription package. Depending on the size, location, and resource requirements of your Citrix estate, you’ll have several options to choose from including XenApp and XenDesktop (both hybrid solutions) or XenDesktop and XenApp Essentials (Azure-only packages).
- Shift from large-scale, one-off CapEx commitments to easier to manage OpEx expenditures. With XenDesktop Essentials, you also Pay what you use.
- Access workspace using Citrix Receiver for any of the desktop platforms (Windows, Mac, and Linux). Citrix Receiver for HTML5 and Citrix Receiver for Chrome are also supported.
- If you are using Azure Active Directory (AAD), do not make the registry change described in CTX225819. Making this change may cause session launch failures for AAD users.
- For Citrix known issues with Windows 10 version 1709, please see CTX229052.
Windows 10 – What’s new in Windows 10 1803 – now available
Microsoft just released the latest build release for Windows 10 this week. The version was available earlier through the insiders program with codename Redstone 4 and now also for everyone through Windows Updates. Unfortunately, the official release isn’t available yet from the Azure marketplace. Therefore I think that it won’t take long – the latest similar version will be the Fall Creators Update below
Note: Windows 10 1803 (former known as Redstone 4) – Citrix Desktop VDA Known Issues list can be found here https://support.citrix.com/article/CTX231942
The new release holds a lot of great new features. Also, a lot security improvements because of the GPDR law which is coming this month.
- Office 365 Ransomware Detection
- Windows Hello for Business
- Windows 10 Subscription Activation
- Windows Update for Business (WUfB)
- Windows Autopilot
- Windows 10 in S mode
- Windows 10 kiosk and Kiosk Browser
- Windows Defender Exploit Guard
- Windows Defender ATP
- Windows Defender Application Guard
- Windows Defender Device Guard
Source: https://docs.microsoft.com/en-us/windows/whats-new/whats-new-windows-10-version-1803
Windows 10 – End of support list
There is no denying that Windows 10 is dominating. Never before was a Desktop Operating System that popular. Even after Microsoft announced their change in release strategy to WaaS – Windows-As-a-Service. This change in release management changes the way how we upgrade our Virtual Desktop environments in the past. Using Windows updates can change the complete build, and asks for a whole different approach to upgrading our VDI’s, for instance, the profile version can change in version, which asks for a complete rebuild.
Goodbye versions and hello services. Innovation has become faster, and users expect new features quicker.
Many customers have made significant progress in moving to Windows as a service, but aren’t aware of the EOS – EOL dates. The following table will help you understand more.
Note: If this release management goes to fast for your company, then you’ll need to use the new LTSB versions. LTSB stands for Long Term Service Branch. See the following Microsoft article to get to know more about this..

Windows 10 – Citrix VDA support list
See the table (Last Modified: 02 May 2018) below for all the supported Citrix VDA versions. Currently, only the configuration of the VDA is supported… I’ve tested 1803 with VDA agent version 7.17 in my lab and had no problems detected so far, but know that it’s officially not supported.
See the official article here: https://support.citrix.com/article/CTX224843

Citrix Cloud Connector design considerations
Some of the most important things to consider when u deploy a Citrix Cloud solutions are:
- Deploy minimum two Cloud Connectors per resource location.
- Always place them in an Availability Set including a minimum of 2 Fault and Update domains.
- Consider using Availability Zones in Microsoft Azure to increase the availability and uptime of your Citrix Cloud environment.
- VDAs must be able to communicate with Cloud Connectors for registration and brokering.
Are you going to Citrix Synergy next week and want to know more in-depth information on this specific topic – Best Practices, just to get more confident on deploying Citrix in the Cloud? Please join me, and George Kuruvilla on our session. The Citrix Synergy session you don’t want to miss — SYN105, held Wednesday, May 9, 10:30 a.m. – 11:15 a.m. ACC, Level 3, Ballroom B. Do I see you there?
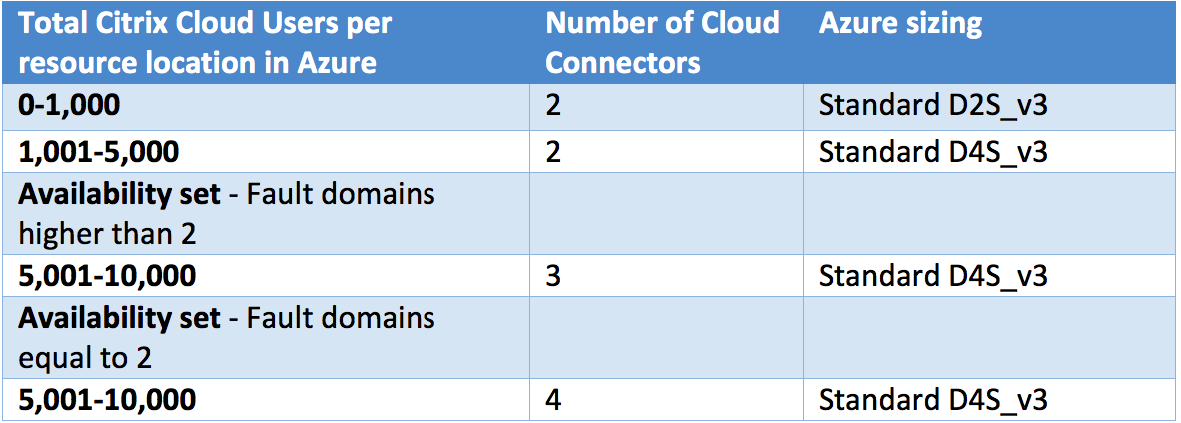
Note: This table includes numbers without Local Host Cache (LHC) activated, which means more resource consumption…
Citrix Cloud Workspaces comparison sheet
I shared this sheet in one of my earlier blogs. This sheet is very comprehensive to make a right decision on features in an on-premises version of Citrix XenApp and XenDesktop or the Citrix Cloud, such as XenDesktop Essentials.
In my opinion, XenDesktop Essentials will do fine for business from 25 up to 500 concurrent (CCU) users. If you exceed this number, you’ll go into the “Enterprise” class, and then XenDesktop (or XenApp and XenDesktop) Service will do better.
See the complete sheet here: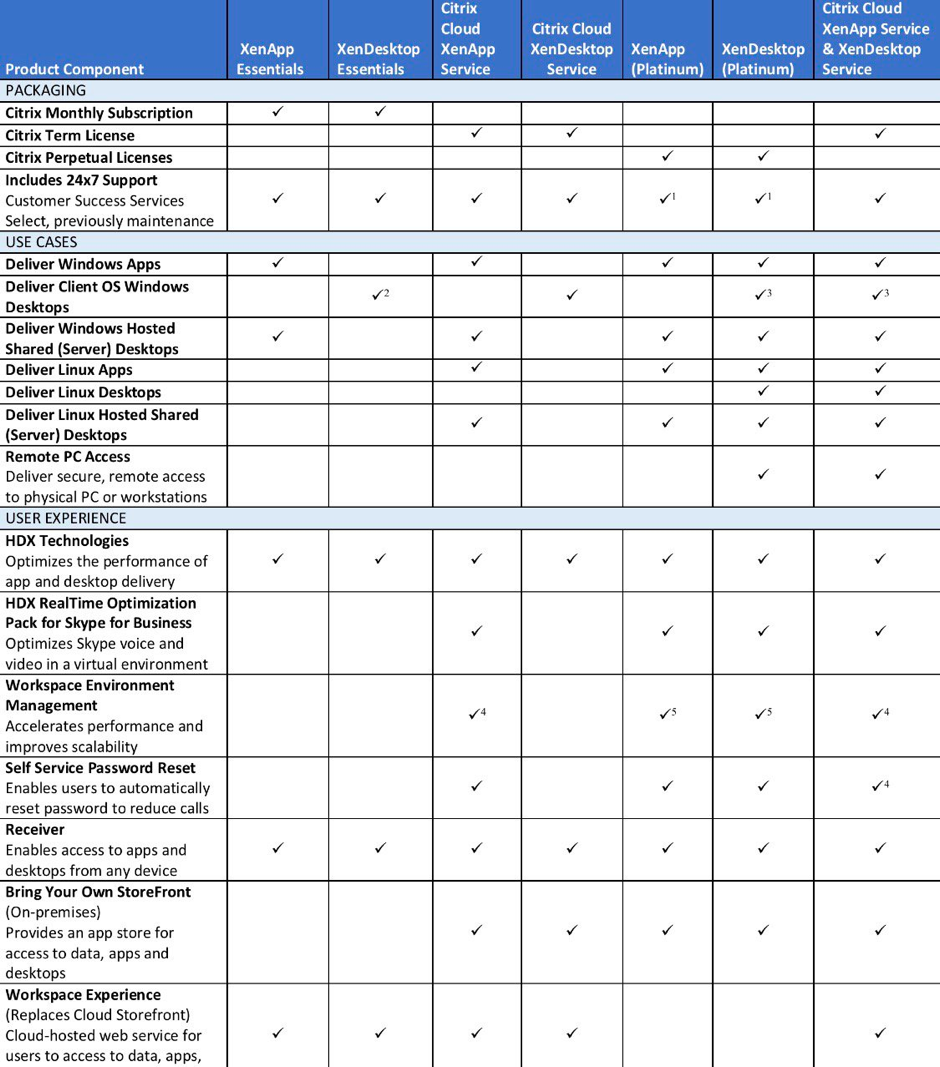
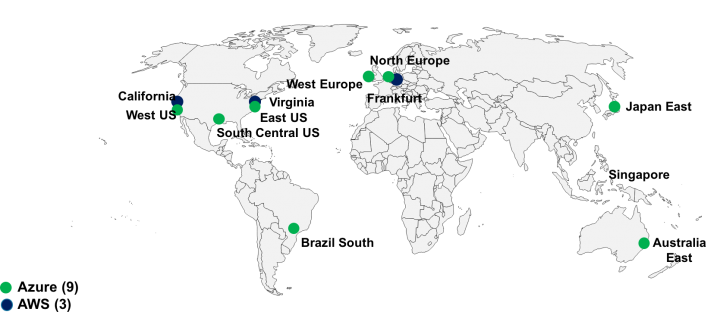
NetScaler Gateway Service
NetScaler Gateway Service, or also known as NGaaS is enabled by default when you use one of the different Citrix Cloud services. Using this solution ensures you the POP Presence functionality – which means that the entry point to your Citrix Cloud environment will start from one of the nearest locations of your endpoint/users around the globe. After this, it will create a high-speed and reliable connection with the lowest latency as possible.
Some of the other advantages of NGaaS are:
- Global POP presence
- ICA Proxy – Apps and desktops for XenApp and XenDesktop Service and Essentials
- 1 GB Data transfer (Included per user)
- Two Factor Authentication (2FA) with Azure MFA
- Simplified setup
- Session reliability
- Optimal end-user traffic routing
Note: NGaas is supported for AWS datacenters.
Purchase the XenDesktop Essential Service in the Marketplace
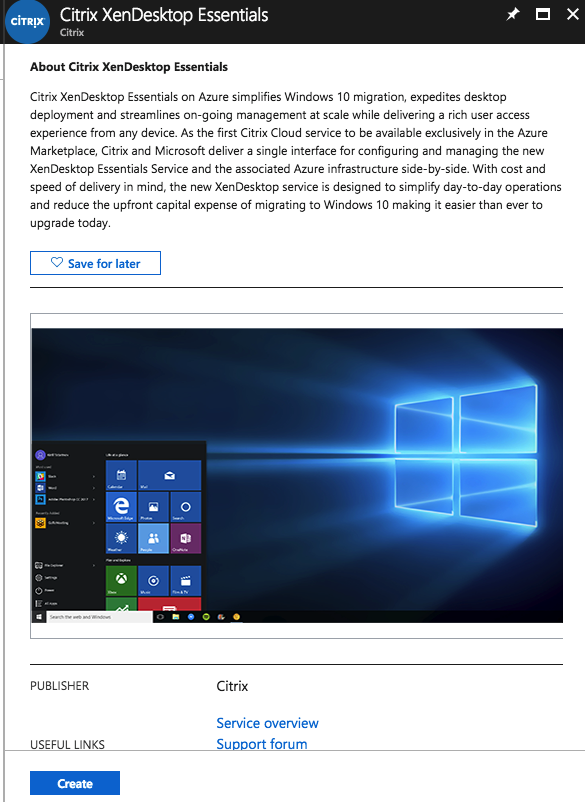
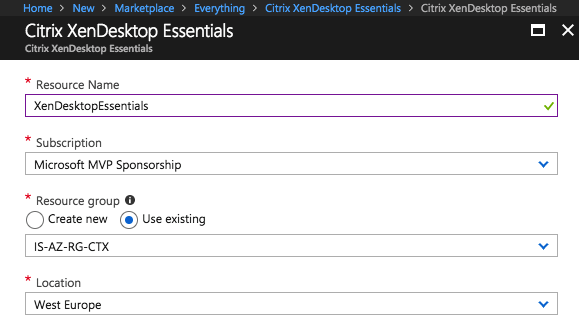
Go to the Azure Marketplace and search for XenDesktop Essentials
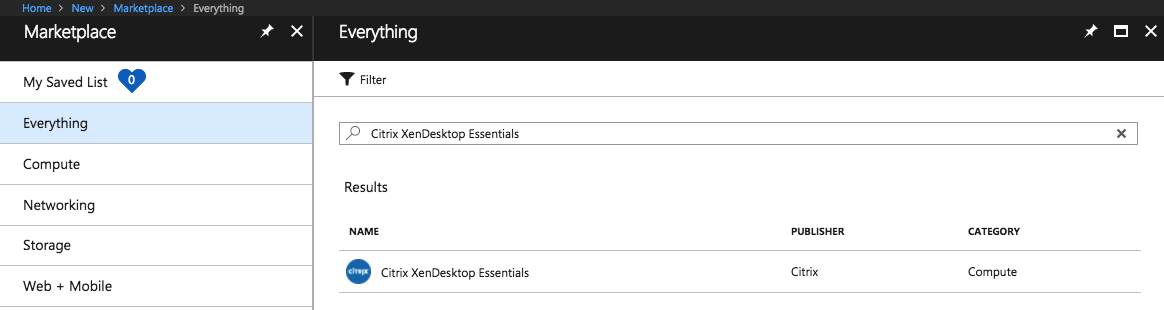
Click on Create
Give in the required information
(The resource name can be random.)
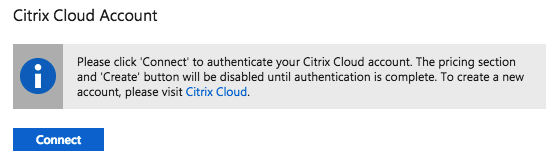
Connect to the Citrix Cloud
Note: You’ll need a Citrix Cloud account to proceed this step. To create a new account, please visit Citrix Cloud and enter the requested information.
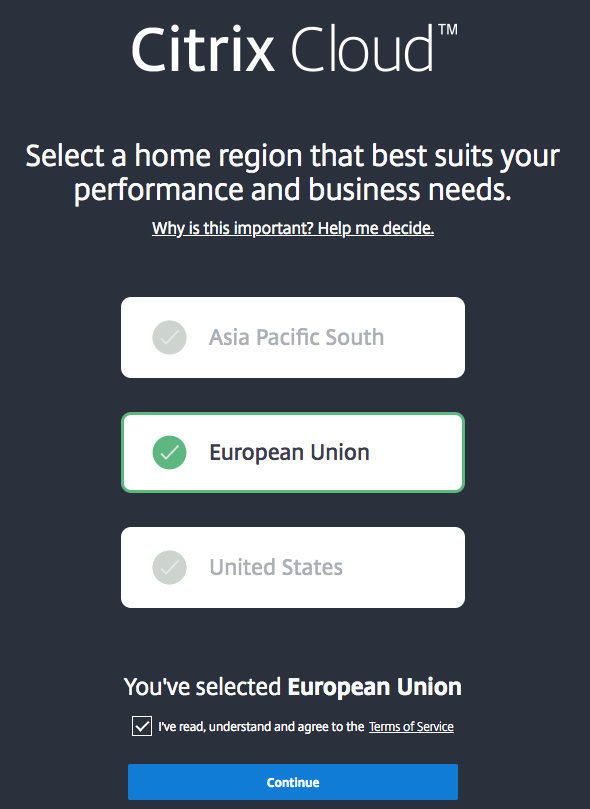
If you create a new account – please create a location to place your resources in.
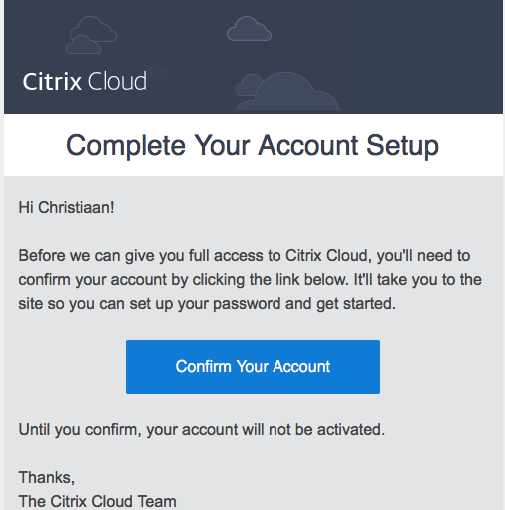
Confirm the account through the email – confirm the password
Click on the Connect button

Enter in credentials of your Citrix Cloud account
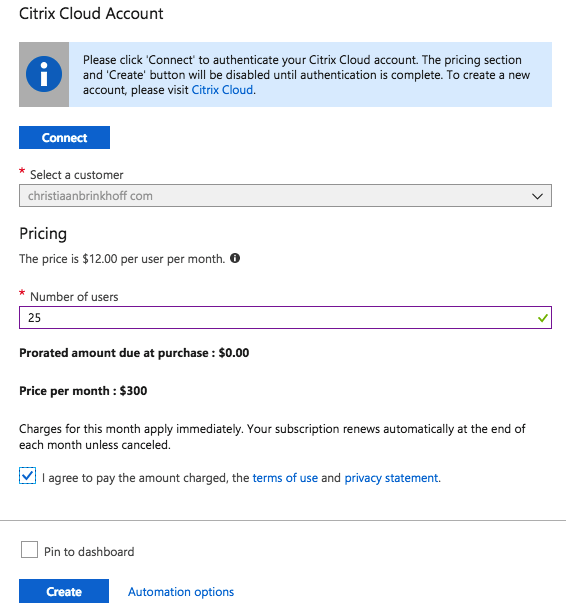
Make sure that the new Citrix Cloud account is listed in the – * Number of users section – change the amount of users for your business (25 is the minimum value) and check the box next to – I Agree to pay…
Click on Create
Deployment is started.
This process can take up to a max. of 1 hour to complete…

The next step will perform the Citrix Cloud Connectors installation.
Deploy the Citrix Cloud Connector(s) in Azure
Before we start with the installation of the Citrix Cloud Connectors, we need to deploy 1 or 2 (recommended) basic VM’s in Microsoft Azure. Join them to your Active Directory domain and proceed the next step on those specific machines…
Note: There is no need for SSD premium storage for this type of machine. Select them wisely by using the Design considerations table in the beginning of this blog. I’ll use the sizing below.
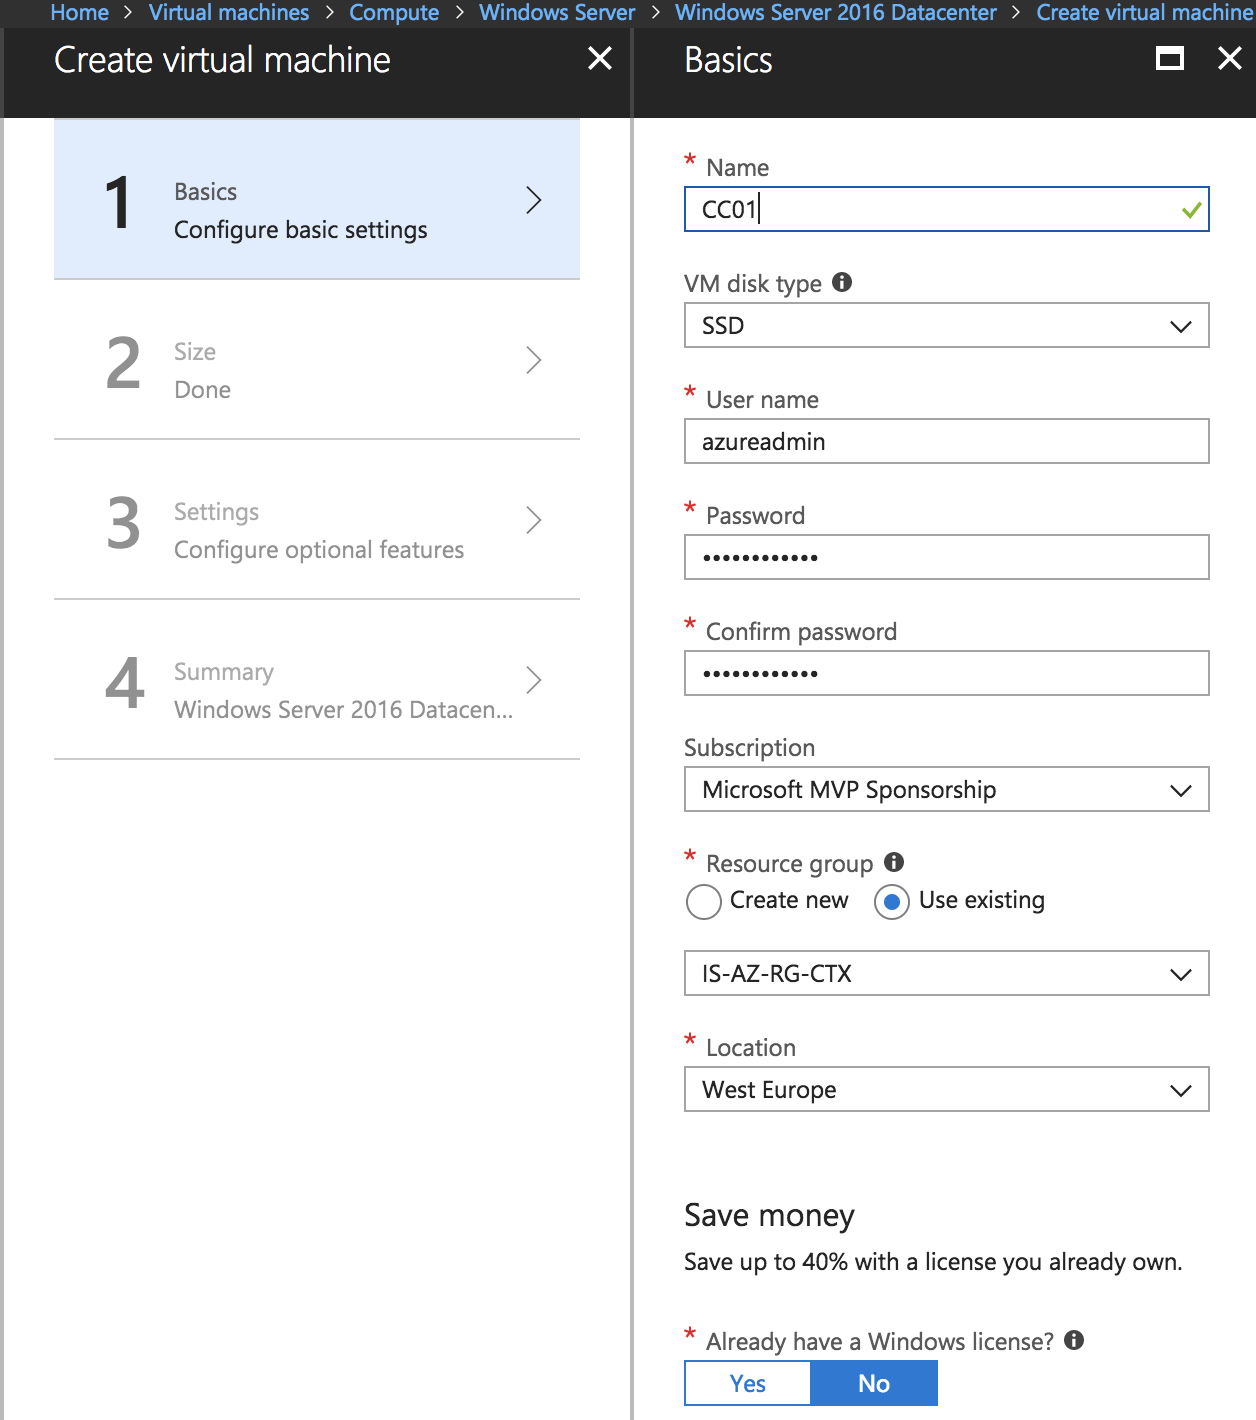
Enter the required information
Select a VM Sizing
(I prefer the D2S_V3 as mentioned at the beginning of the article – design considerations)
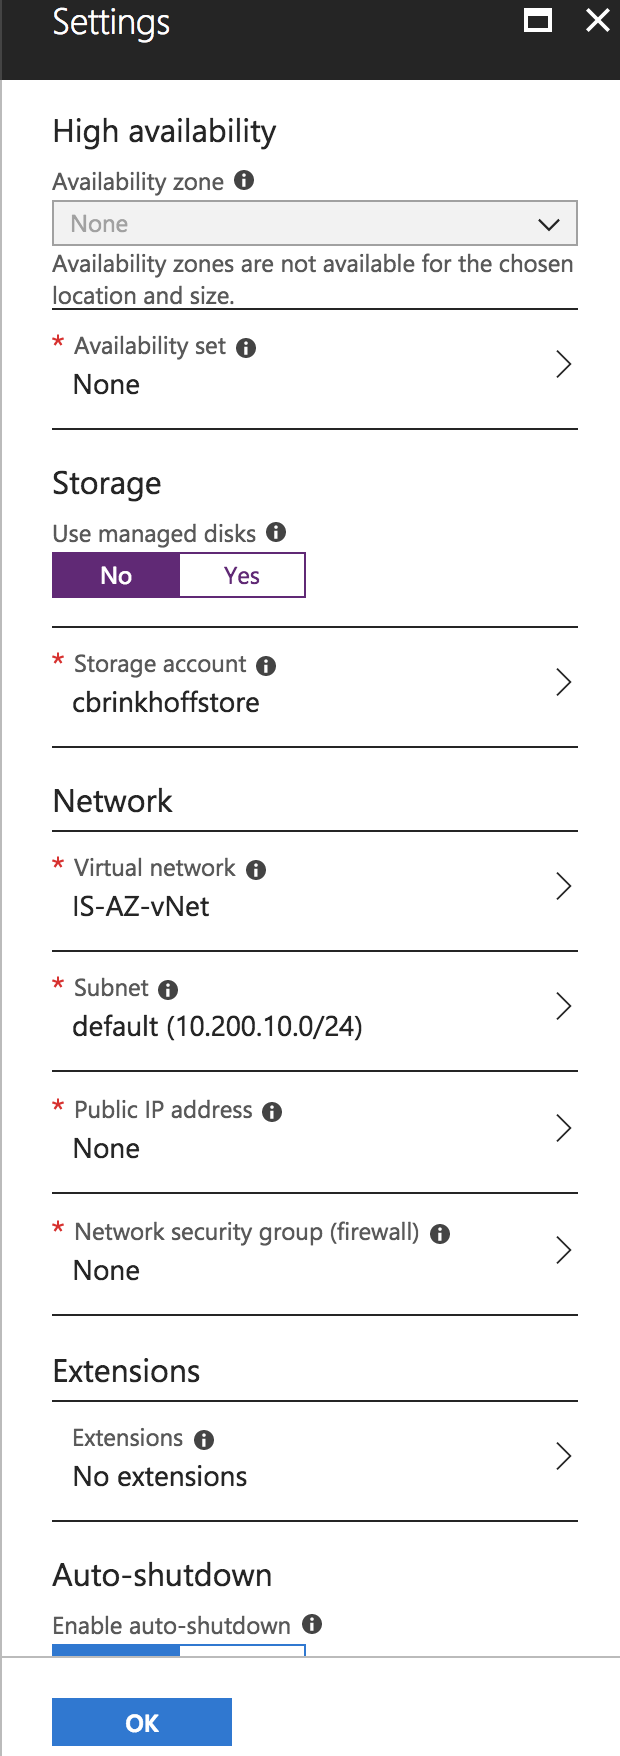
Enter the required information
Note: Make sure to place (when u install 2) the Citrix Cloud servers in the same Availability Set.
Extra note: Azure also supports Availability Zones, which makes it possible to place different Citrix Cloud Connectors in another independent datacentre within the same region. This avoids outages on the complete datacenter level. Please check one of my previous blogs if you want to know more about Availability Sets and Availability Zones!
Finish the deployment in Azure,
Setup an RDP connection to the VM and join the Citrix Cloud Servers to the domain
Go to the next step
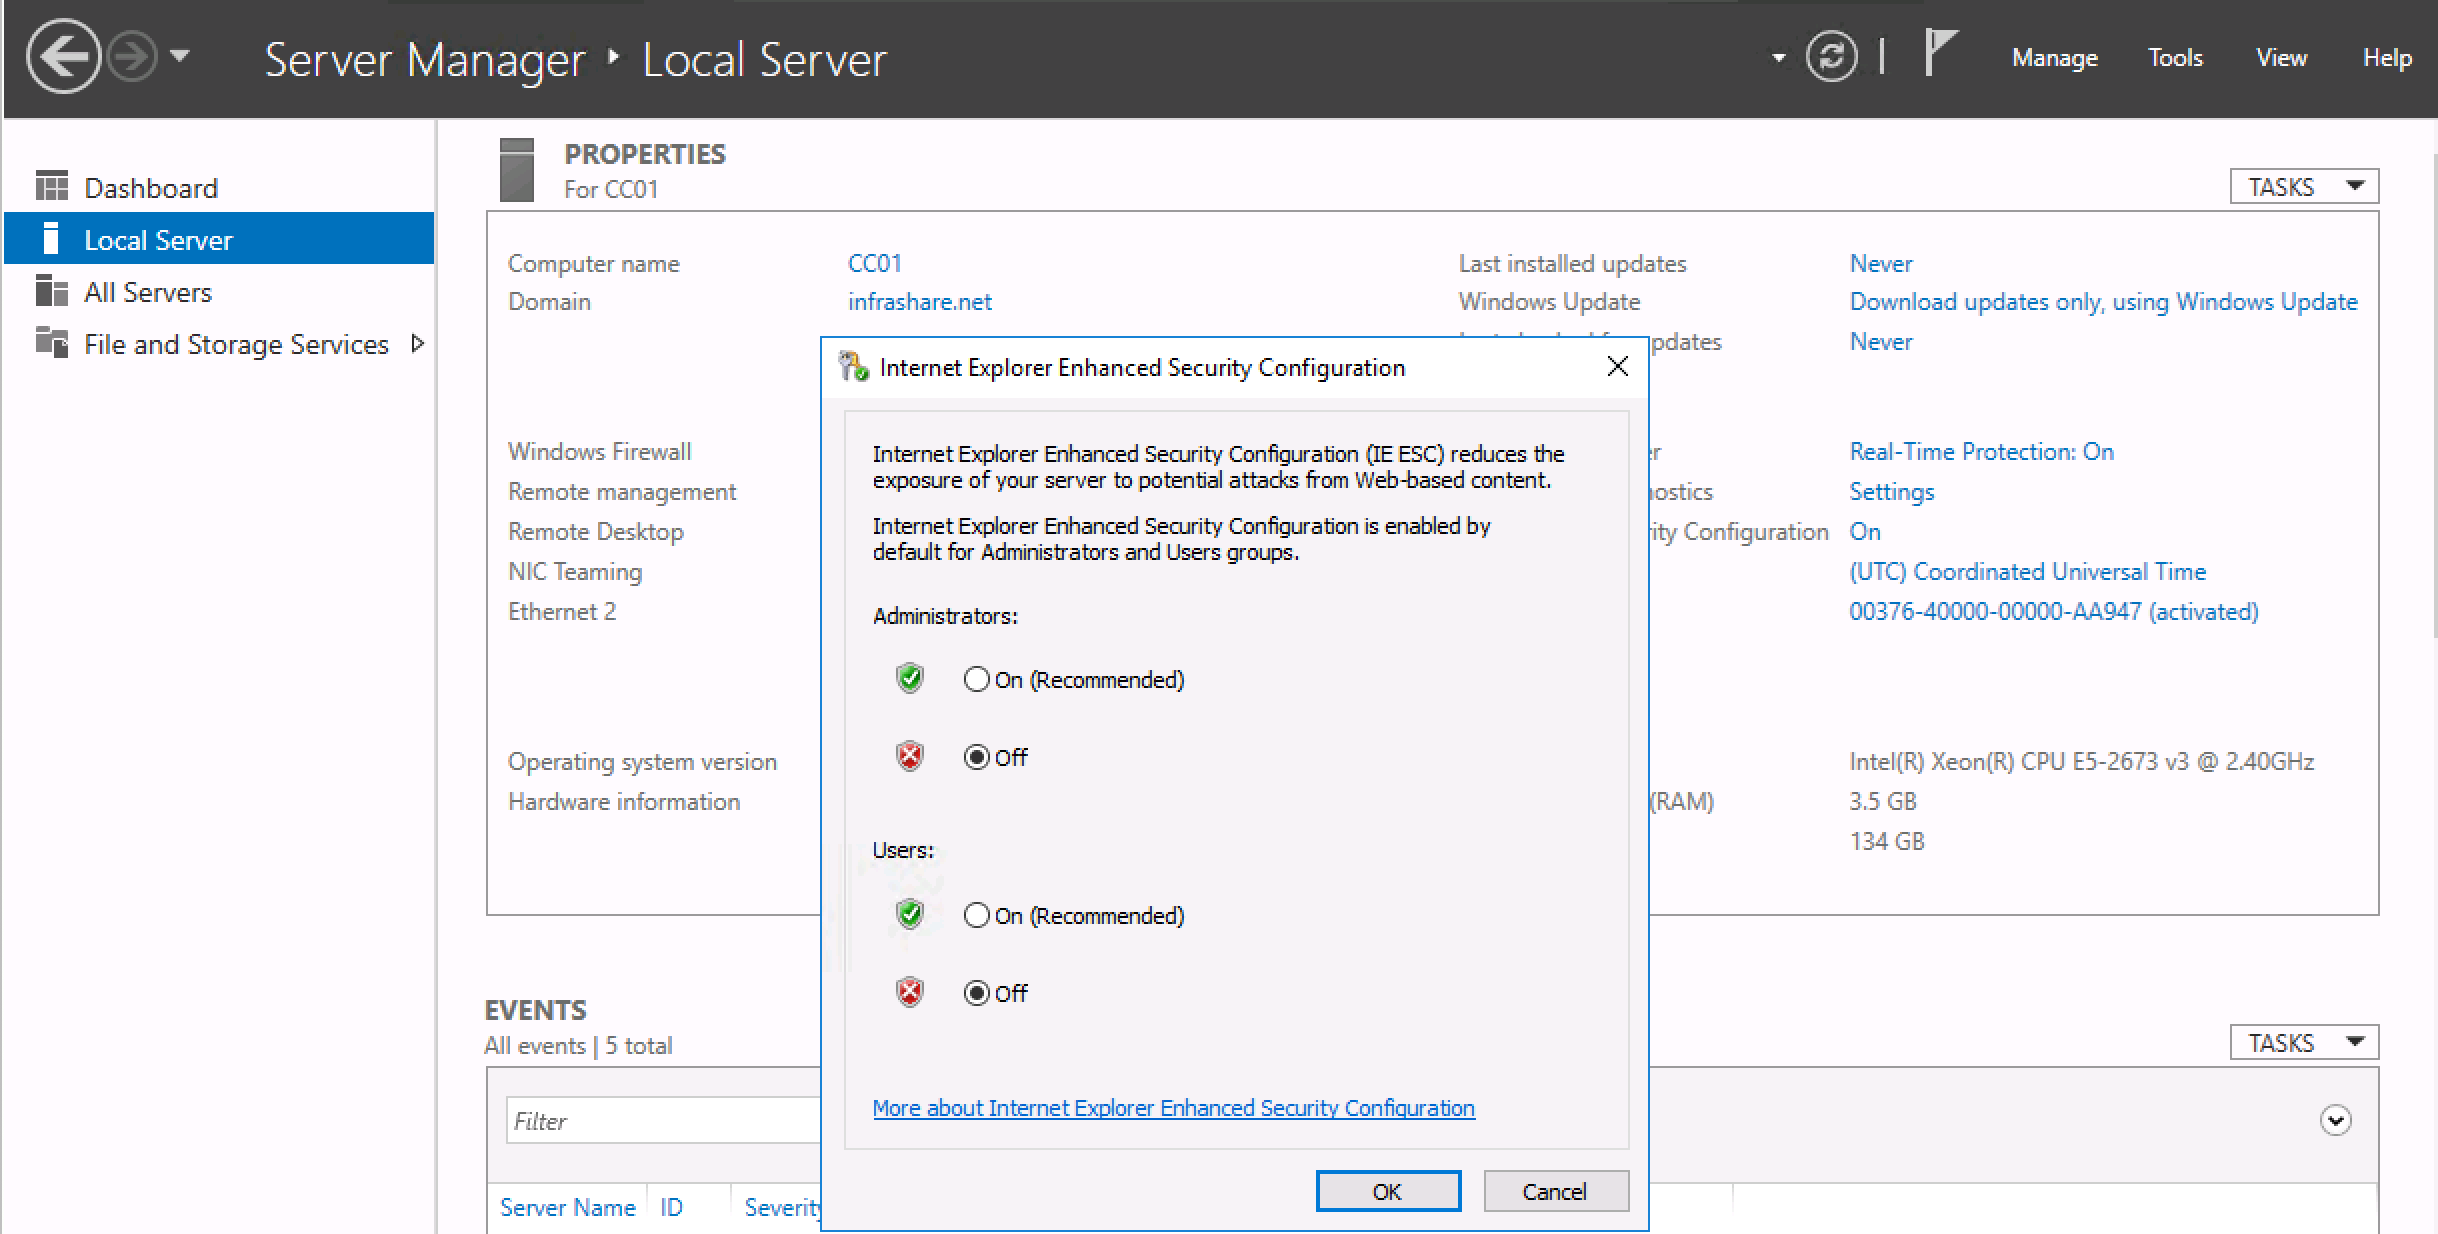
Note: Make sure to disable IE Enhanced Security Configuration before you start the cwconnector.exe installation

Go to citrix.cloud.com
Open the Resource Location option in the upper-left menu.

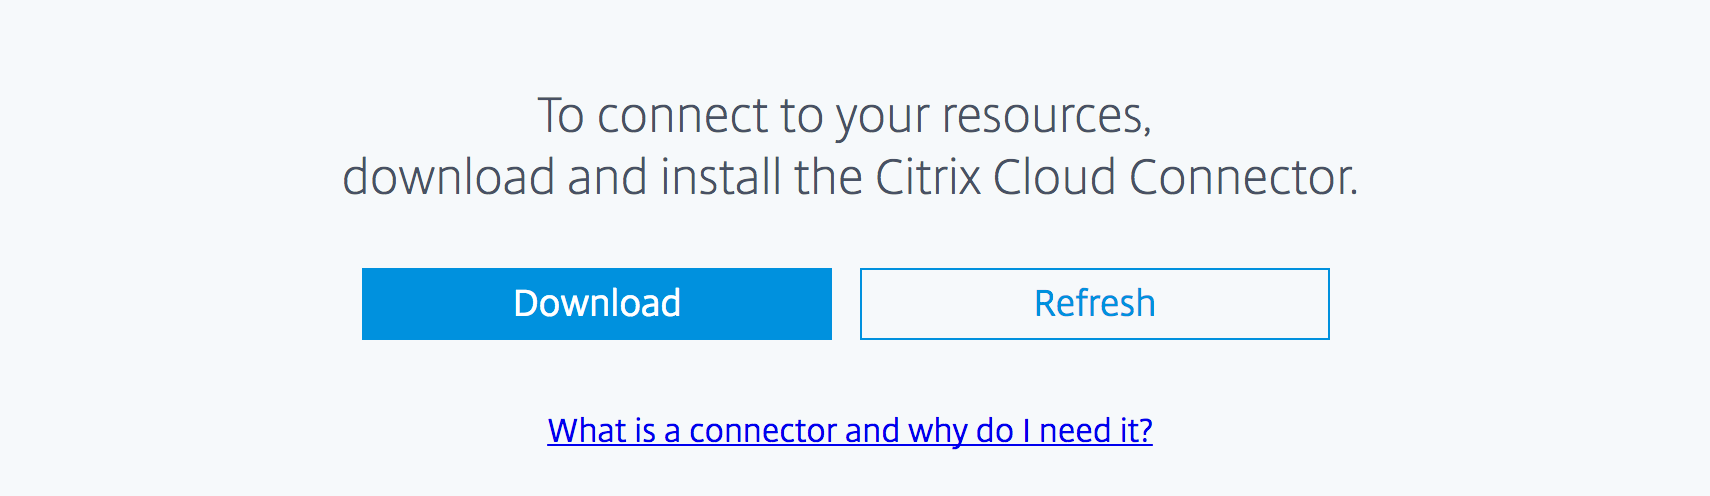
Click on download and save the file (cwcconnector.exe) somewhere on the Citrix Cloud servers in Azure, the installation needs (of course) to be run from inside that machine.
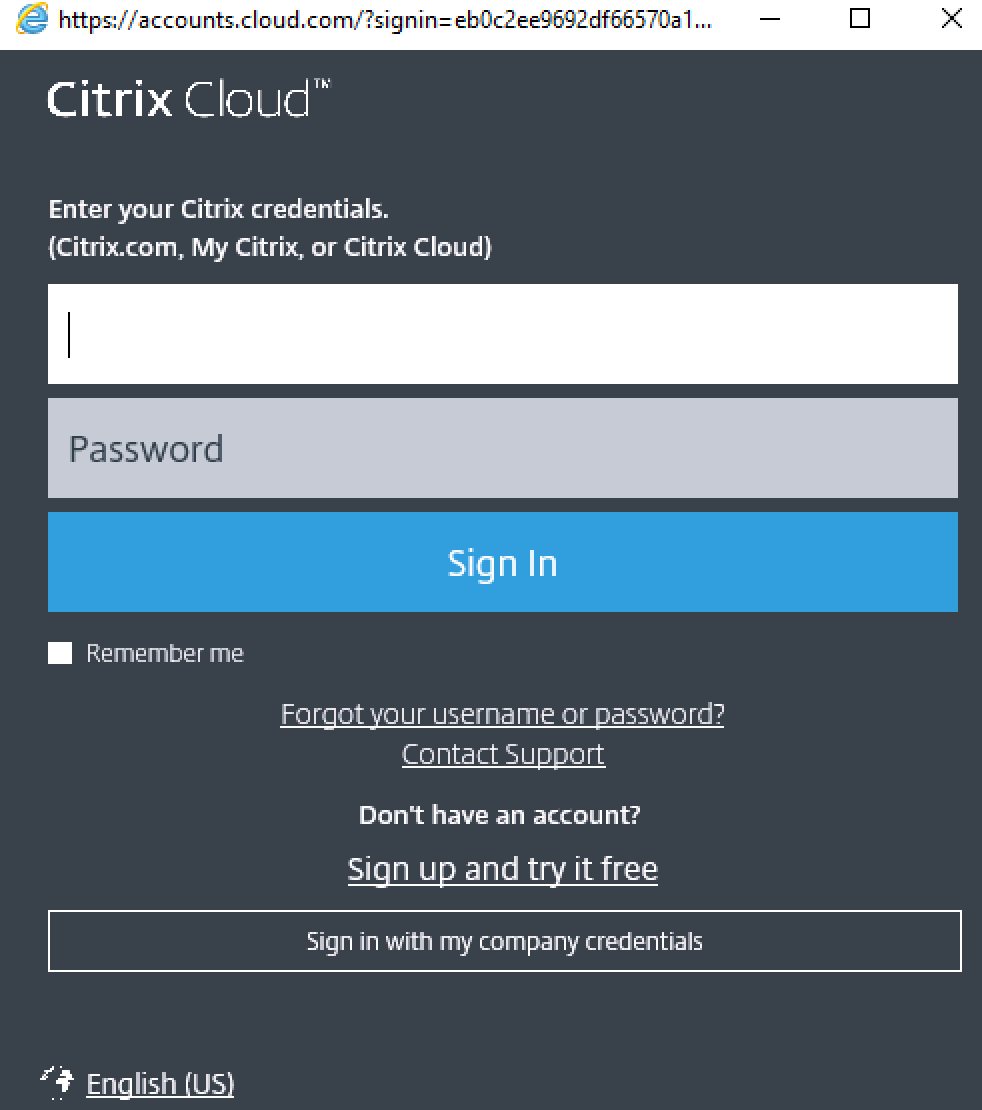
Install the Citrix Cloud Connector software on the specific Cloud Connector servers in Azure, first sign in with your Citrix Cloud Account.
Note: The Citrix Cloud Connectors need to have an internet connection.
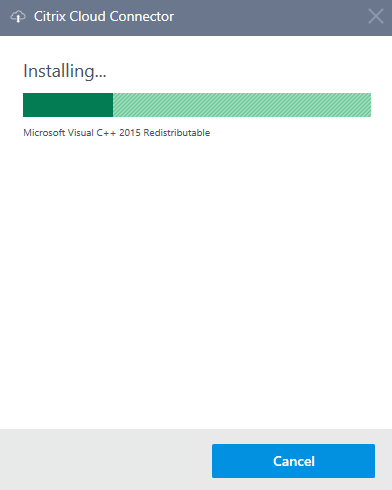
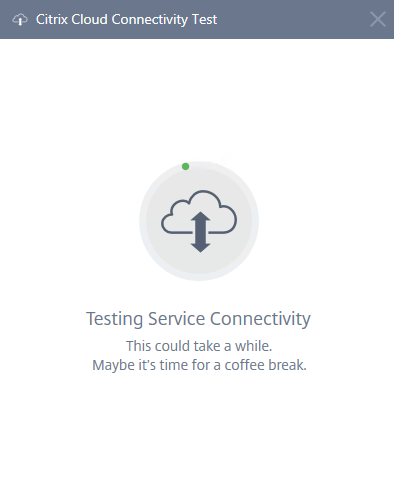
The installation process will start directly afterward…
Testing the Connection…
Note: Troubles with the connection? Please check out this troubleshoot article.
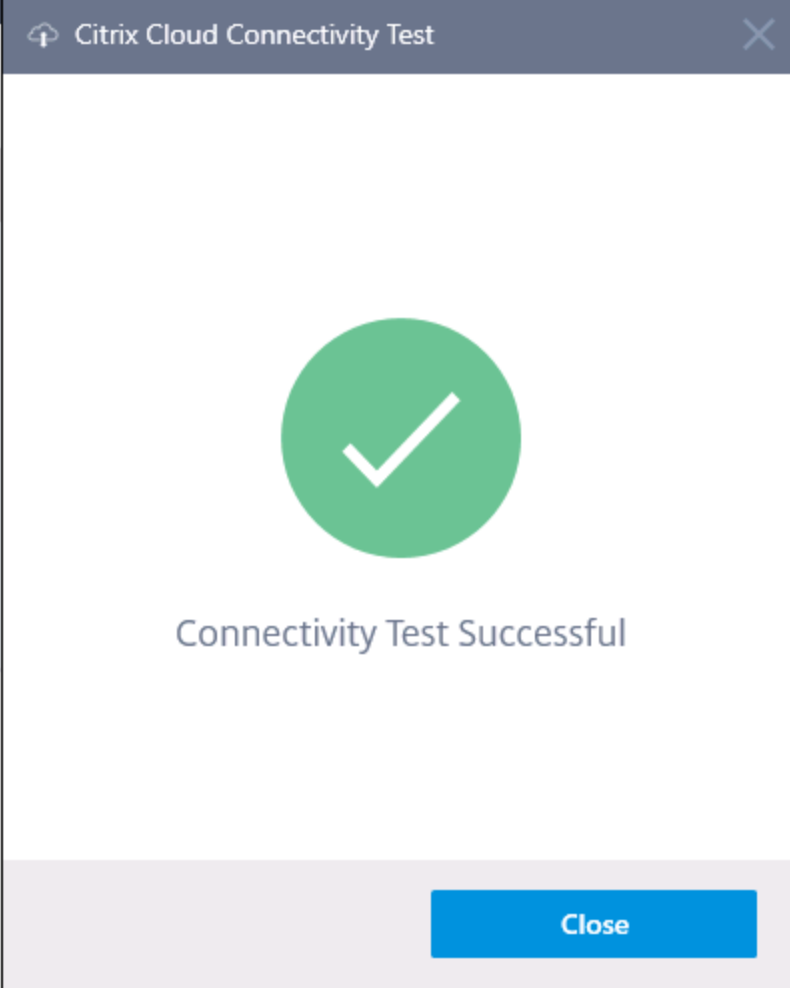
Connection successfully verified, click on Close
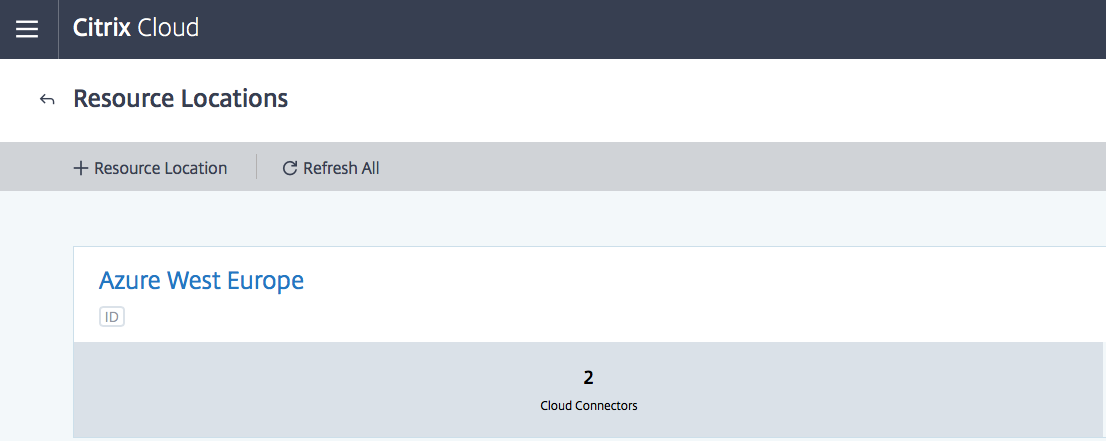
Click on Refresh All

The new resource location is now added to the list in the Resource Locations menu. Perform the same steps for the other Cloud Connectors.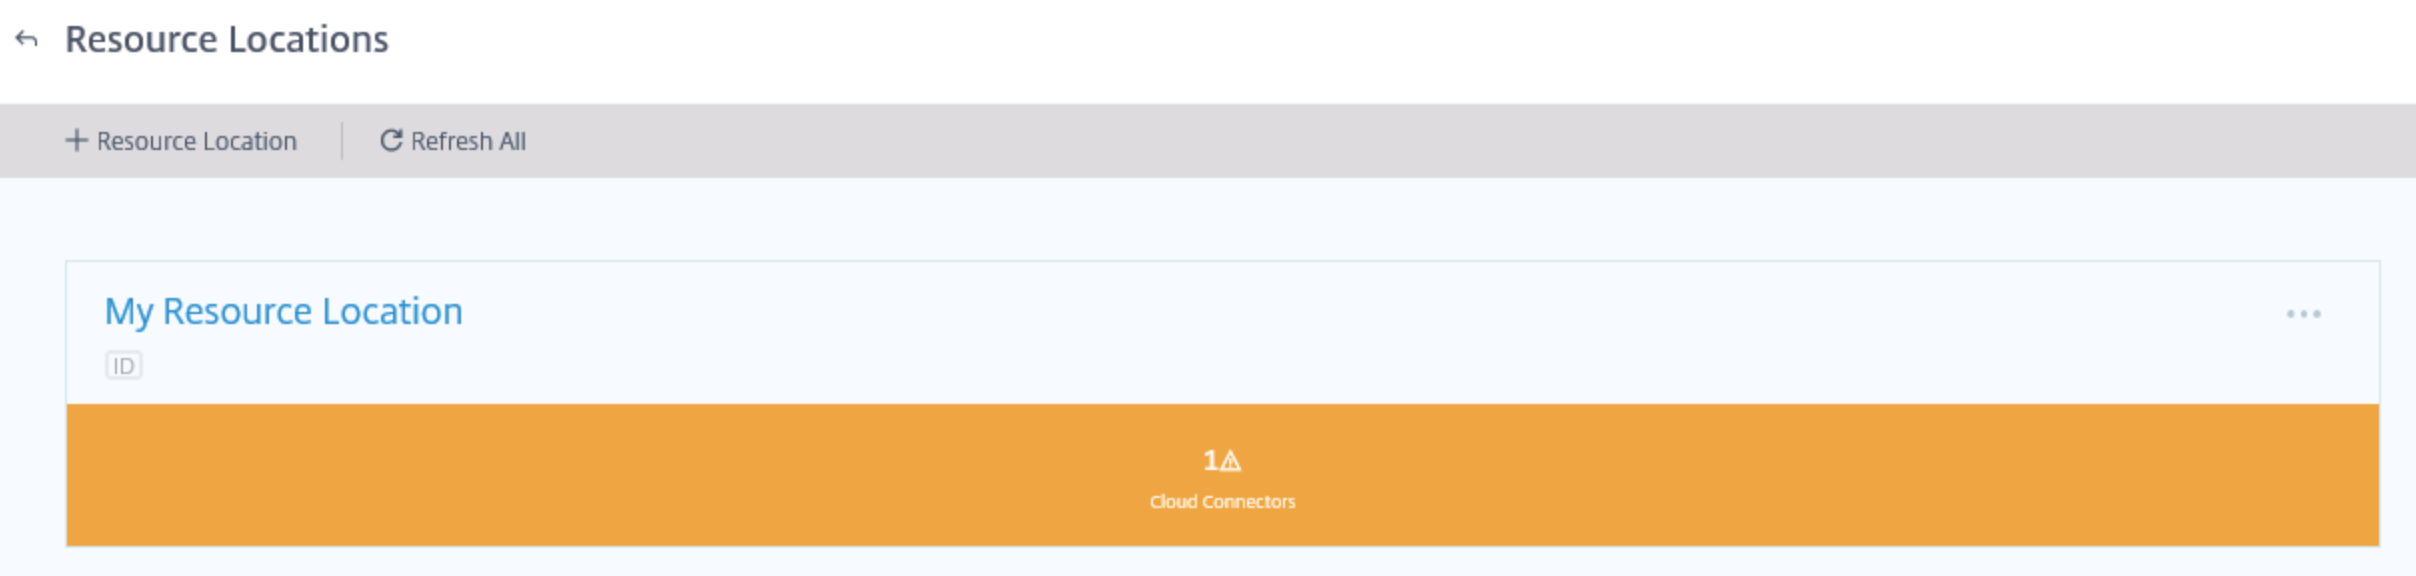
Note: The yellow/orange mark is active because there is only one Citrix Cloud Connector active. When you install another Citrix Cloud server in Azure, the warning will disappear. And remember: place them in the same Availability Set!
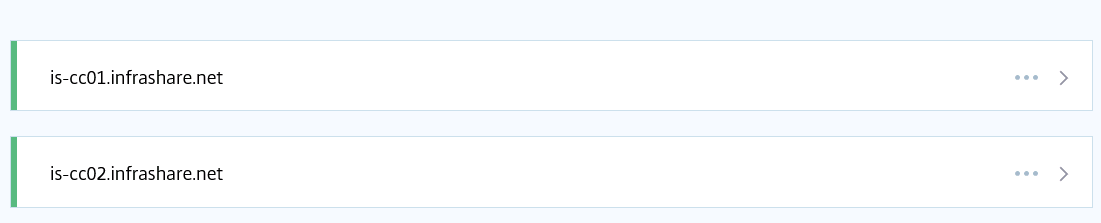
After the second; the warning will be gone.
Rename the resource location to Azure – DC location.

Save the new Resource Location name and check if it’s changed on the menu.
Deploy the Windows 10 Master image in Azure
Firstly, we need to deploy a Windows 10 Pro or Enterprise VM, which we’ll need to use as Master Image for our Machine Catalog(s) – MCS image management procedure within the Citrix Cloud.
Log in to the Azure portal and open the Marketplace.
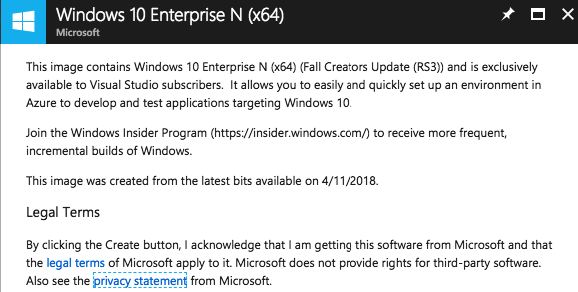
Click on the Windows 10 version which fits your business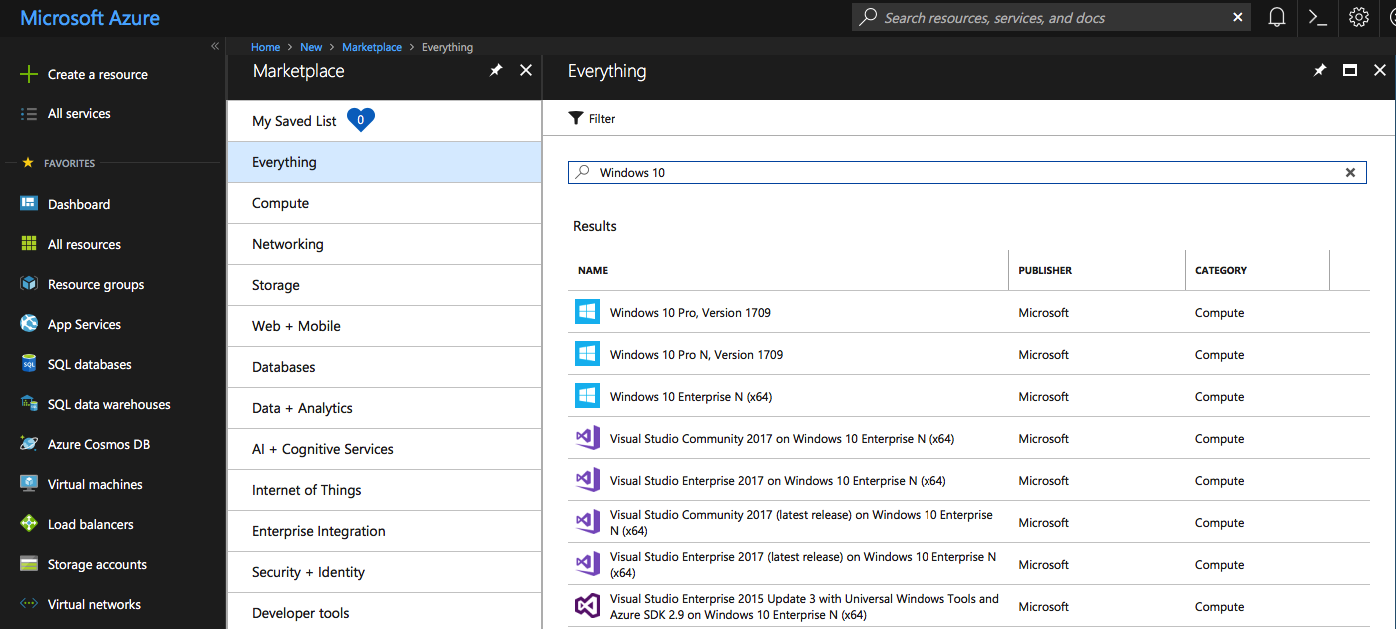
Click on Create

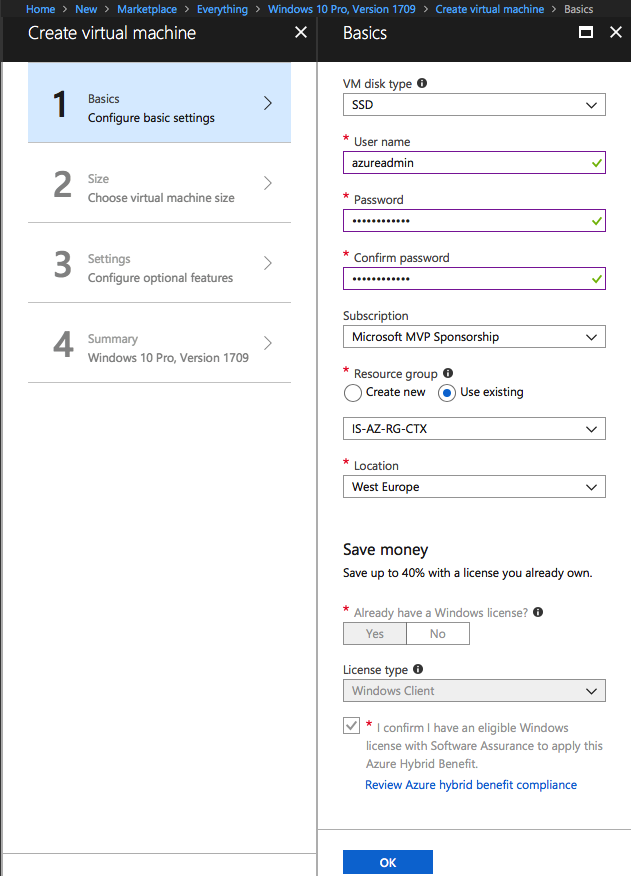
Give in the required information and Click on Ok
Note: Please make sure to select the Hybrid Use Benefit program if you have a Software Assurance for the OS. This will result in much lower resource consumption, the license costs that are normally included in the license will be gone.
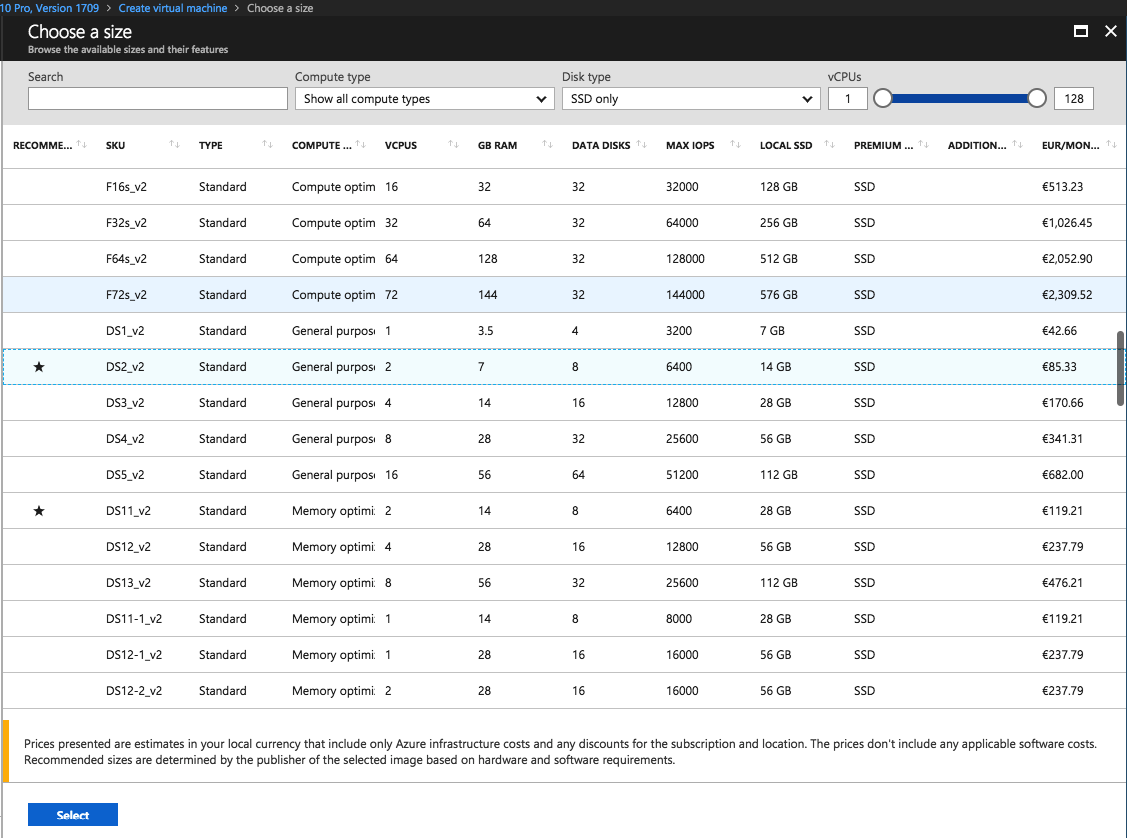
Select a proper sizing
(for the Master Image this wouldn’t be that of a problem, but when we start deploying machines within the Citrix Cloud, this will be used a default. And yes, it can be changed afterward.)
Note: You’ll see that the sizing dashboard is changed – this is a huge improvement on the previous one! Good job Microsoft!
Give in the requirements.
Note: Make sure to activate Azure Managed Disks for higher IOPS and dynamically expandable disks. Also, the Machine Catalog update maintenance tasks will increase up to 50% in speed! We also need to activate this option later on – during the Machine Catalog configuration!

Click on Create
Setup an RDP to the Windows 10 VM in Azure
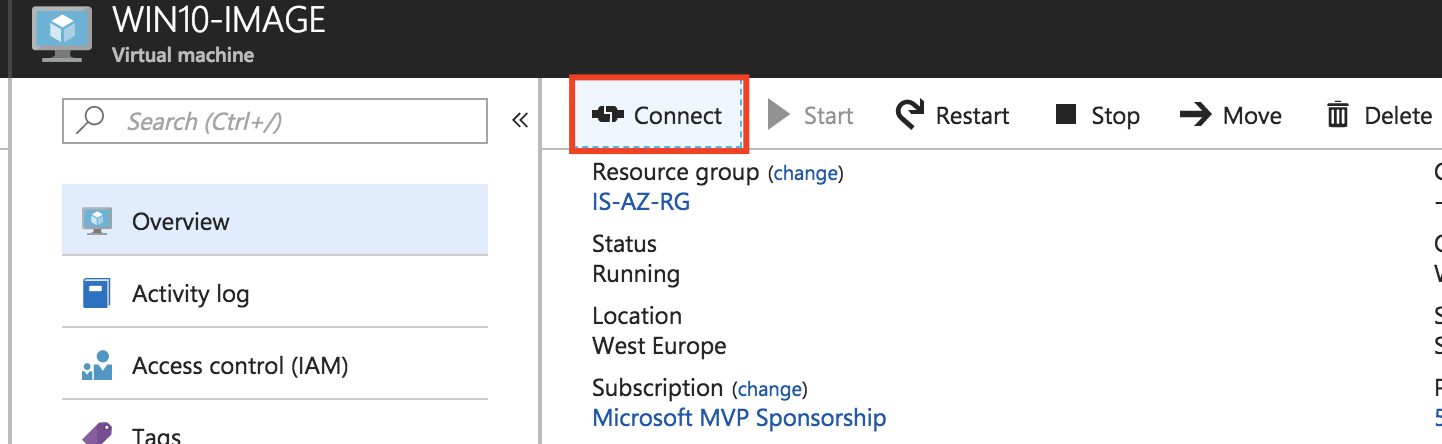
Note: If you have no IPsec VPN or ExpressRoute, please assign a Public IP to the network card to provide external access on port 389 for Remote Desktop. RDP is enabled by default in Azure!
Join the Windows 10 Master image to your domain
Reboot the machine
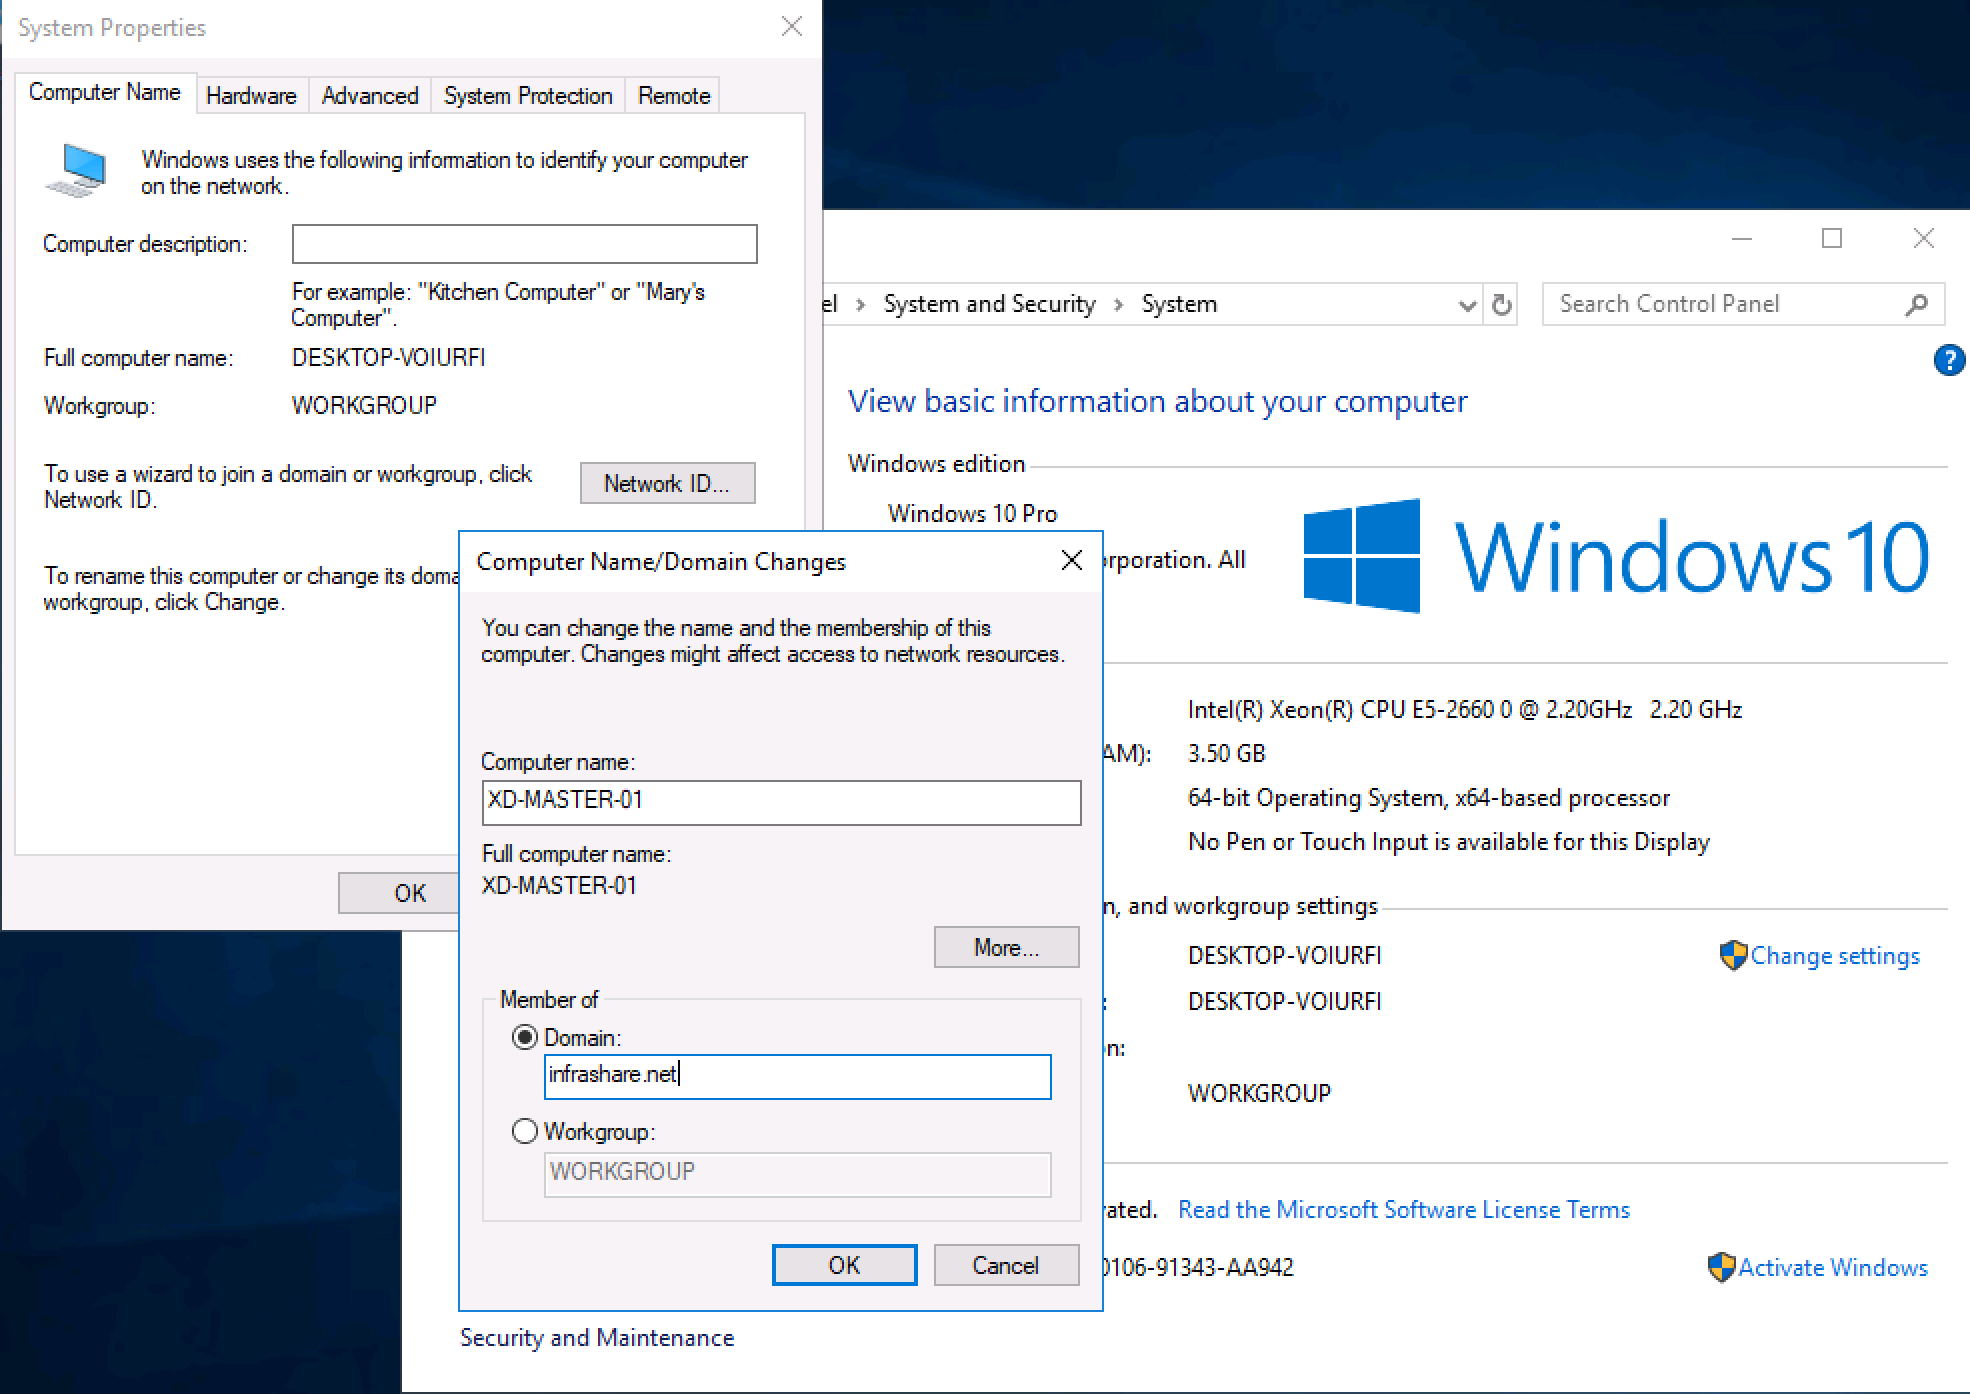
Log in with your administrator/domain credentials to the VM
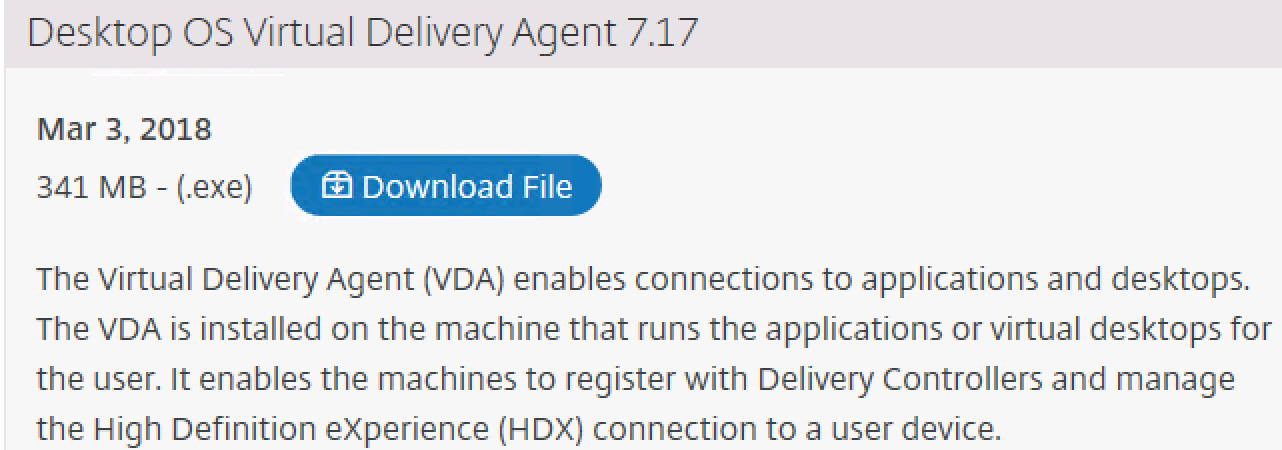
Install the latest VDA software
Download the latest Citrix XenApp and XenDesktop VDA software through the URL below.
https://www.citrix.nl/downloads/citrix-cloud/product-software/xenapp-and-xendesktop-service.html
Or directly from the Citrix Cloud portal – under the menu option Downloads

Choose from – Create a Master Image – Click on Next

Click Next
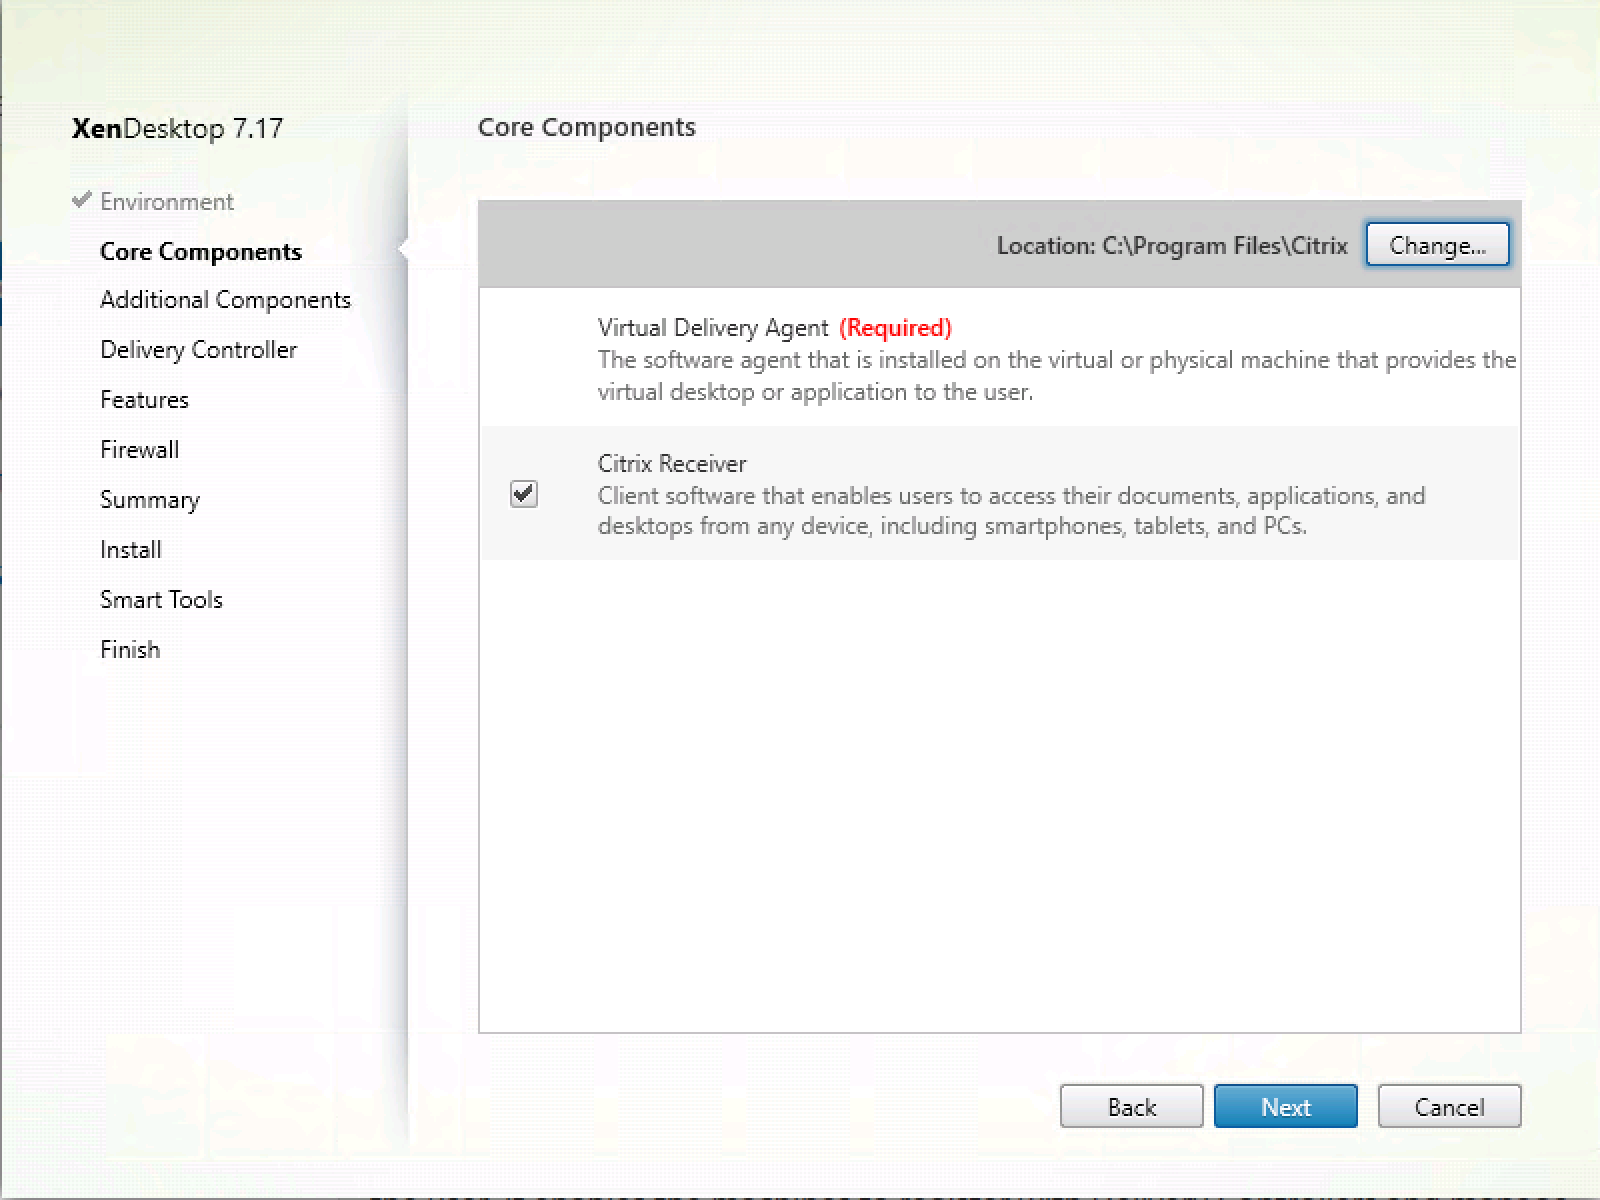
Select the services that you want to use / integrate, Click on Next
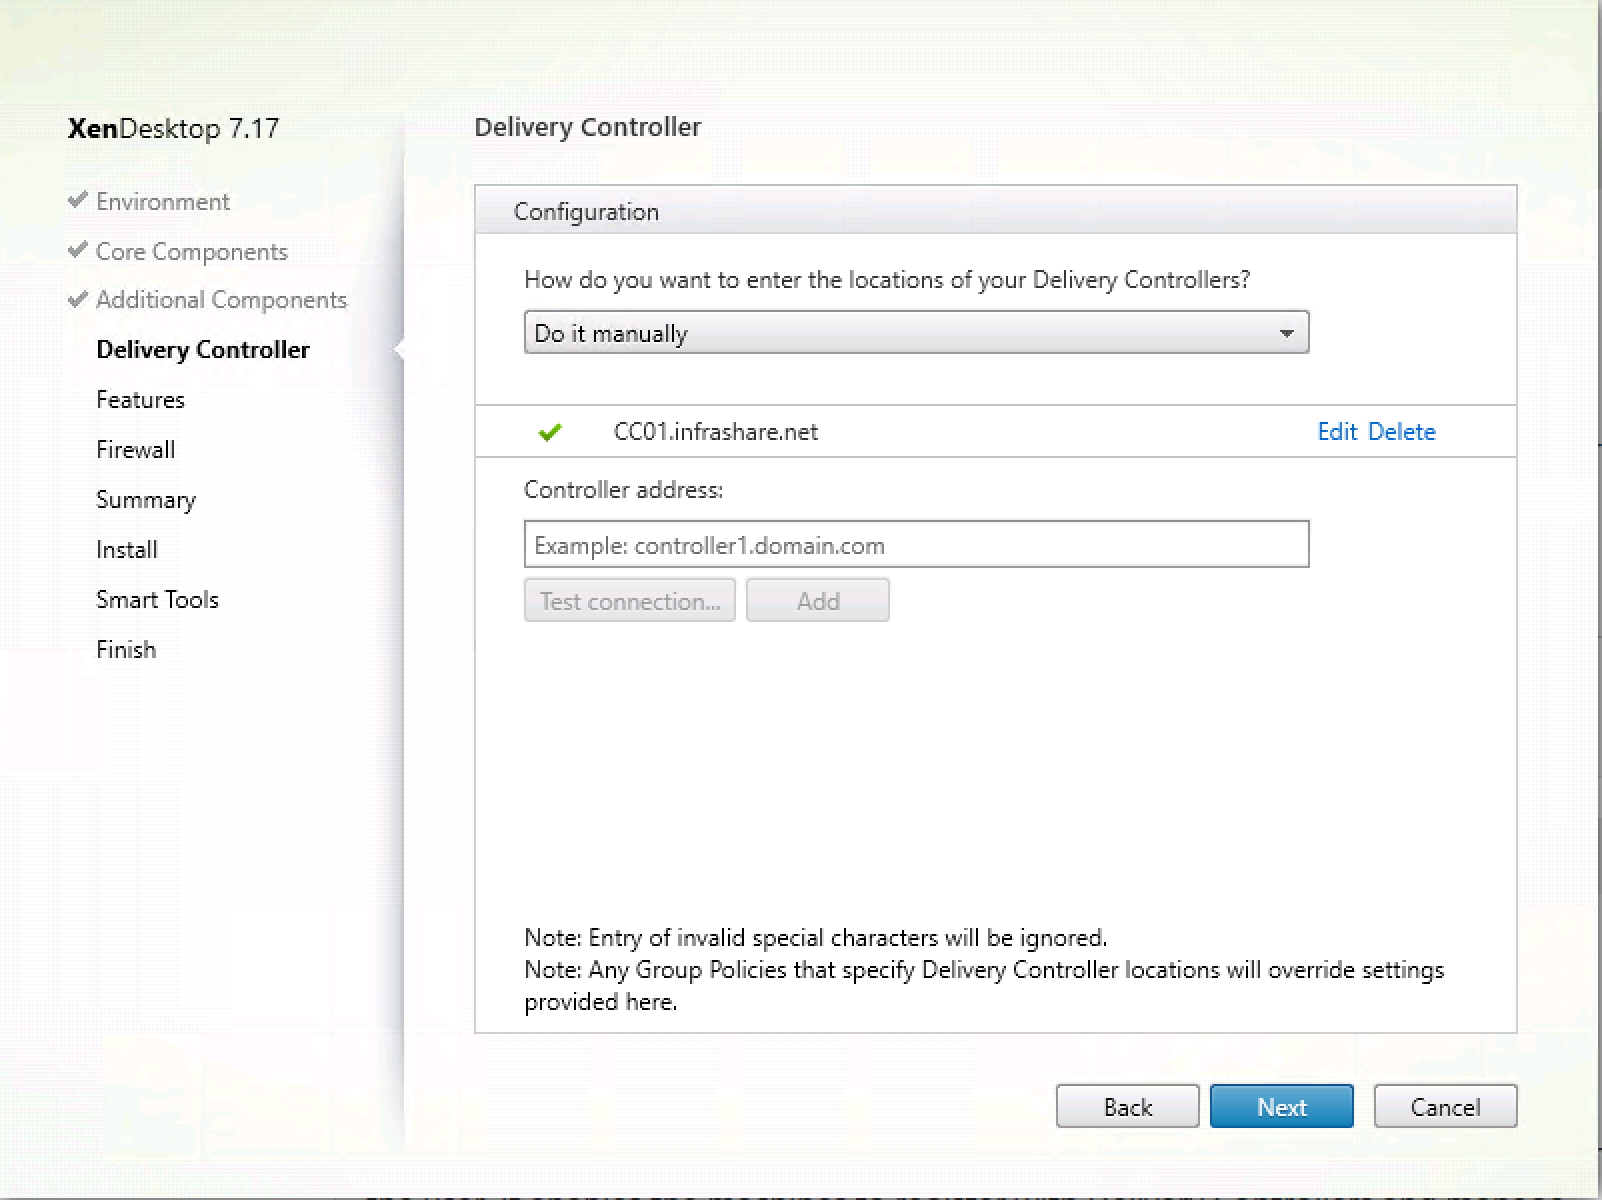
Enter in the FQDN of the Citrix Cloud Connector(s), Click Next
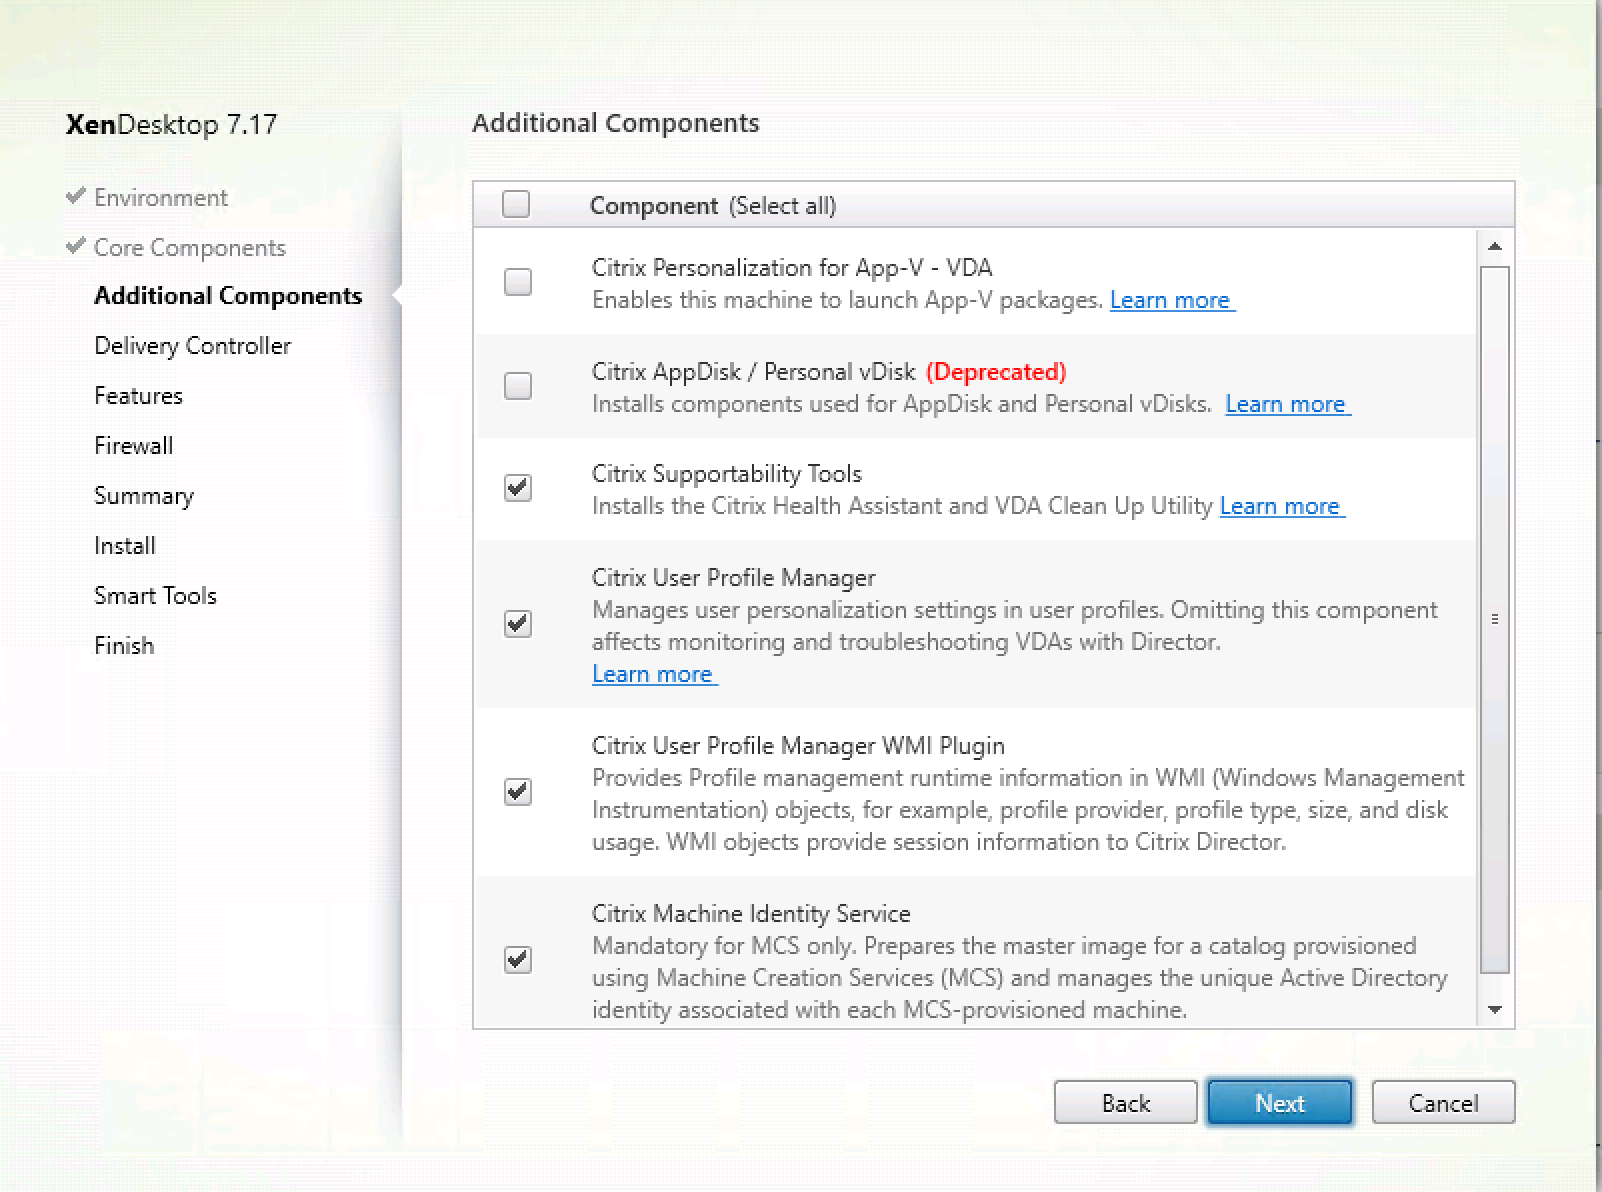
Select the features you want to use
Note: Optimize Performance will have some overlap with the Citrix Optimizer steps later on. For that reason – I’d deselect the feature.
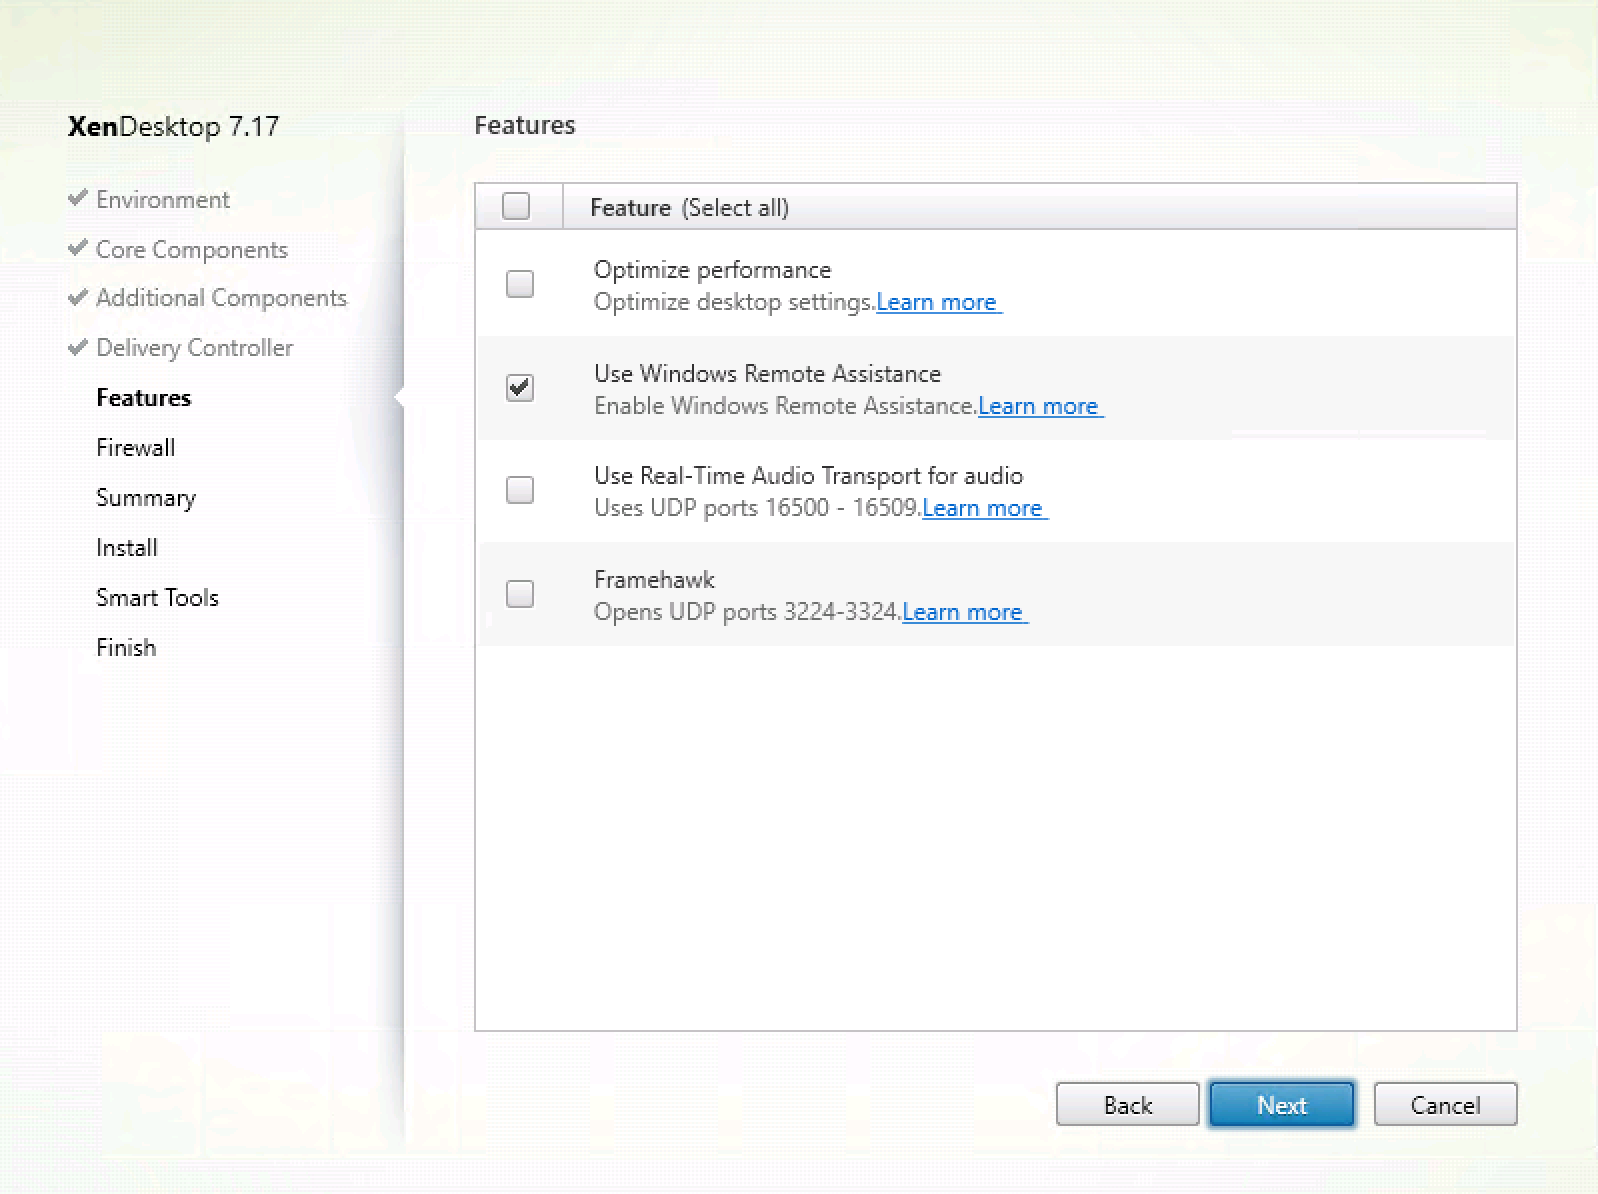
Click on Next

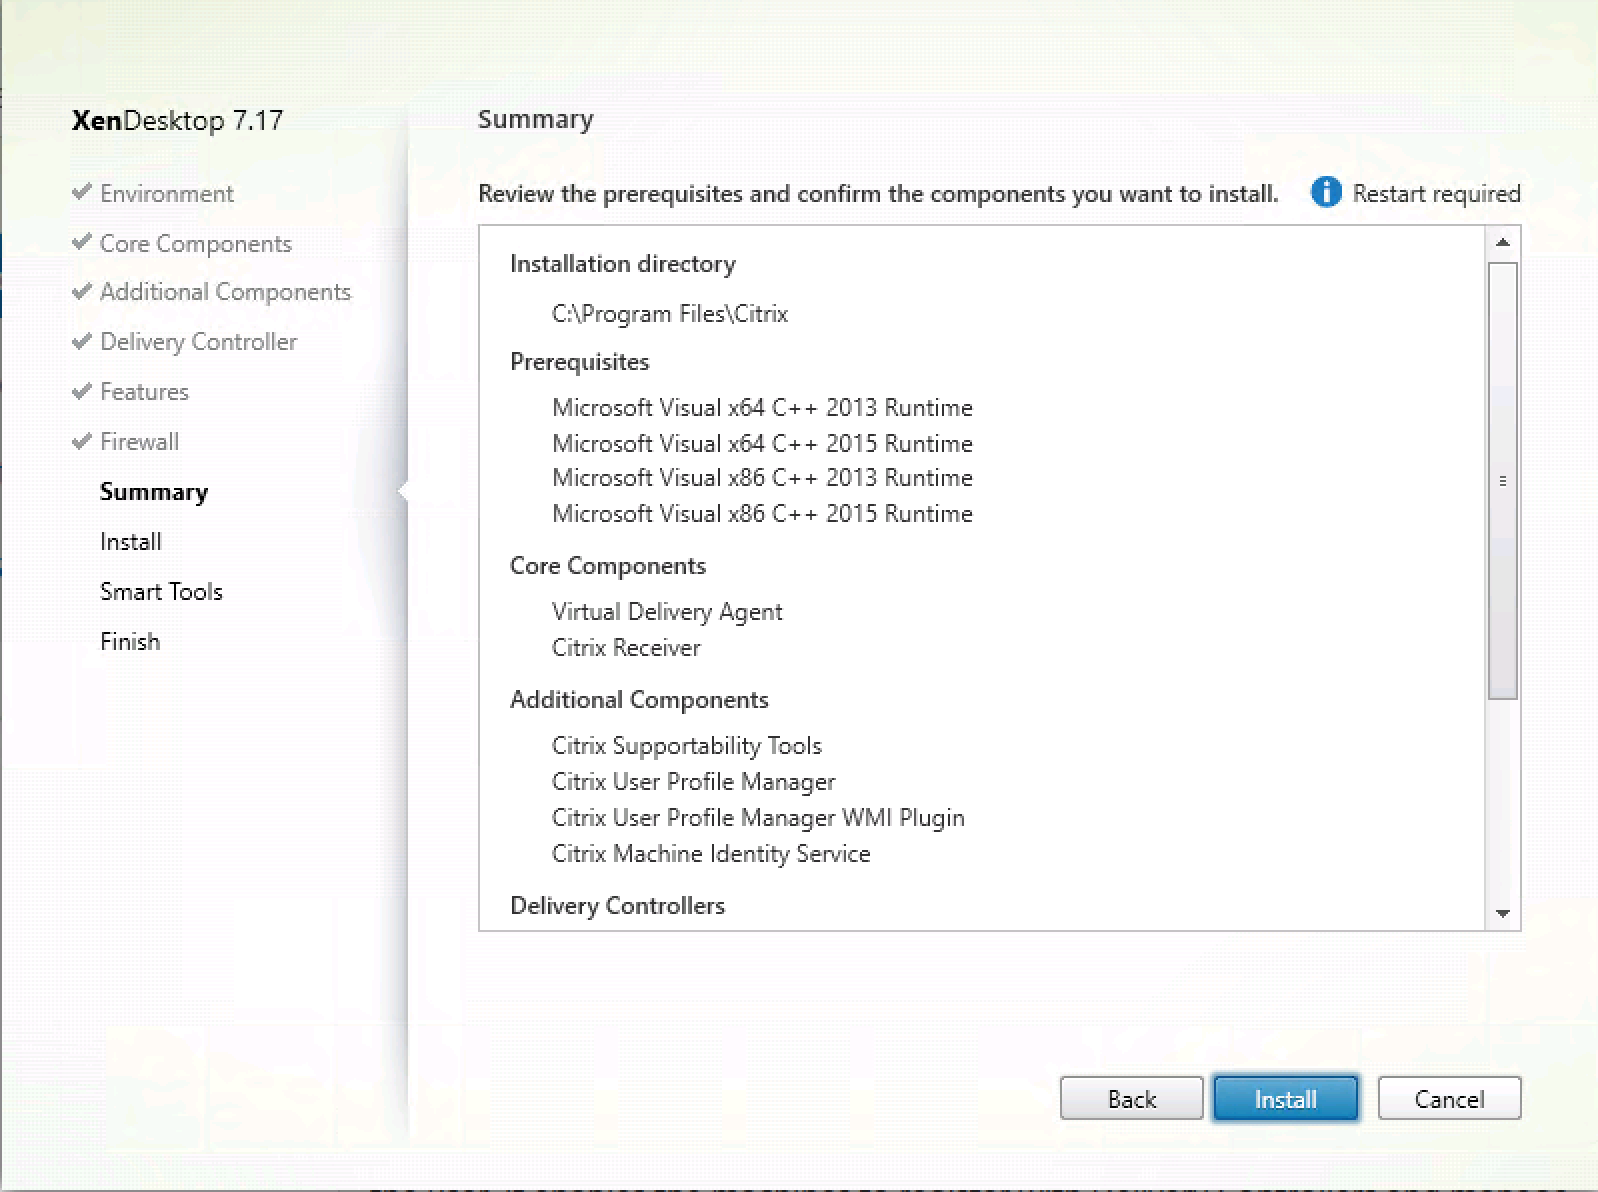
Confirm the summary, Click on Install
The installation is ongoing…

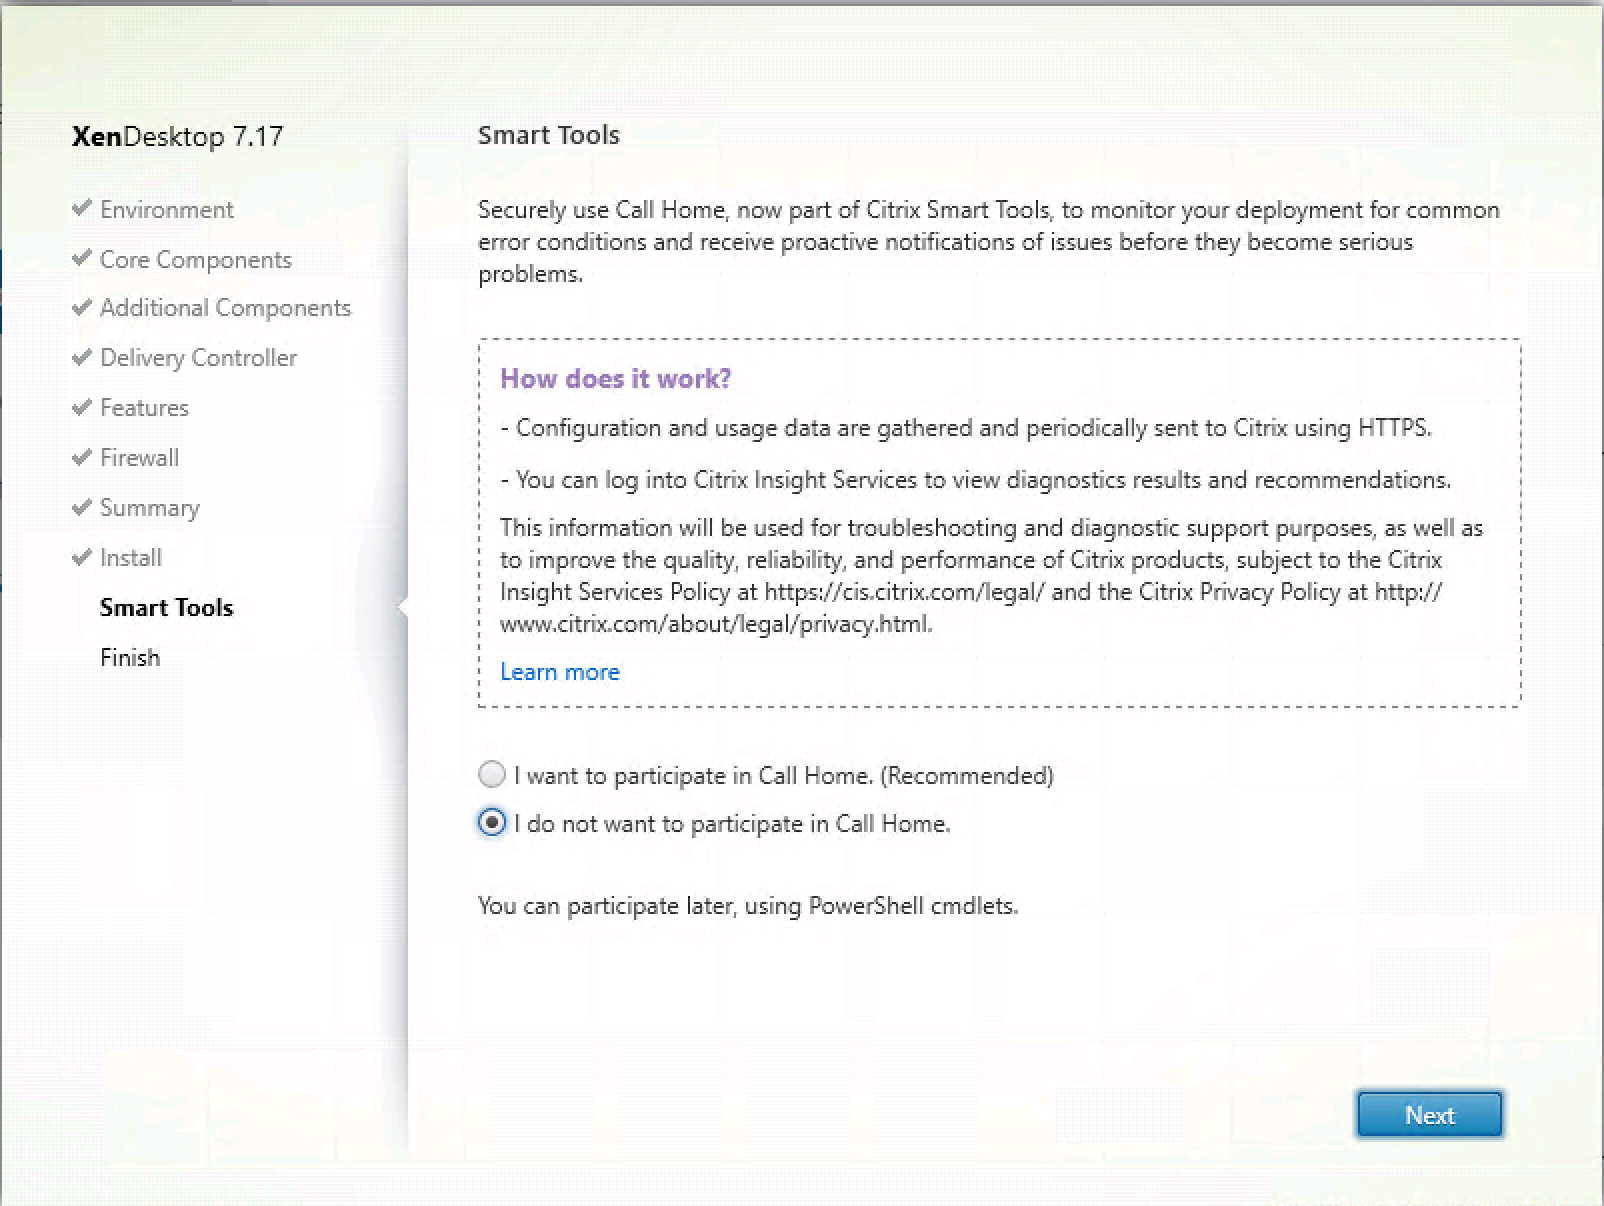
Choose if you want to use Call Home – Click on Next
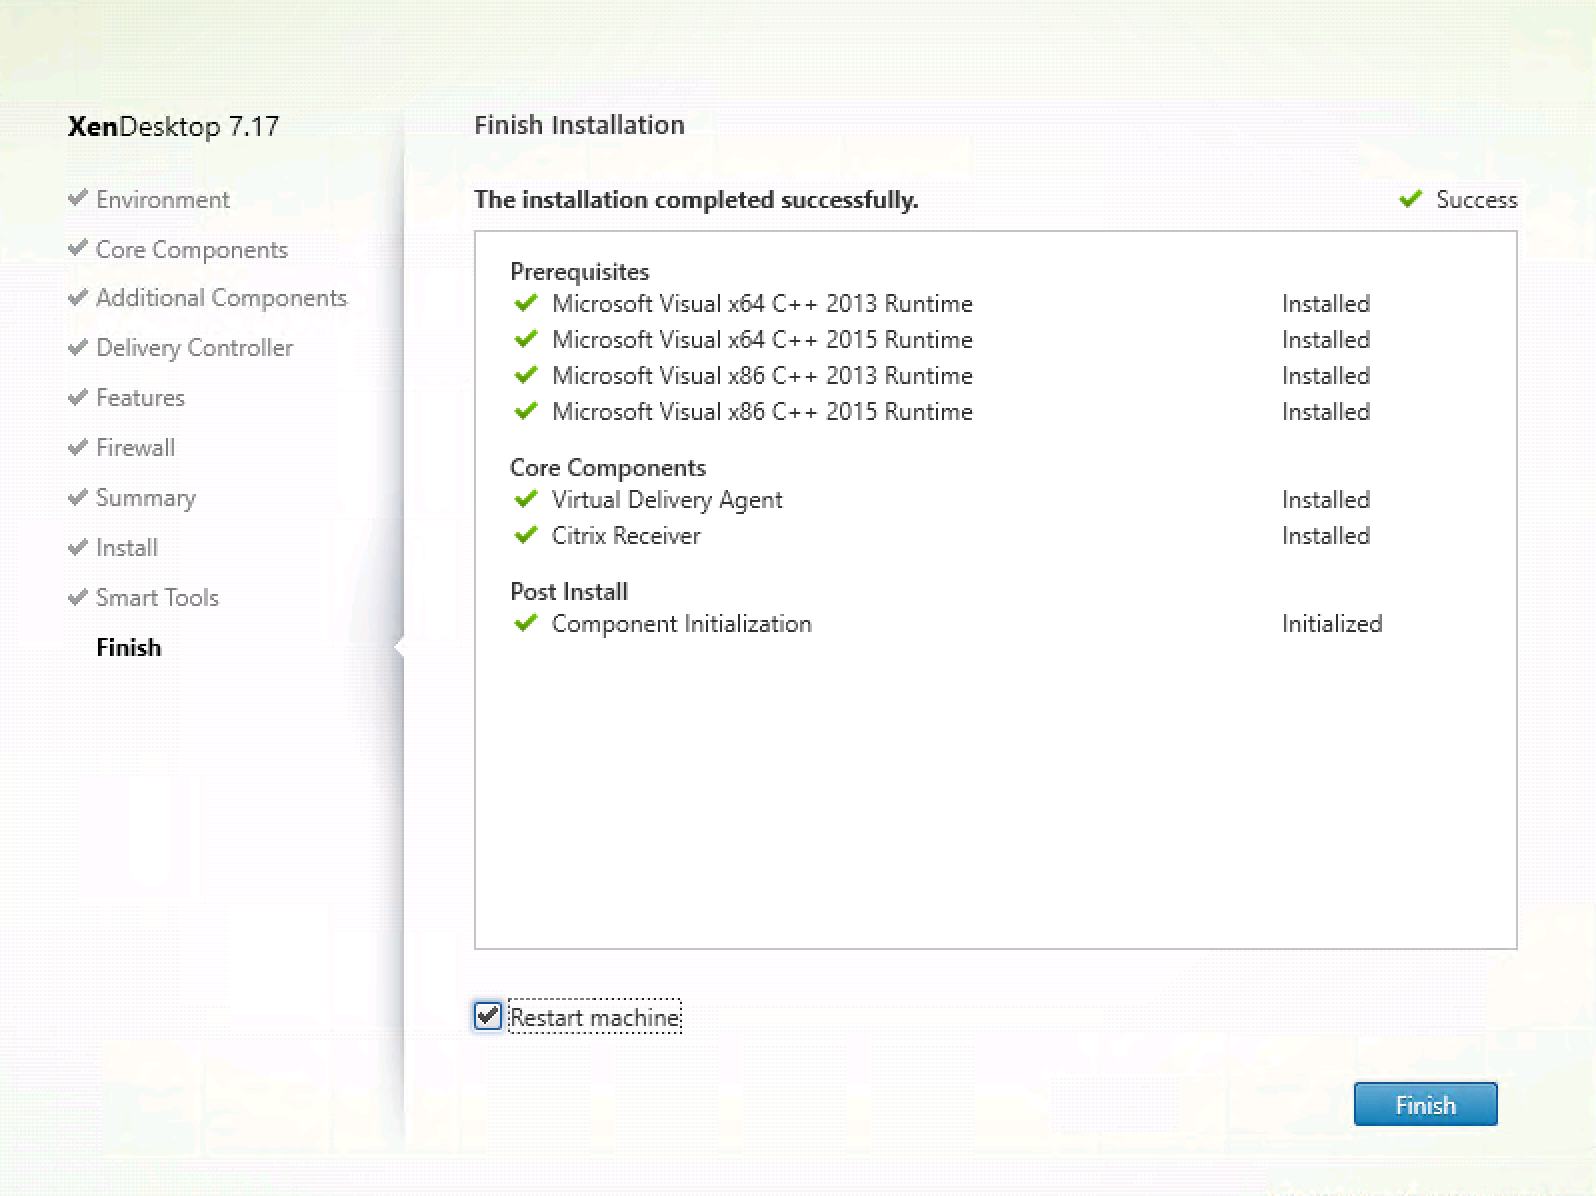
Click on Finish to Restart the machine
Optimize the image with Citrix Optimizer
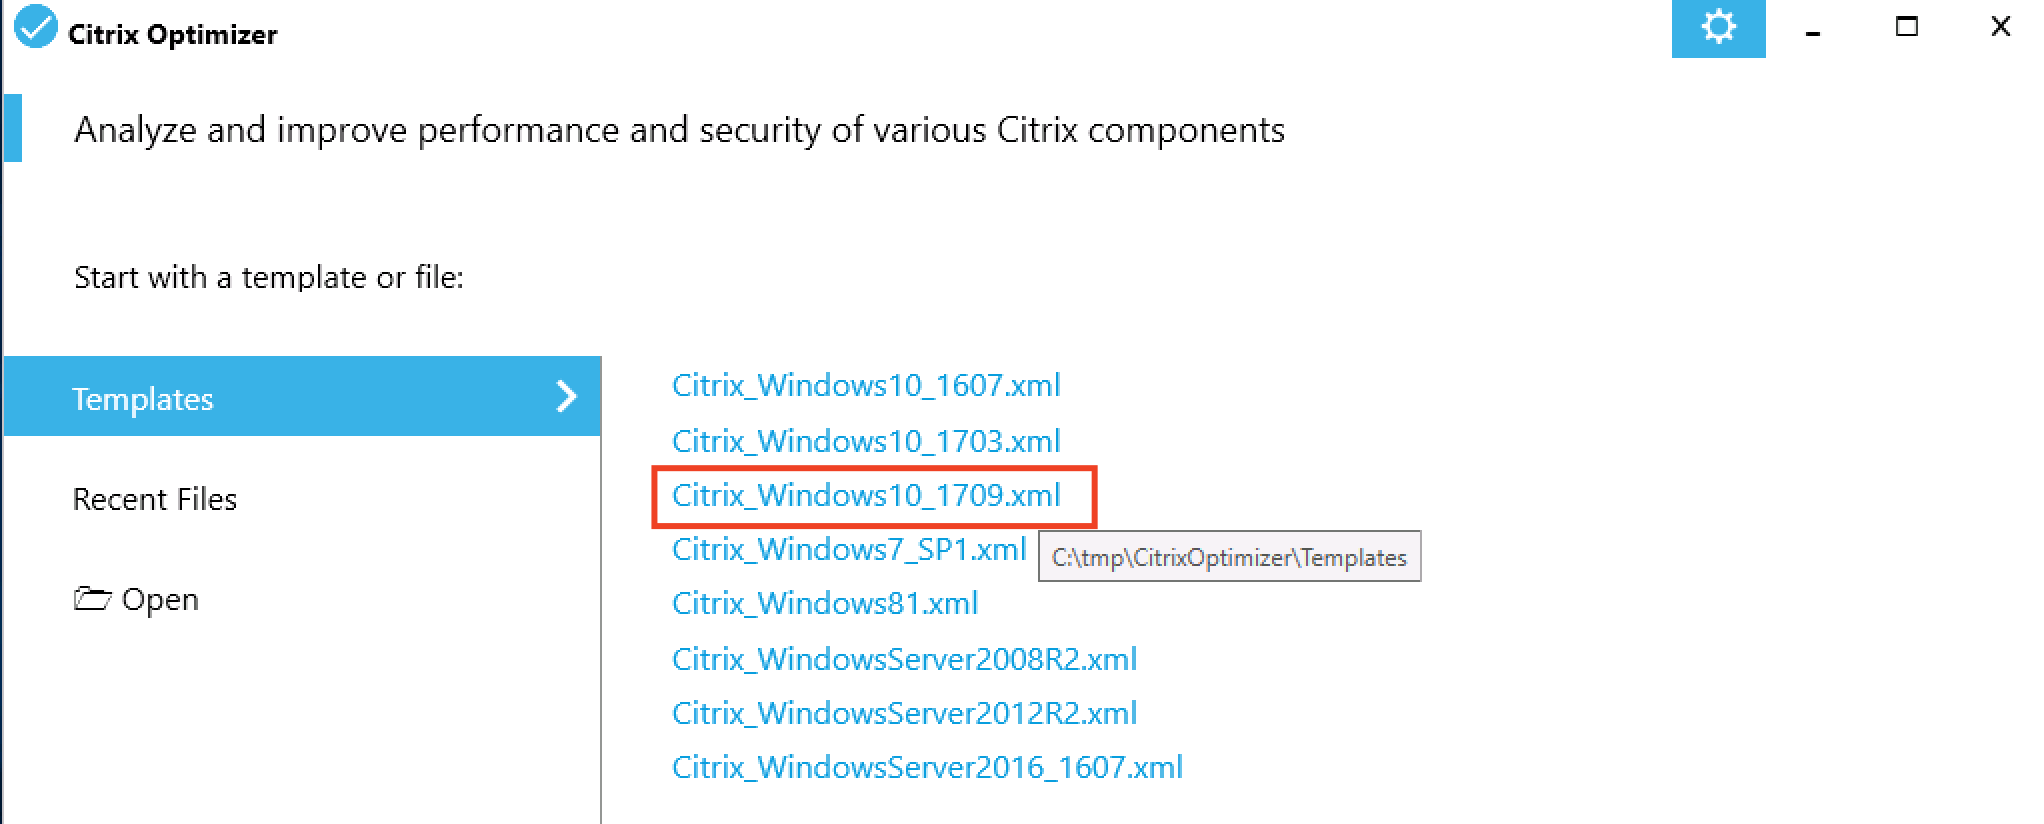
Download the Citrix Optimizer software and start CitrixOptimizer.exe
https://support.citrix.com/article/CTX224676

Select the Windows 10 1709 template
Select the services that you want to disable – or choose the default settings and click on Analyse and Optimize if you agree

Process is completed

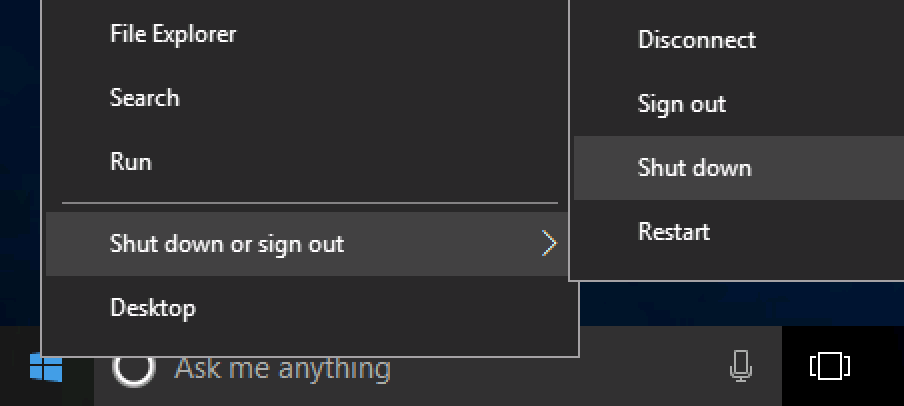
Shutdown the Virtual machine
Switch to the Azure portal and click on Stop when the status is – Stopped (still incurring compute charges).
Note: If you skip these steps – the machine catalog Machine Creation Services (MCS) procedure will fail – because the disks will still in lock status!

Make sure that the VM has the status de-allocated in Azure before you proceed to the next step!

Setup the Host Connection to Azure
Go to https://xenapp.cloud.com/
(Yes, a strange domain extension for the name XD Essentials J )
Click on the button – I’m ready to start!
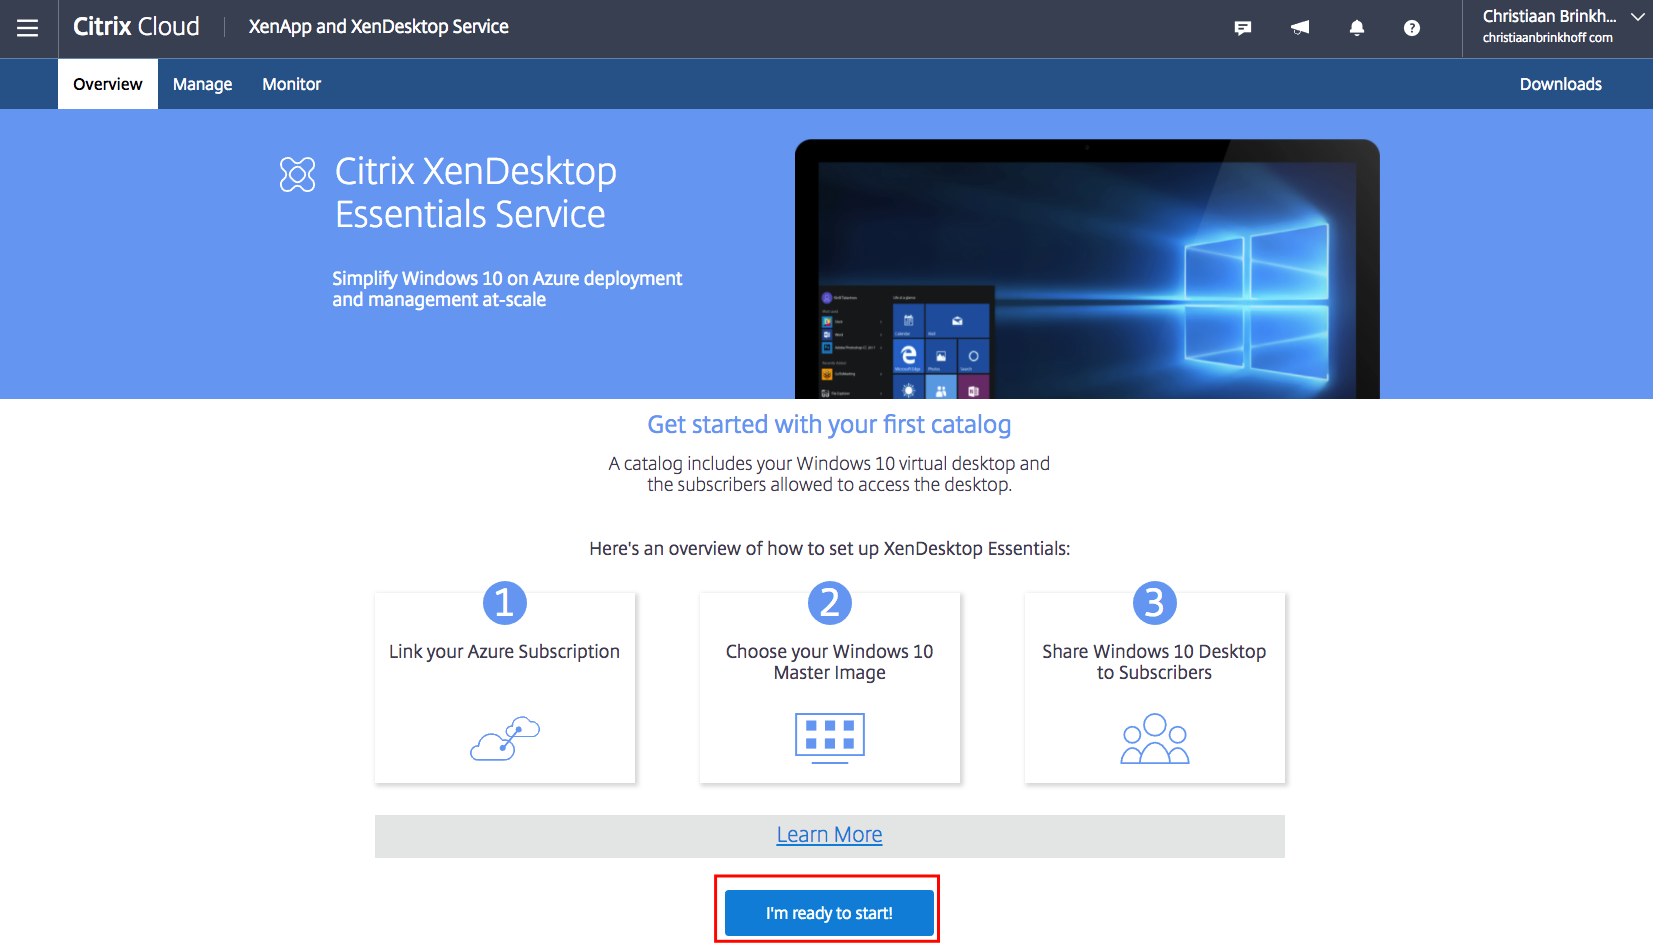
The next steps are pretty similar to an on-premises environment.
Click on – 1 Connect to the resources that will host the machines
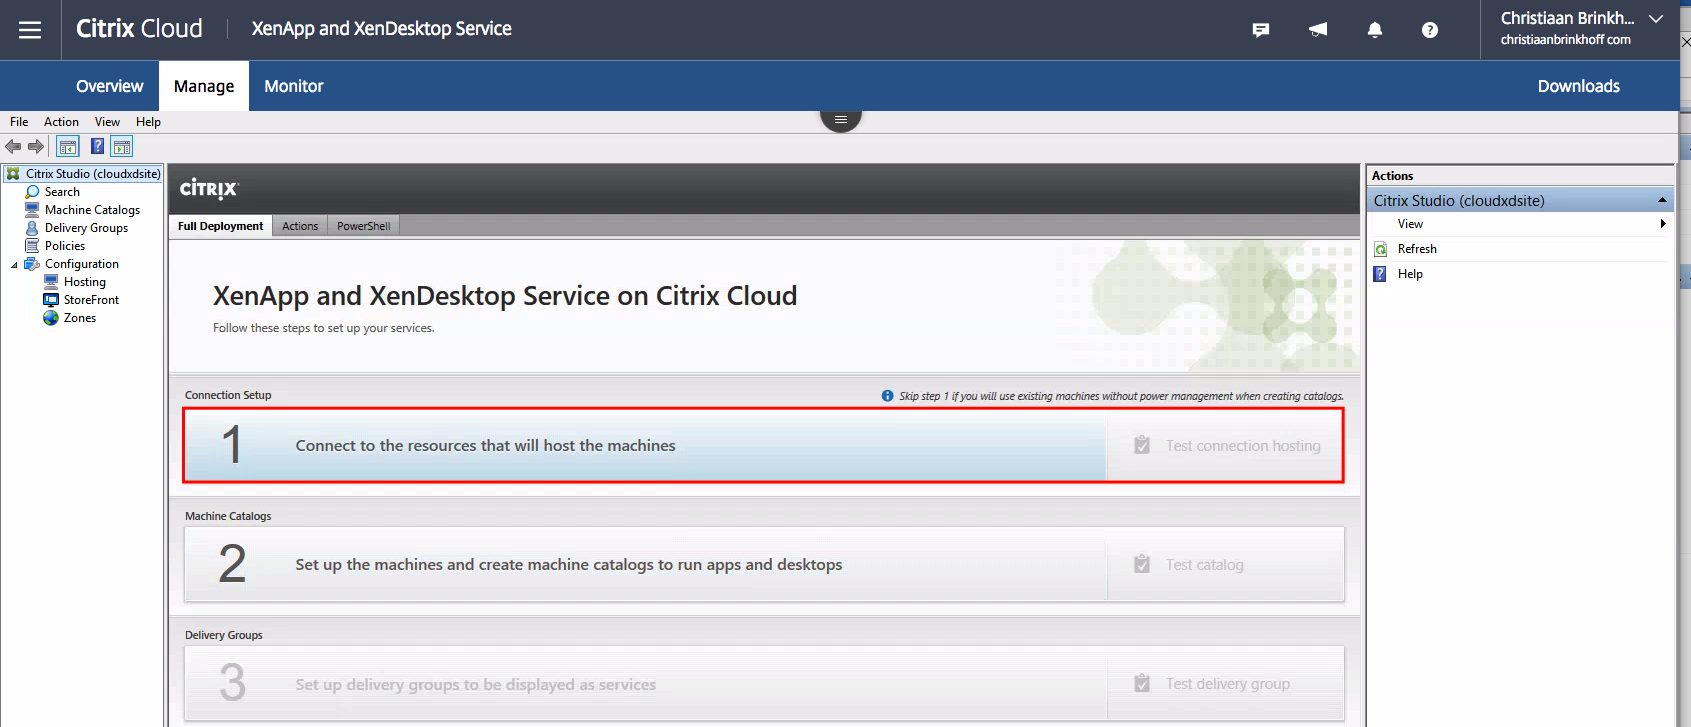
Note: When u receive the error message below, you’ll need to set up the Citrix Cloud Connectors first, or something went wrong during the setup.

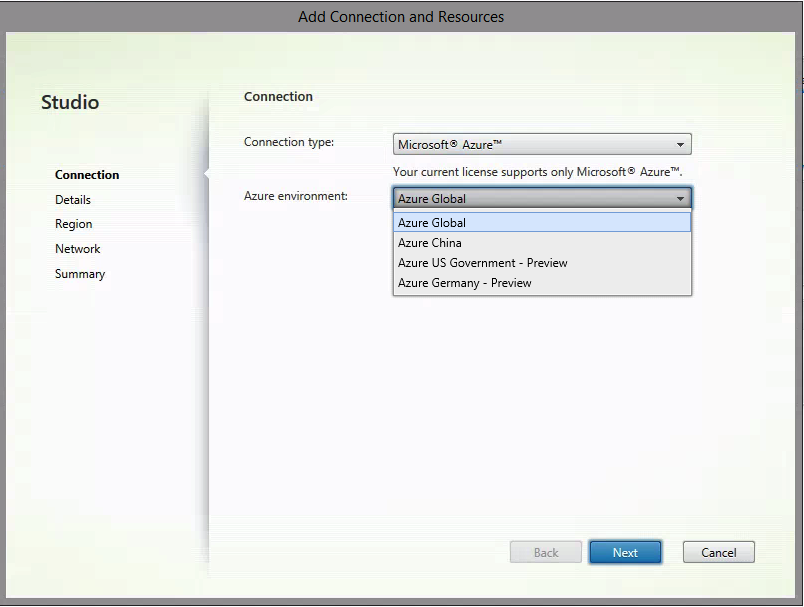
Select your Azure Datacenter location – Click on Next
(Almost all the location are placed under – Azure Global)
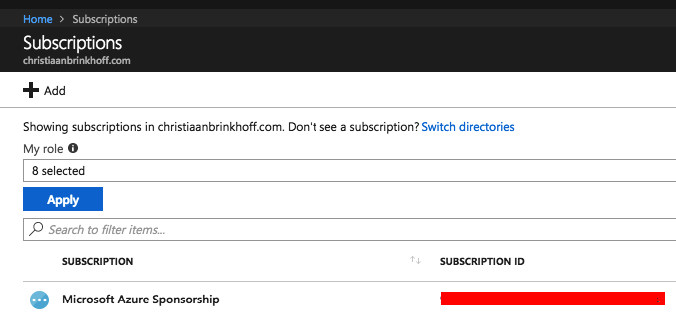
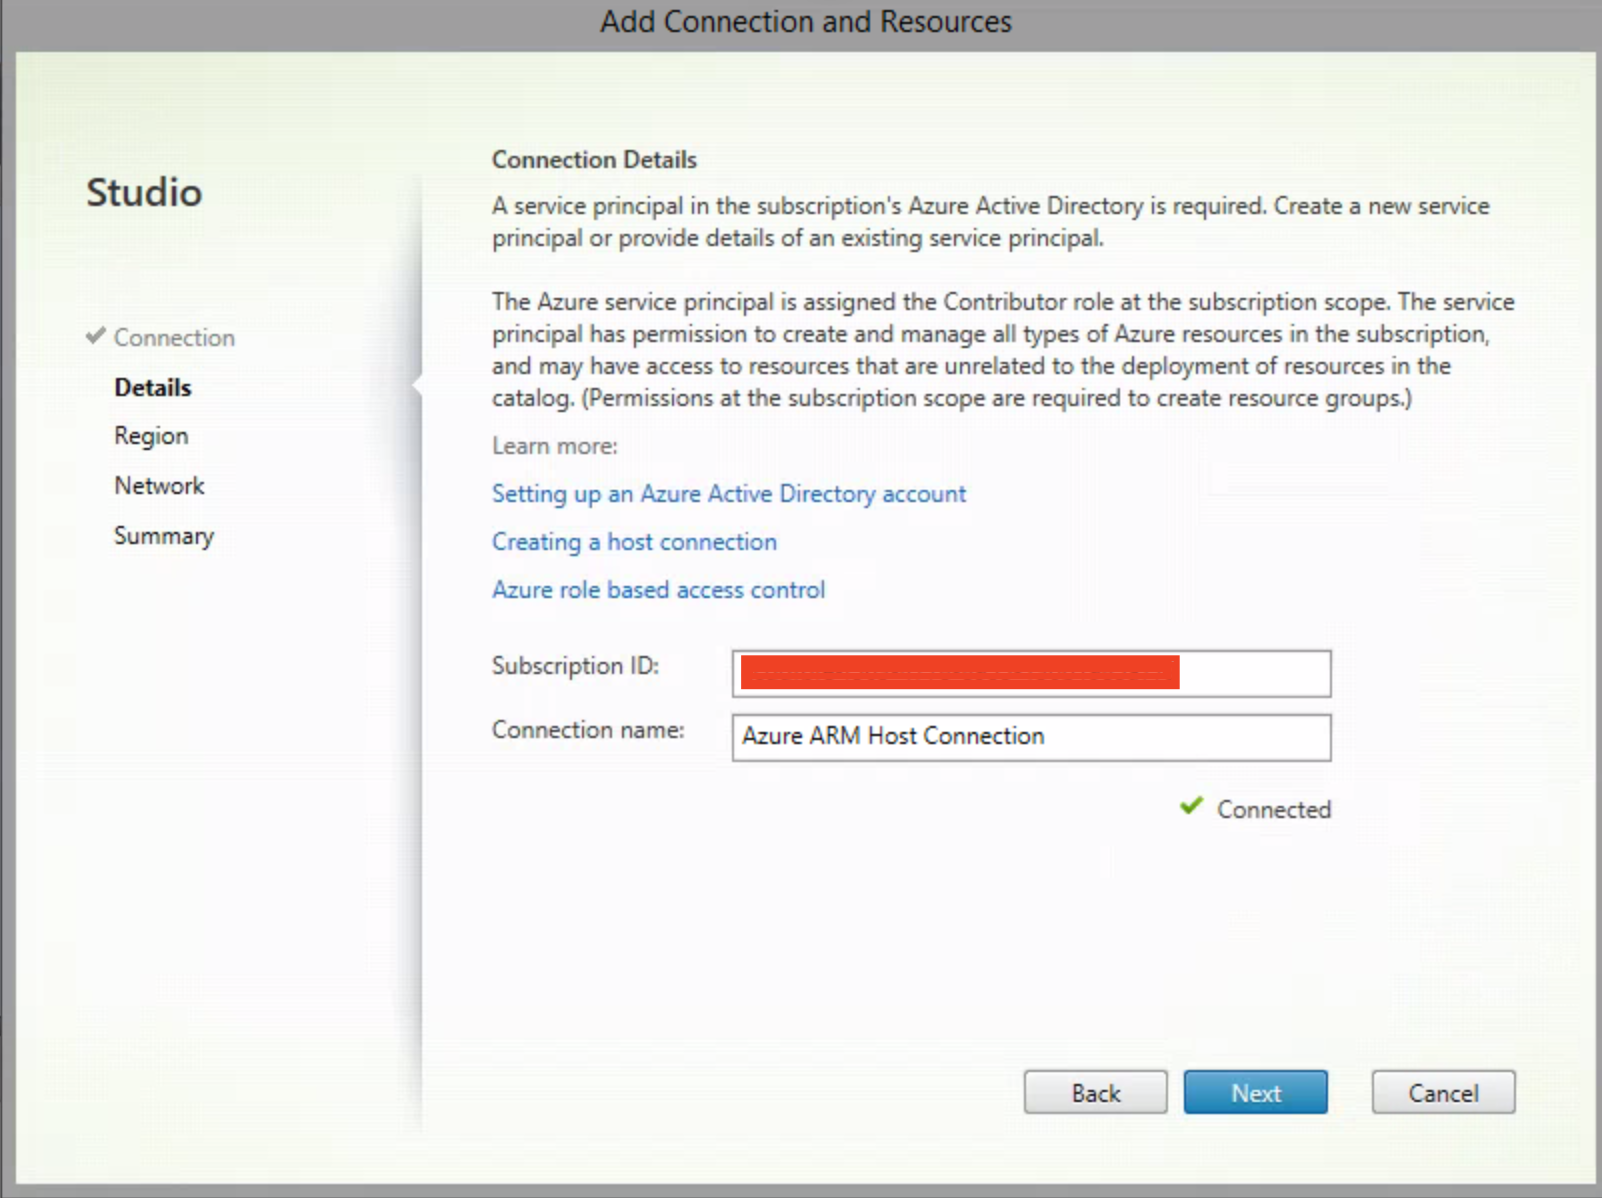
You can find your Azure subscription under the Subscriptions menu within the Azure Portal.
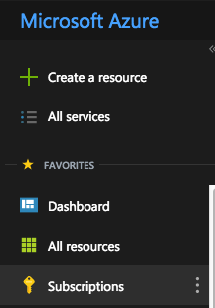
Copy the Subscription ID
You can paste the ID within the HTML receiver by pressing the Receiver button in the upper-middle of the browser.

Paste it into the text field
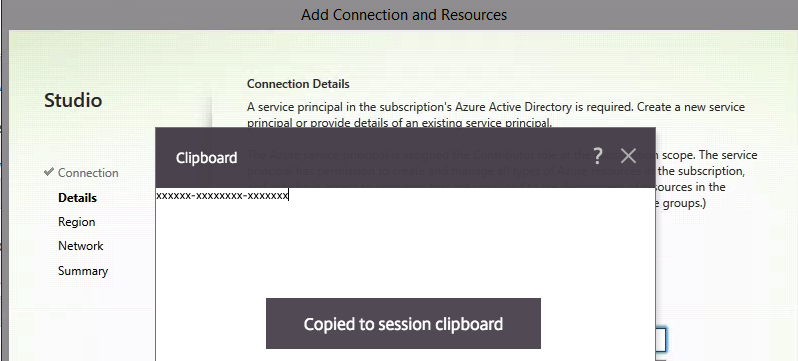
And again, paste it in the Subscription ID field
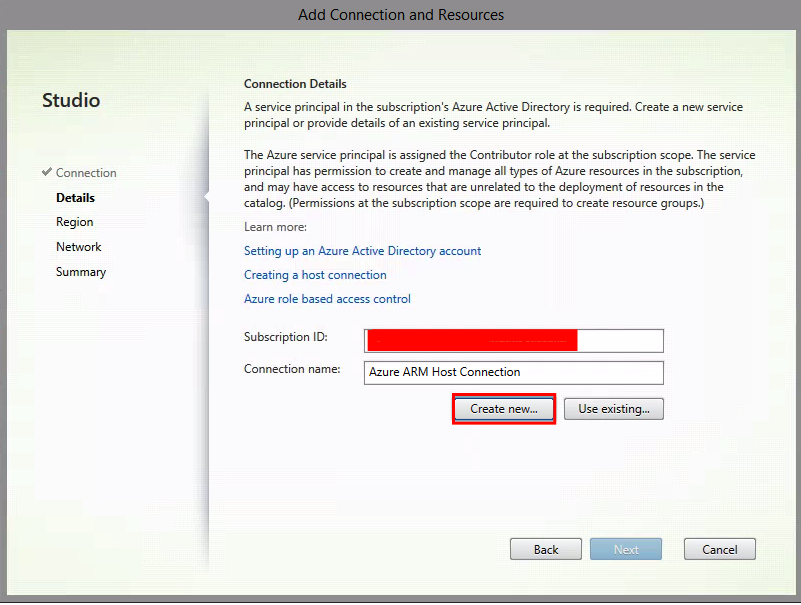
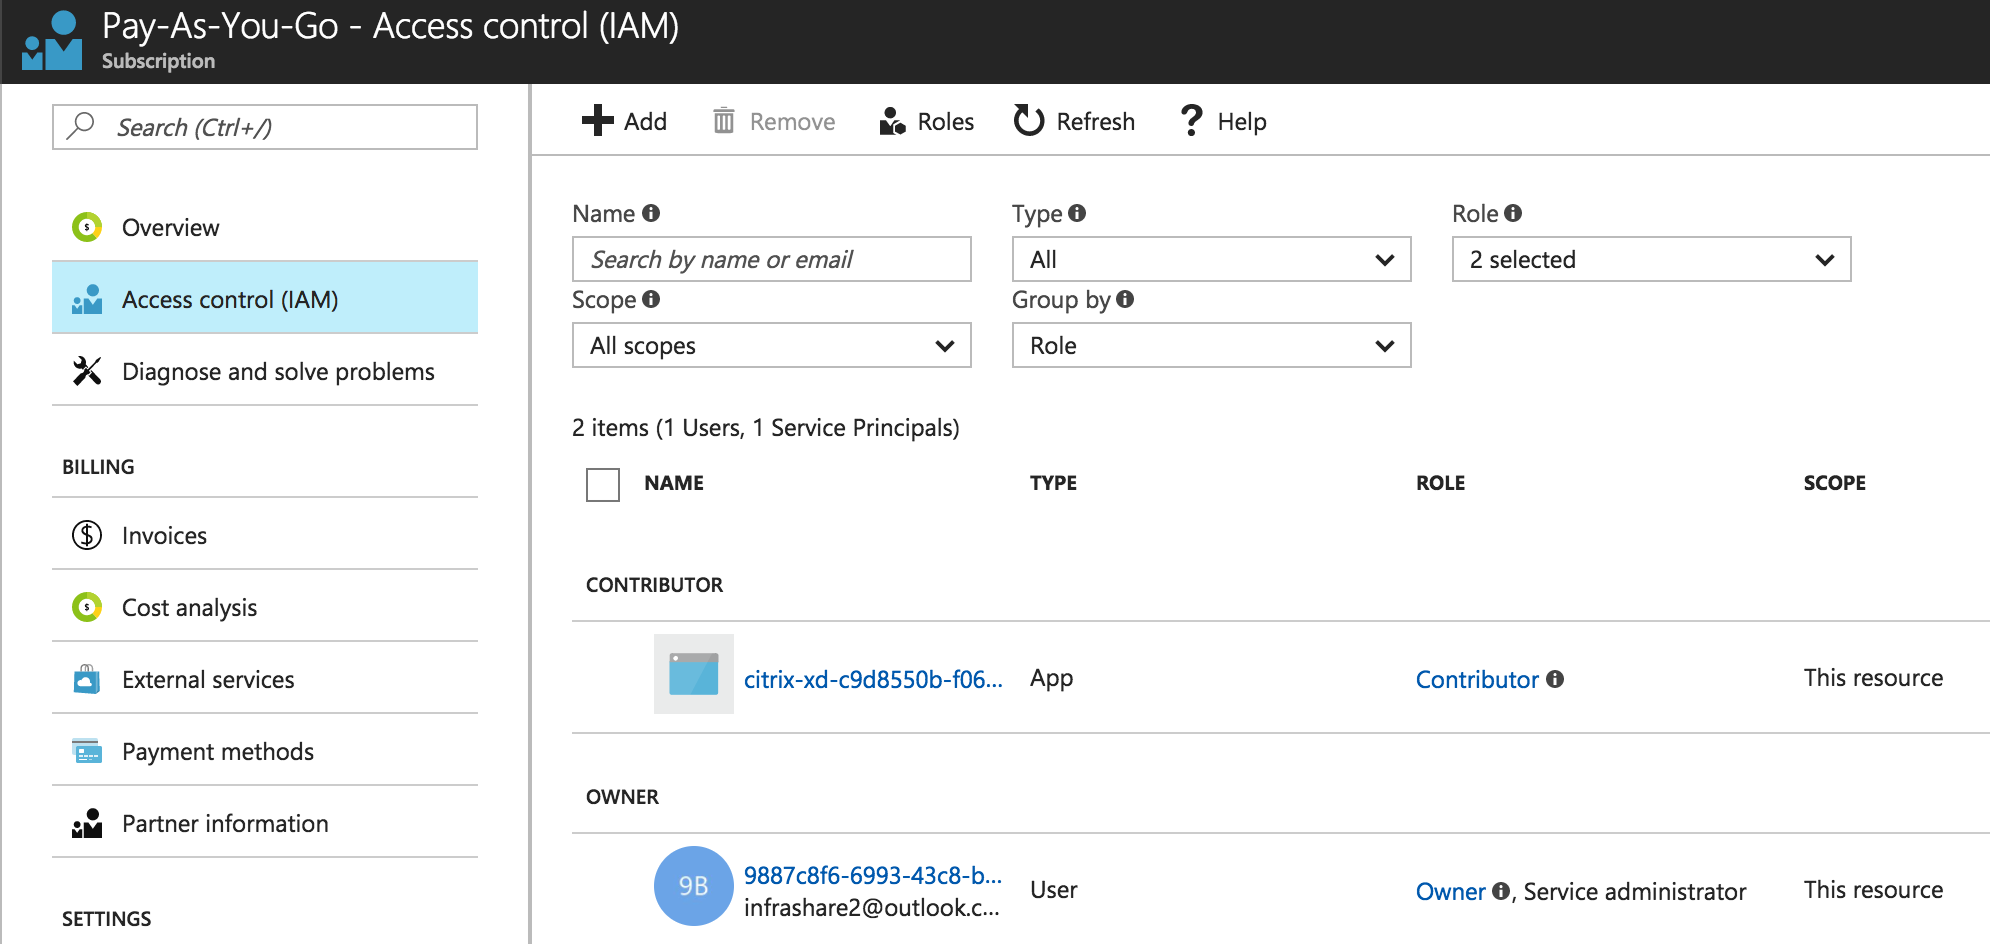
Note: During this process, an extra user will be created on the Azure subscription with Contributor RBAC rights. This account can be found at the Access Control (IAM) menu of the subscription in Azure.
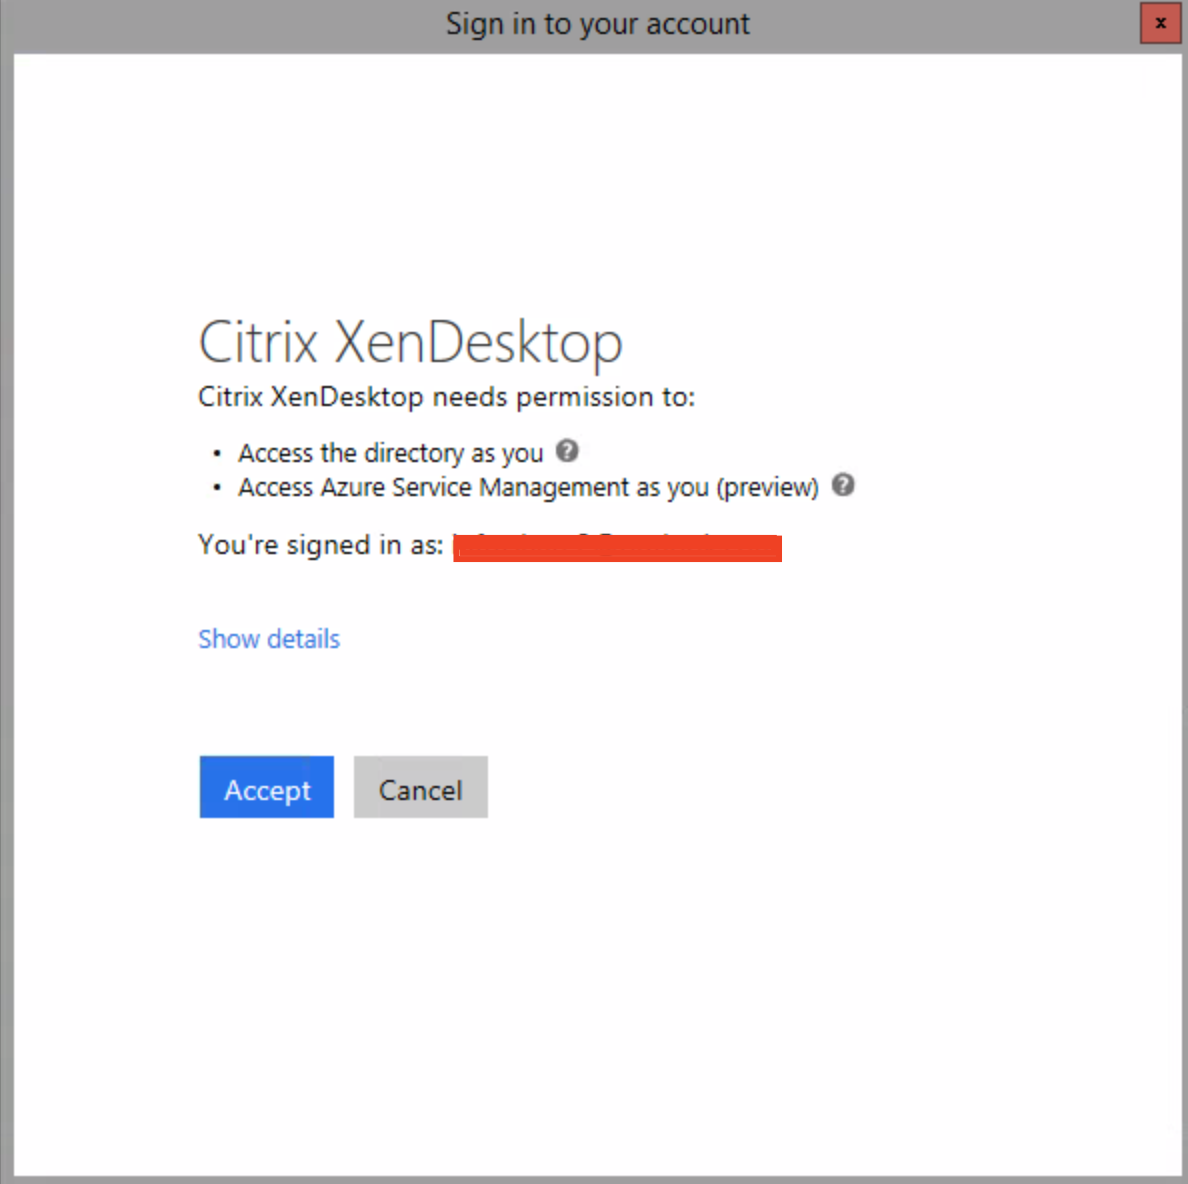
Enter your Azure Administrator credentials

Click on Accept
Confirm that the status Connected, click on Next
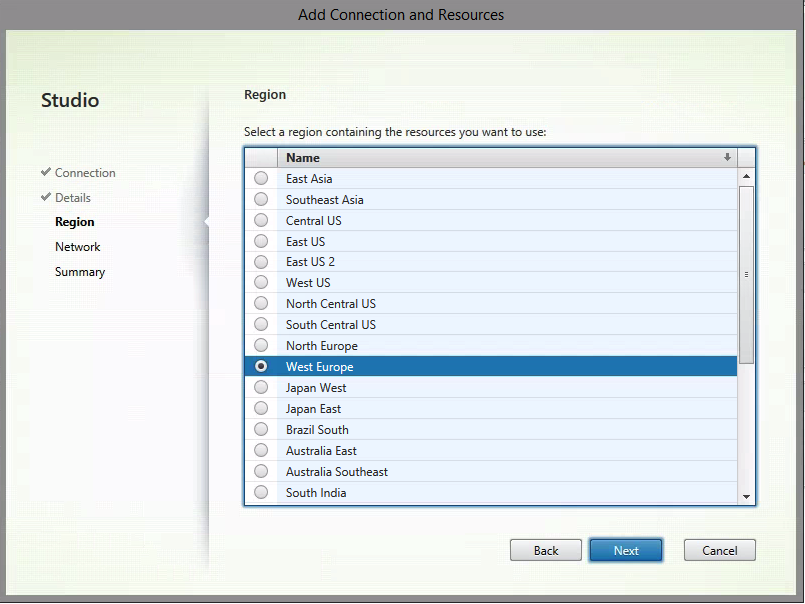
Pick a DC region to standardly deploy your Windows 10 Virtual Desktop(s).
Click Next
Give in a random resource name – Select the Azure Virtual Network (vNet) which will be used for the Virtual Desktop Network Interfaces.
Click Next

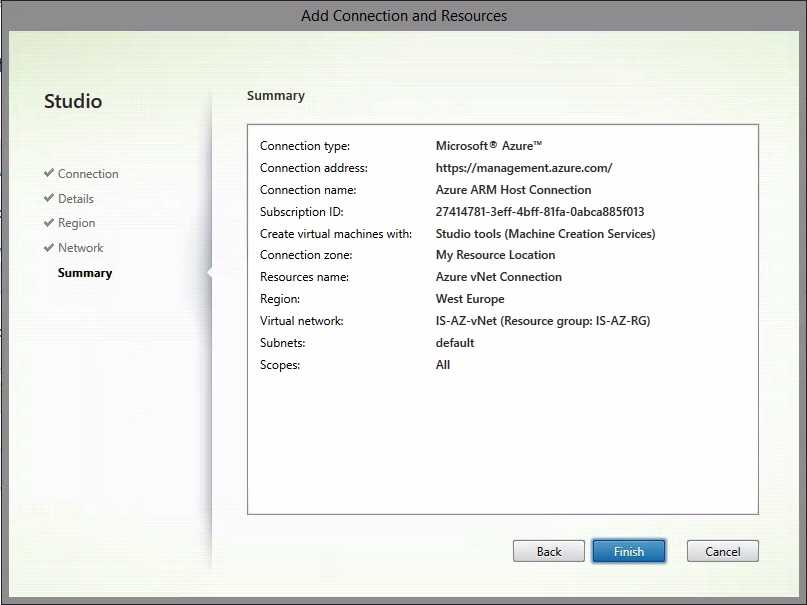
Confirm the summary.
Click on Finish to start to perform the Host Connection configuration
Switch to step – 2 Set up the machines and create machine catalogs to run apps and desktops
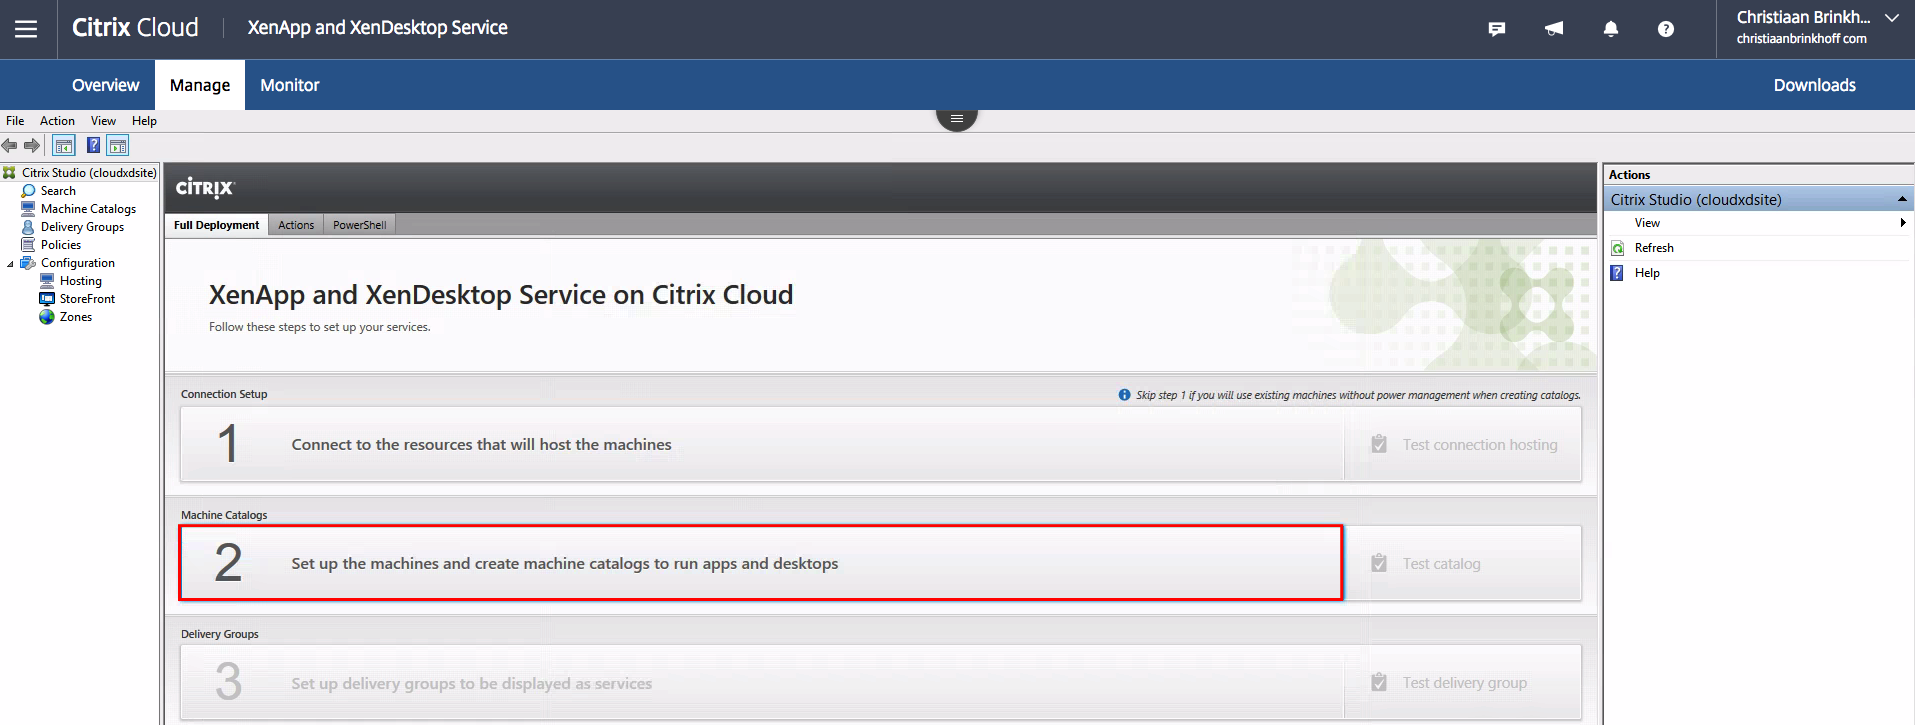
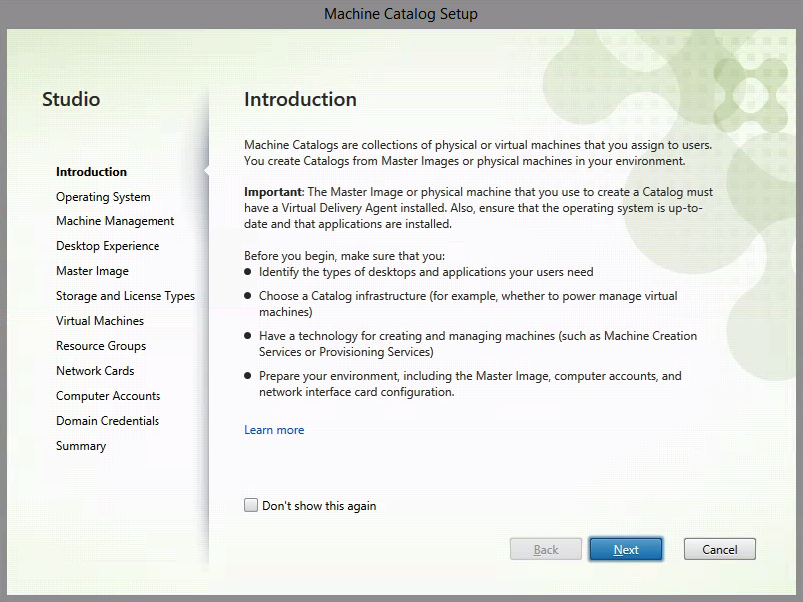
Click on Next
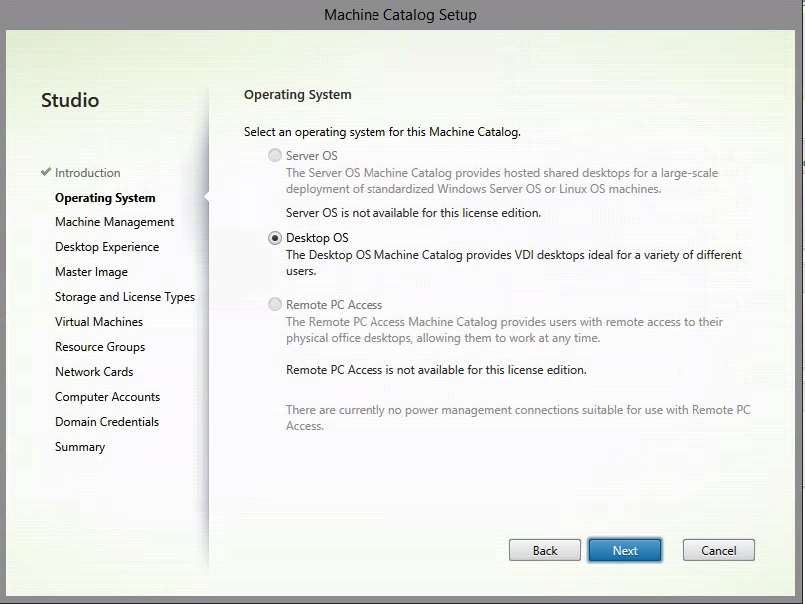
The only OS version is Desktop OS – Click Next
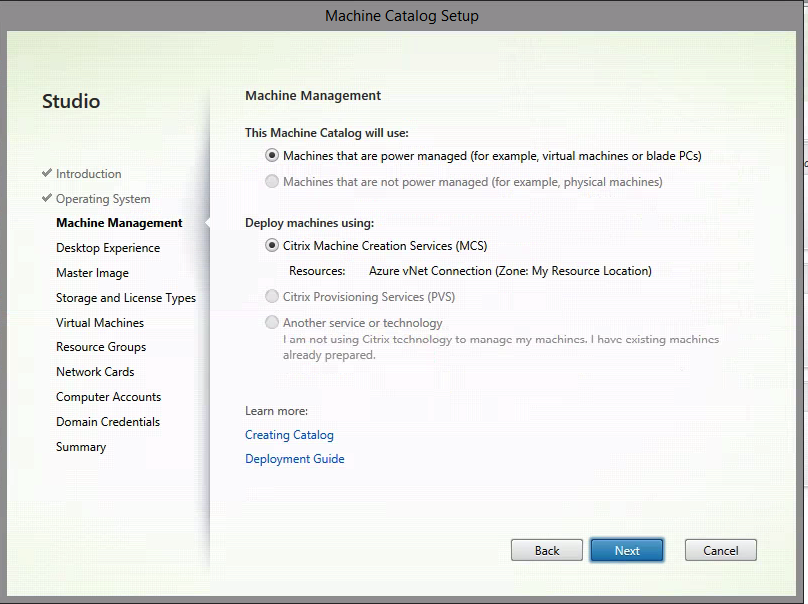
Click Next
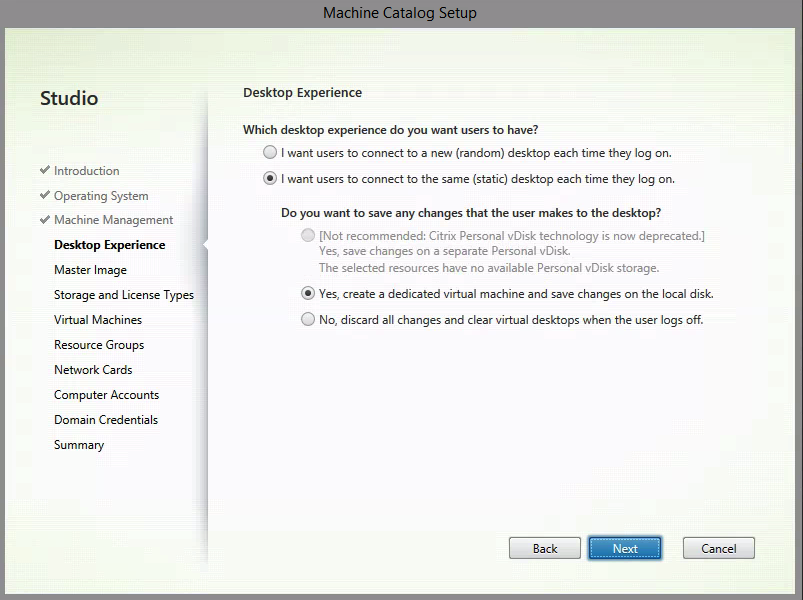
The following settings are very important. Are you using personal desktops – or pooled desktops? Personal Desktops speaks for themselves, therefore pooled desktops can be best compared to random desktop – which mostly results in a non-resistant approach.

The other 2 settings meaning that the differential (OS) disk will be writeable and will save the changes, also after a reboot. The second option will clear the image OS disk after a reboot.

Choose the following setting wisely for your business. I’ll pick the Personal Desktop
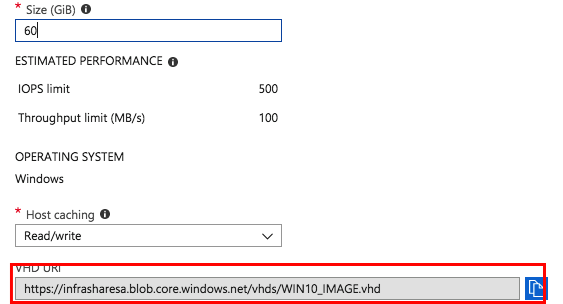
Switch to the Disks menu of the VM in Azure to detect the storage location.
Click on the OS disk name

Remember the location under VHD URI
Search for the location – select the Master Image VHD file, Click on Next
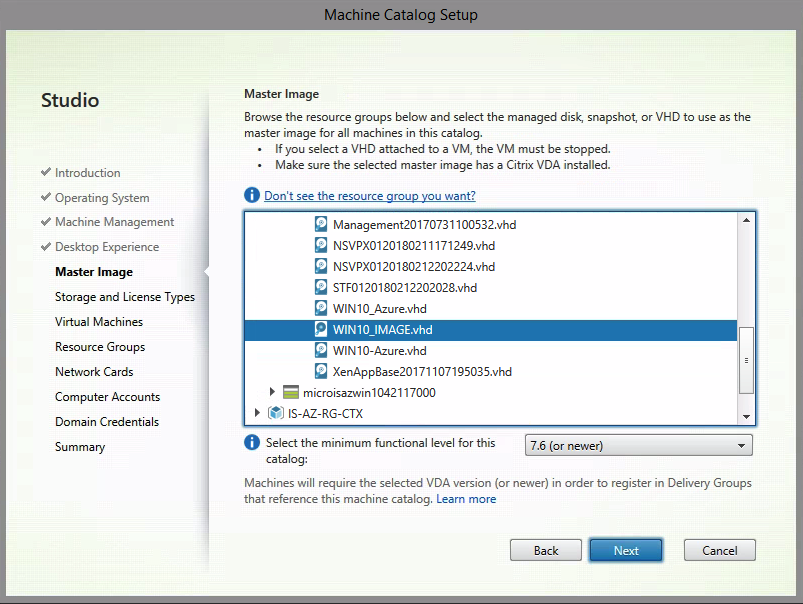
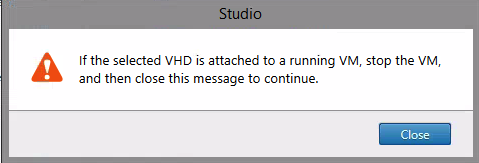
Note: Confirm that the Master Image VM in Azure has the Power State de-allocated!
Choose for Premium (SSD) Storage for the best performance
Use the HUB program if you have an Enterprise Agreement, including SA on Windows 10. Otherwise choose No
Note: Managed Disks are an optional feature, but with this alternative storage solution in Microsoft Azure, you have much lower limitations active and also optimisations on performance for your environment.
- Faster provisioning time
- Scalable elastic storage / dynamically expandable storage
- No IOPS limitations anymore
I’m using Managed Disks as default
Click on Next

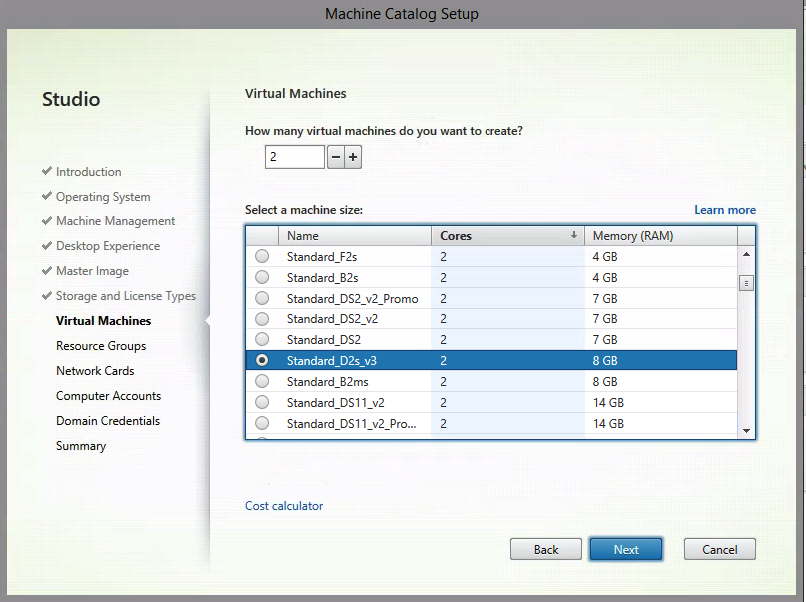
Choose the sizing for the VMs in Azure – and the number of machines.
Click on Next
(I’m using the Standard_D2S_v3 sizing.)
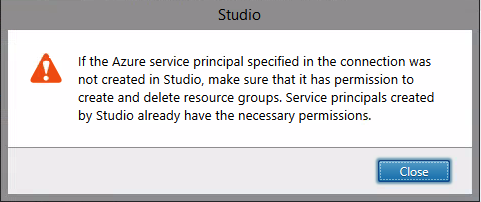
Choose if you want to use an existing resource group or create new groups.
Click Next
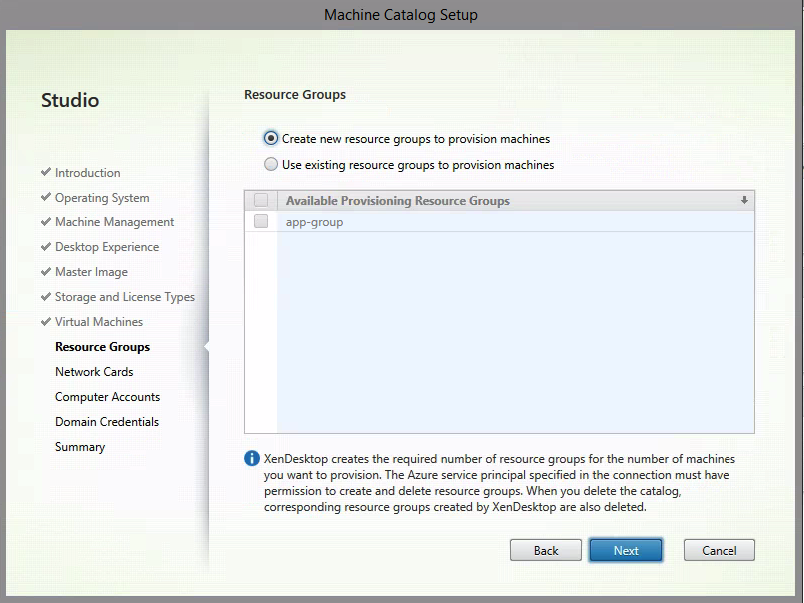
(Ignore this warning if the Host Connection process went well)
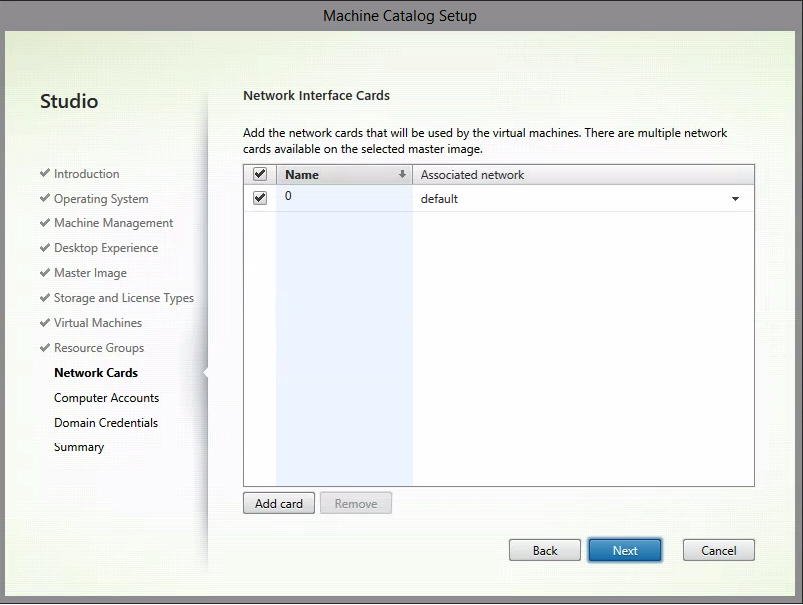
Select the network card. Click on Next
Select an Active Directory OU Location and naming convention. Click on Next

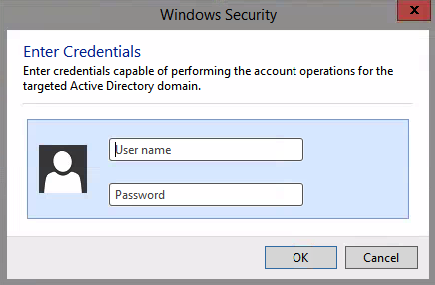
Click on Enter Credentials

Enter domain credentials, which are privileged to provide the domain join.
Give in a name for the Machine Catalog.
Click on Finish to start the enrolment in Azure

The deployment process is ongoing…
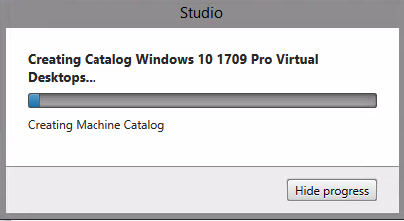
This can take up a while…
(mine took 20 minutes)

Almost finished…
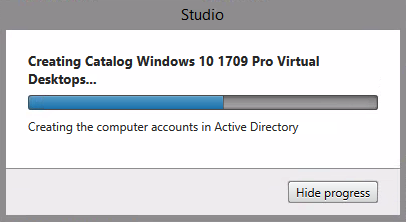
The machines are now created – The Virtual Machine will appear in Azure when the machine is starting.
The machines will start automatically after the Delivery Group process!
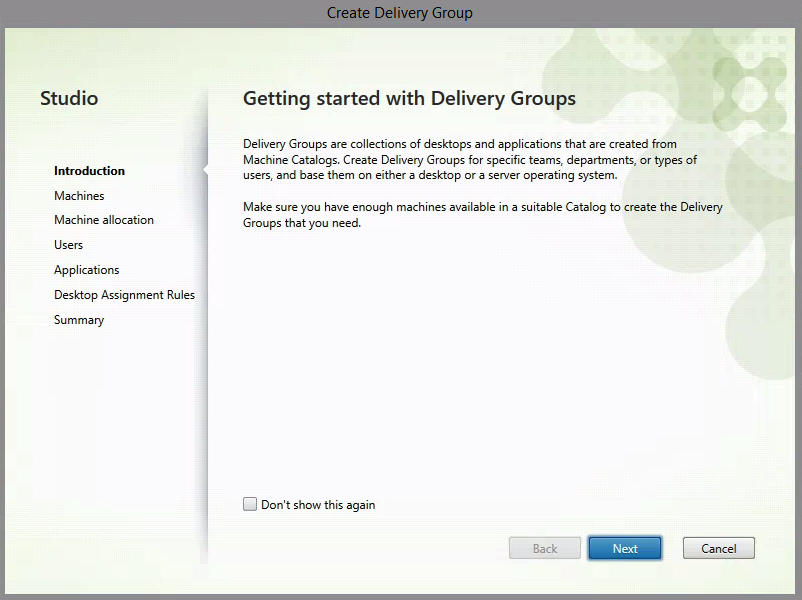
Select the 3th and final option – 3 Setup up delivery groups to be displayed as service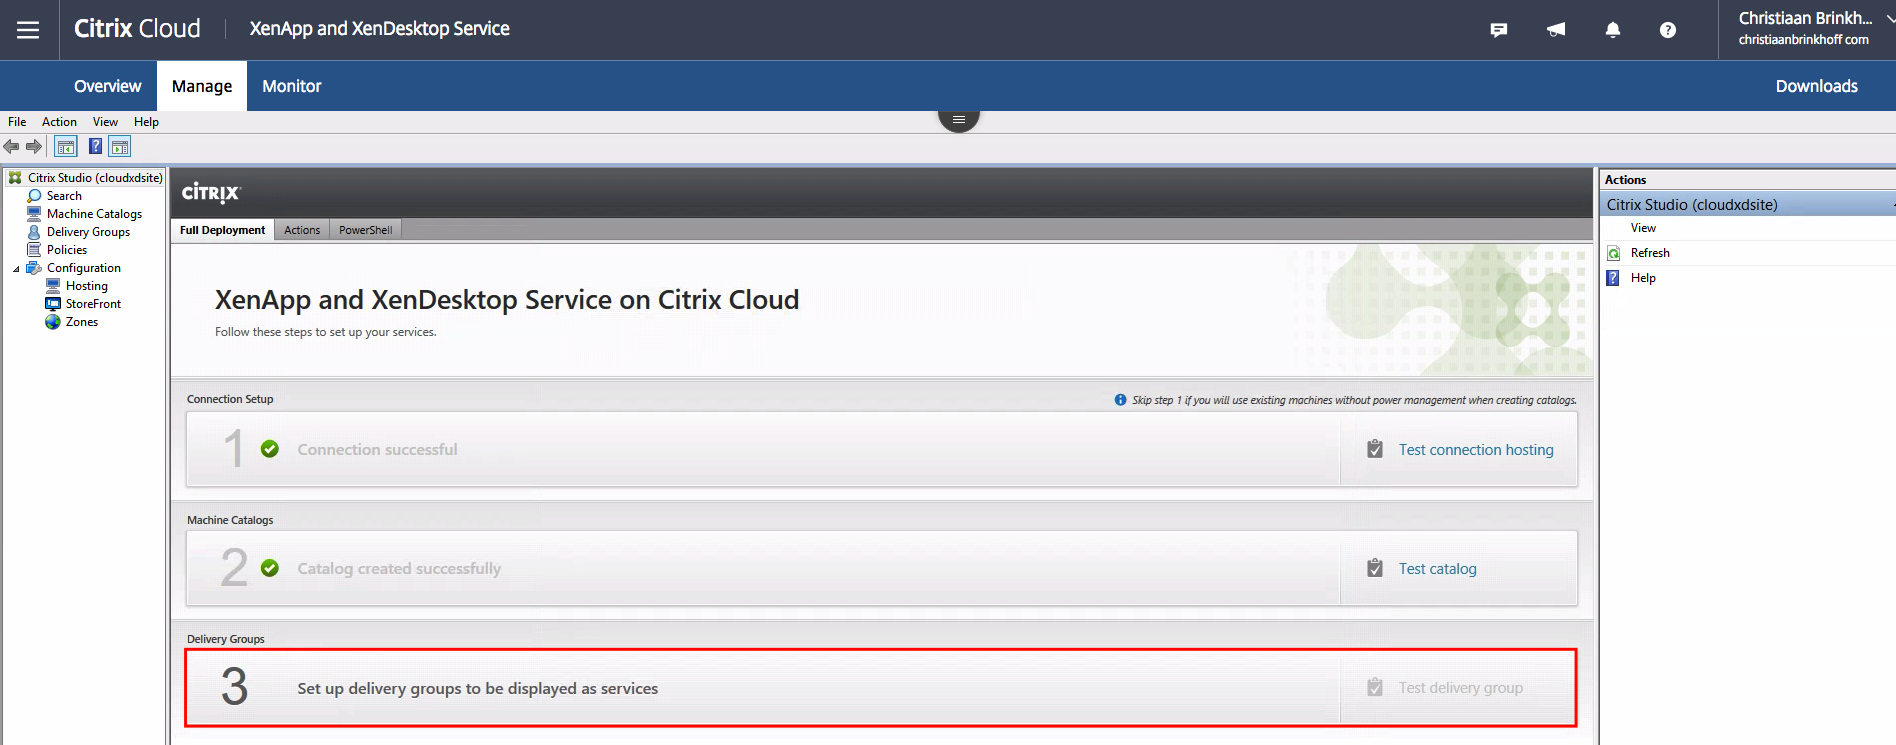
Click on Next
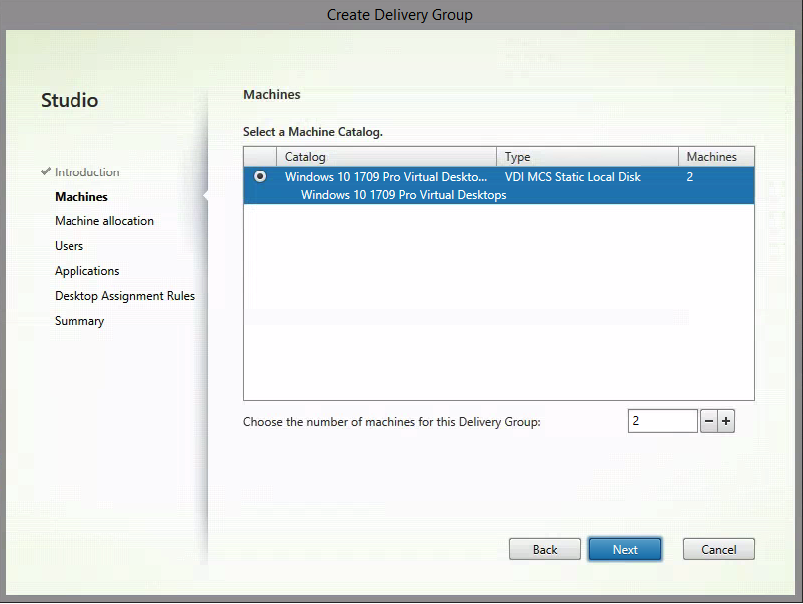
Increase the value to add the created machines to the Delivery Group. Click on Next
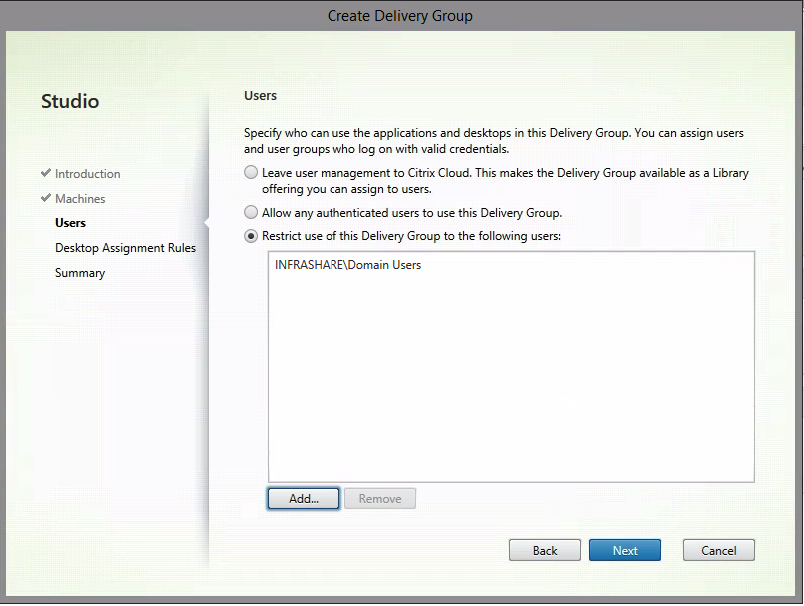
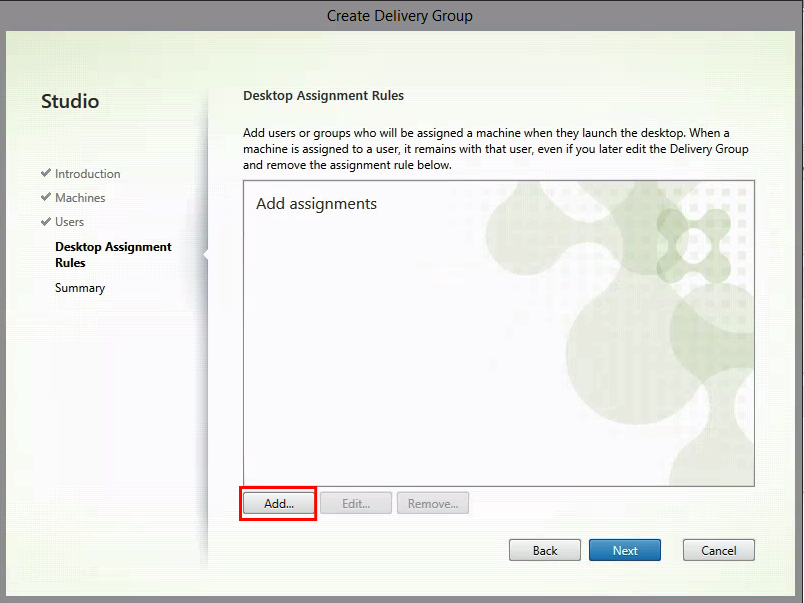
We now can filter the Delivery Group based on users/groups.
Click on Add to search for a User or Group
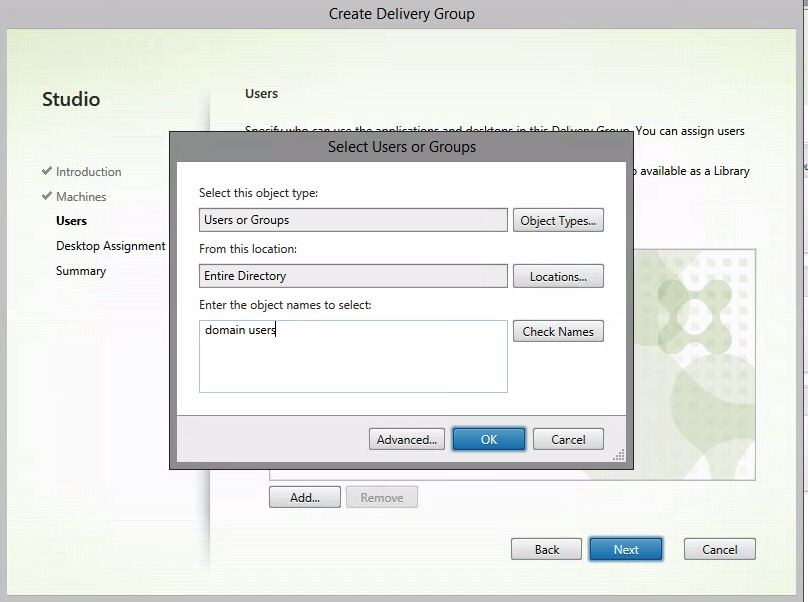
Note: It is also possible to provide the access based on Citrix Cloud / MyCitrix user credentials when choosing the first option.
Click on Add
Give in a name for the Published Desktop and the max. desktops per user.
Click Ok

Click Next

Enter in a name for the Delivery Group and Click Finish
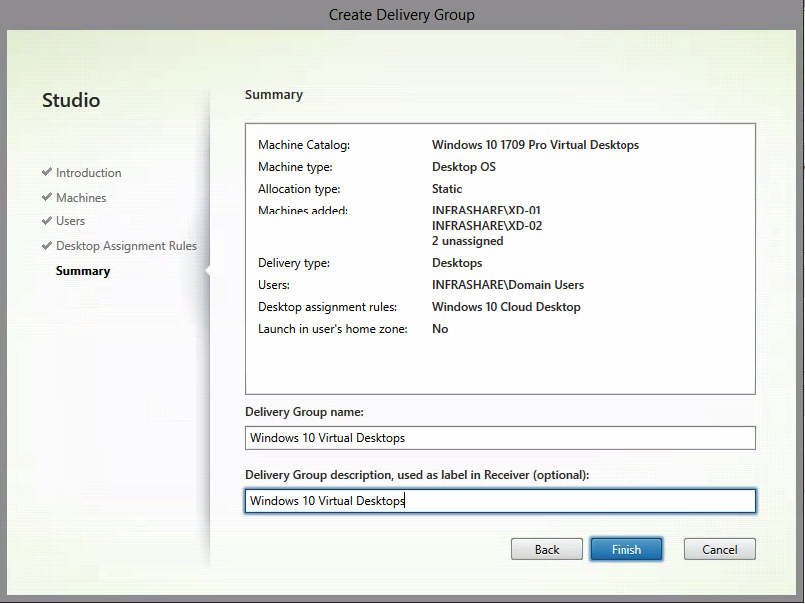
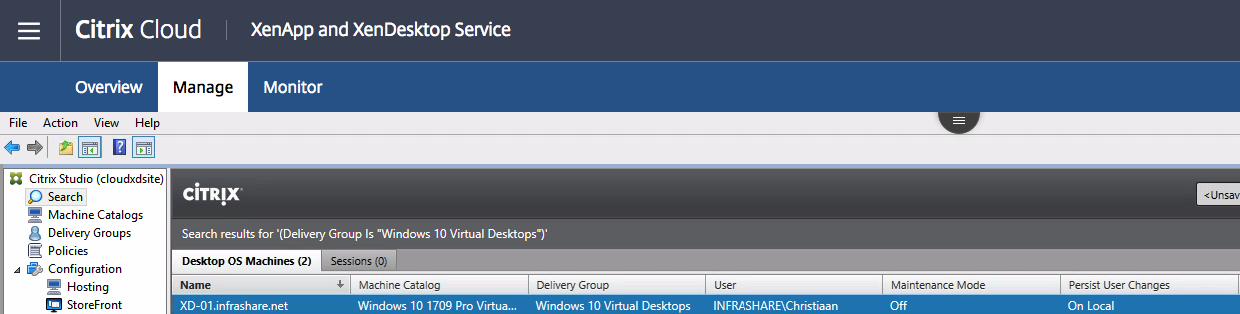
Machines are now created in Microsoft Azure

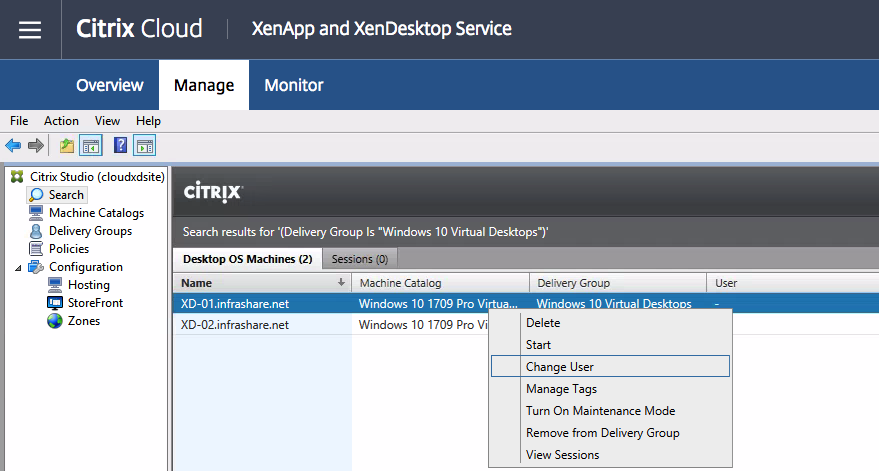
And the machines are now visible in the Citrix Studio!

Click on the Delivery Group to assign the Windows 10 Desktop to a user
Search for a user
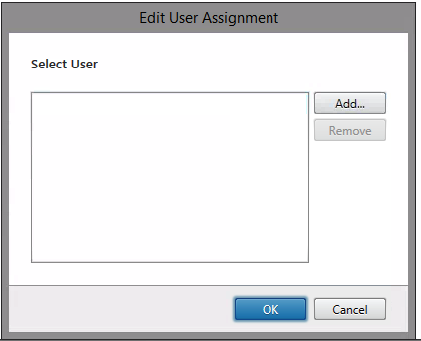
Click Ok
(repeat the steps for the other desktops.)
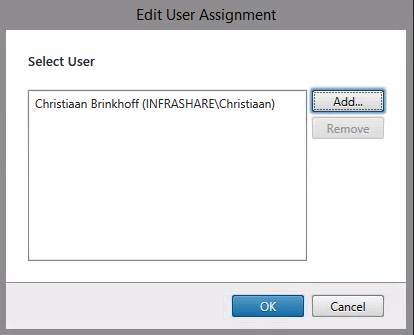
Confirm that the VM is assigned to the specific user
NetScaler Gateway Service – XenDesktop Essentials configuration
Switch back to the Citrix Cloud – home menu, or open citrix.cloud.com
Open the NetScaler Gateway Service – Manage menu
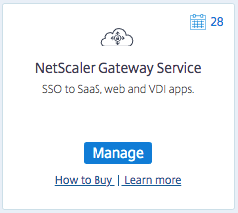
Click on Configure

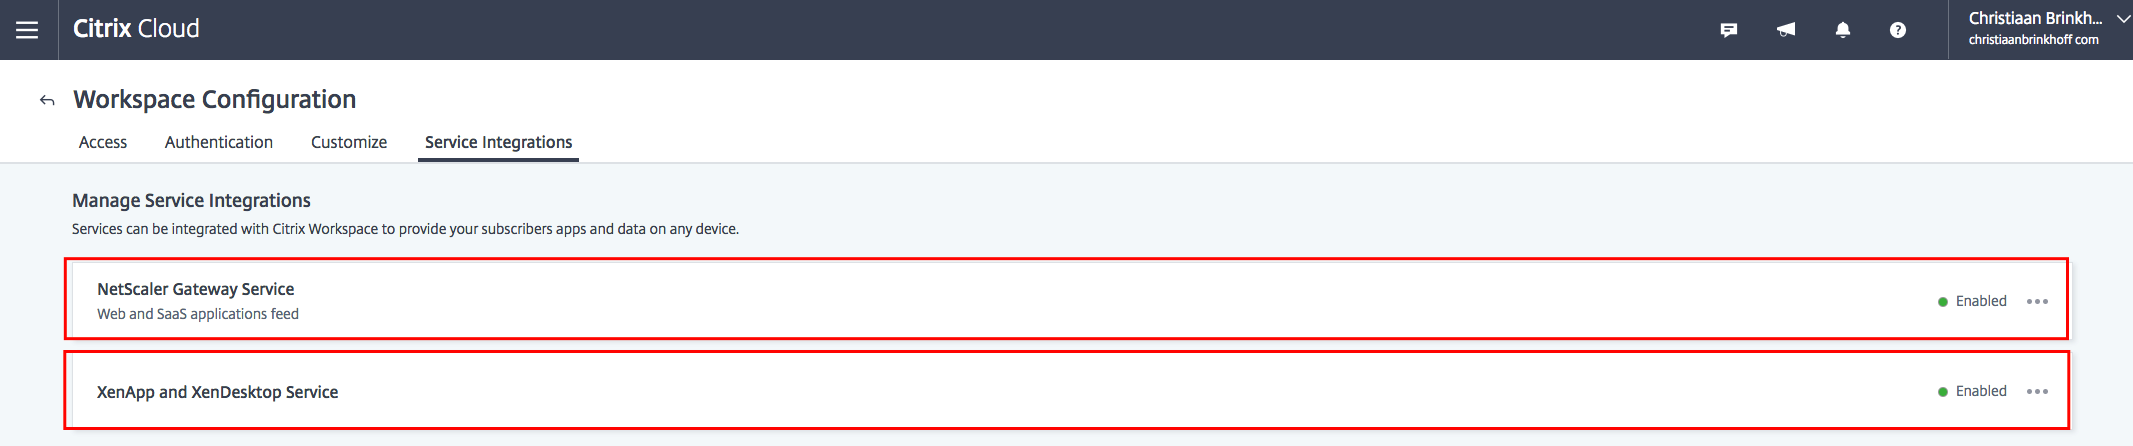
If all the steps are performed correctly – the services below must be listed and have the status enabled.
Customize the Citrix Workspace
Switch in that same menu to Customize
Upload (or drag) your business logo in the required sizing limits field(s)
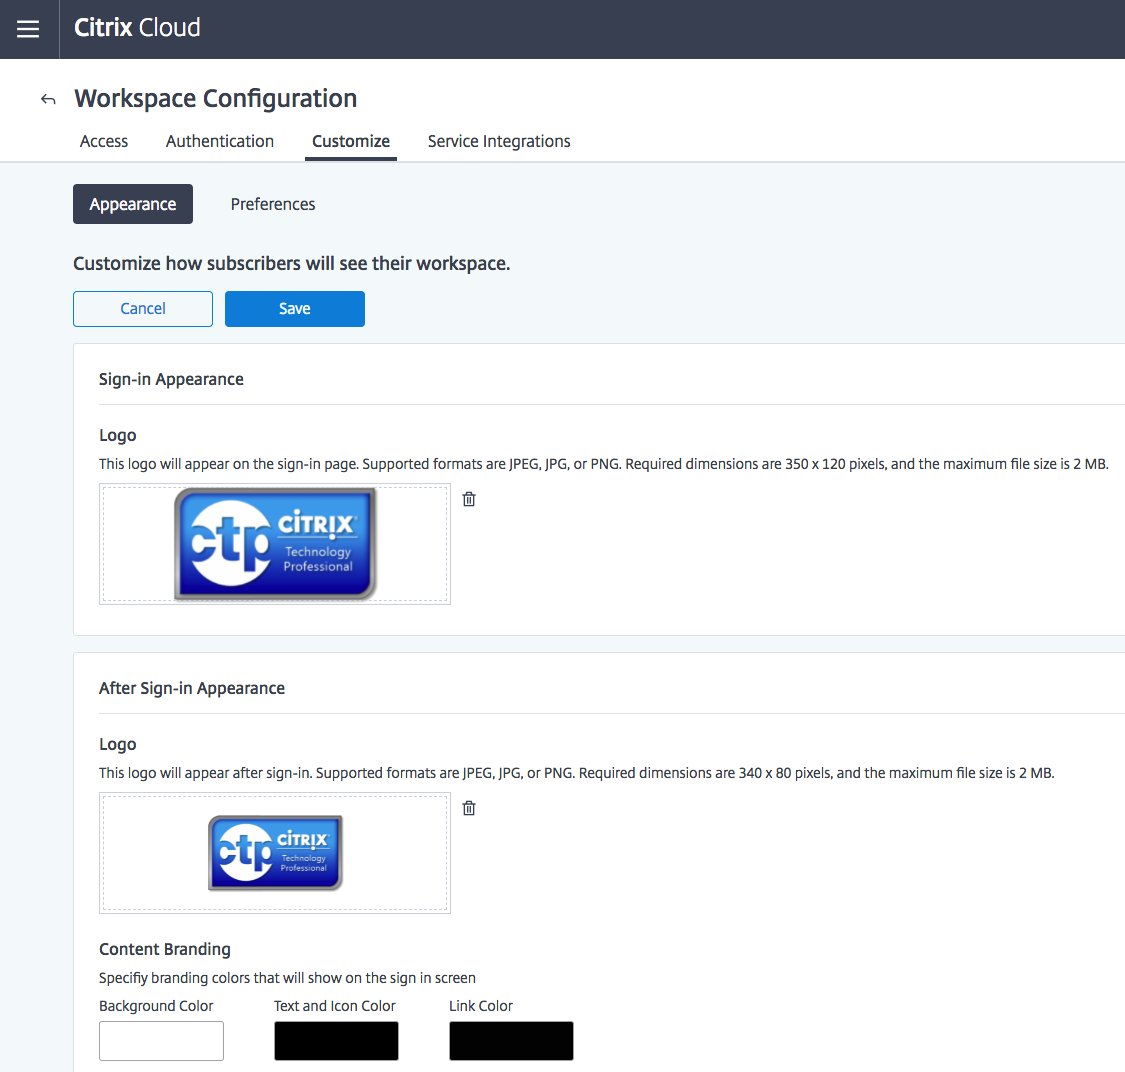
Don’t forget to click on Save
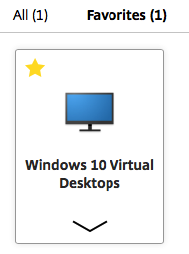
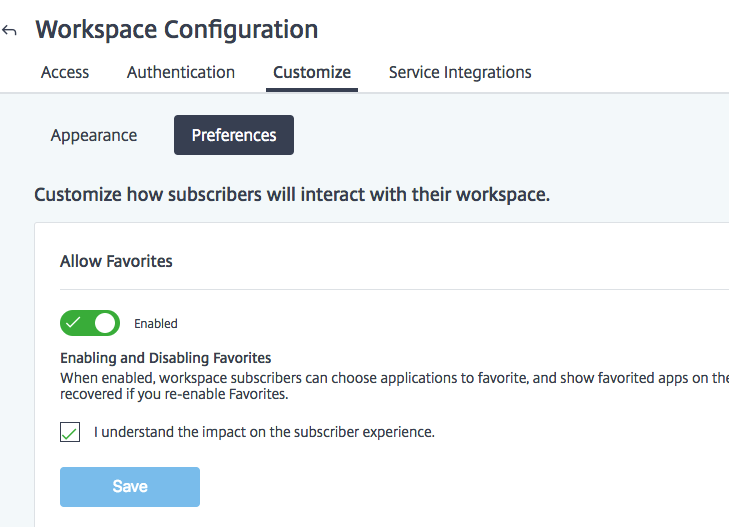
As small extra, on the Preferences section – you’ll find the possibility to activate favourites – very useful when u have multiple apps and only use some of them daily…
Access the Windows 10 Desktop through Citrix Workspace Experience
Switch to the Access tab

Note: You can edit the <NAME>.cloud.com part of the Citrix Workspace url here too.
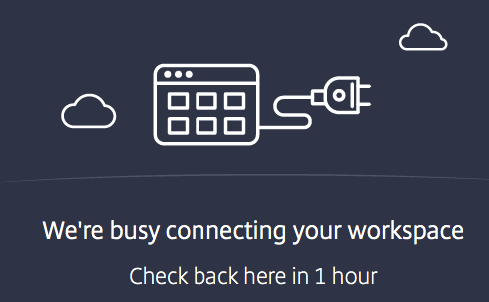
Getting the error below after changing the url – please wait for one hour…
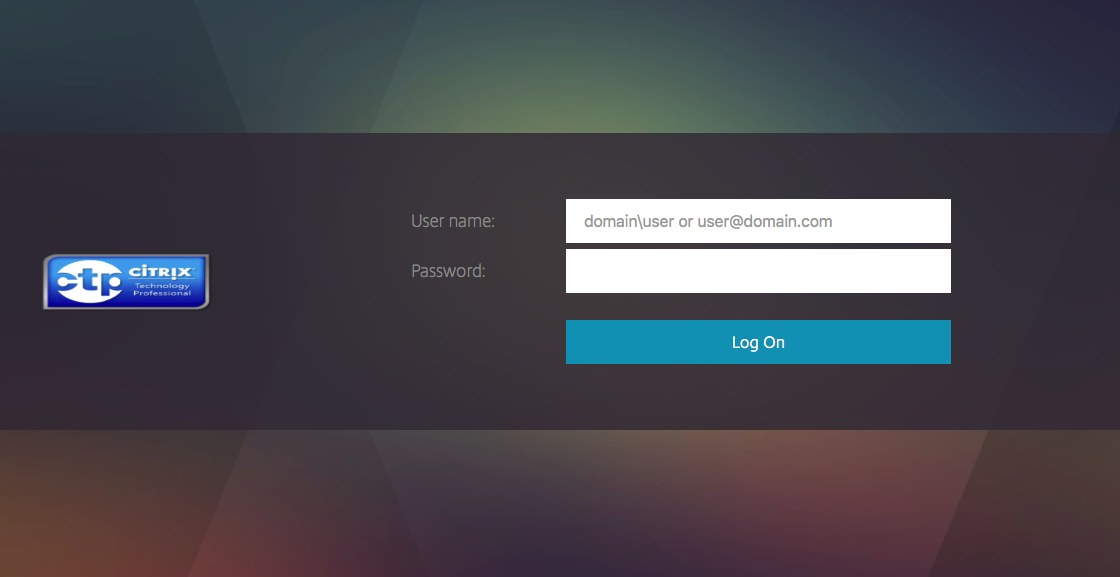
Open the Workspace URL in your internet browser
Enter in the credentials
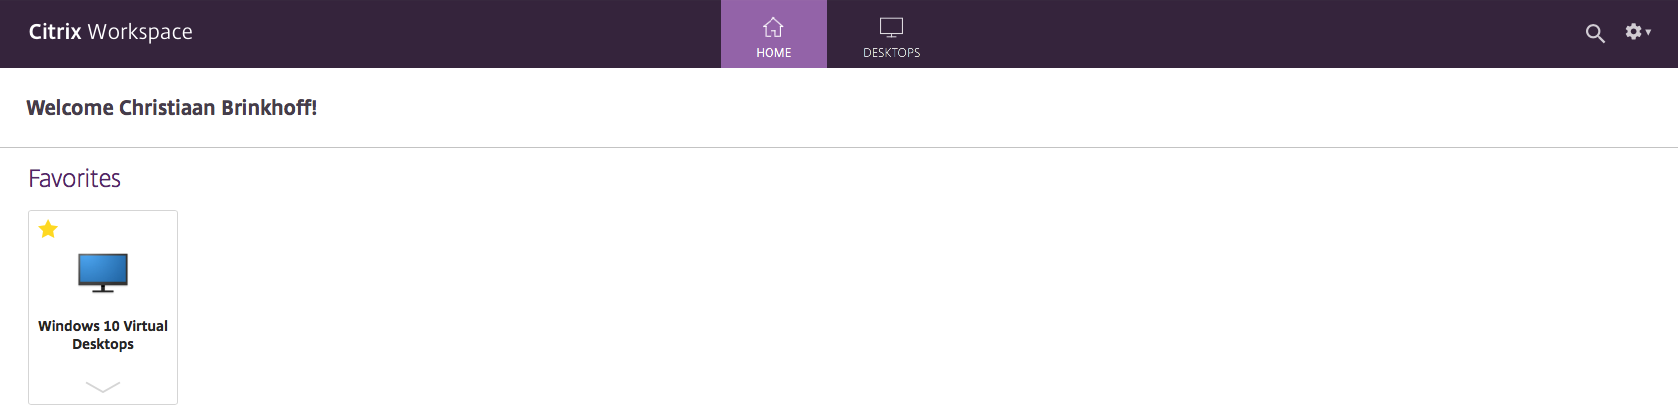
Start the Windows 10 Virtual Desktop!
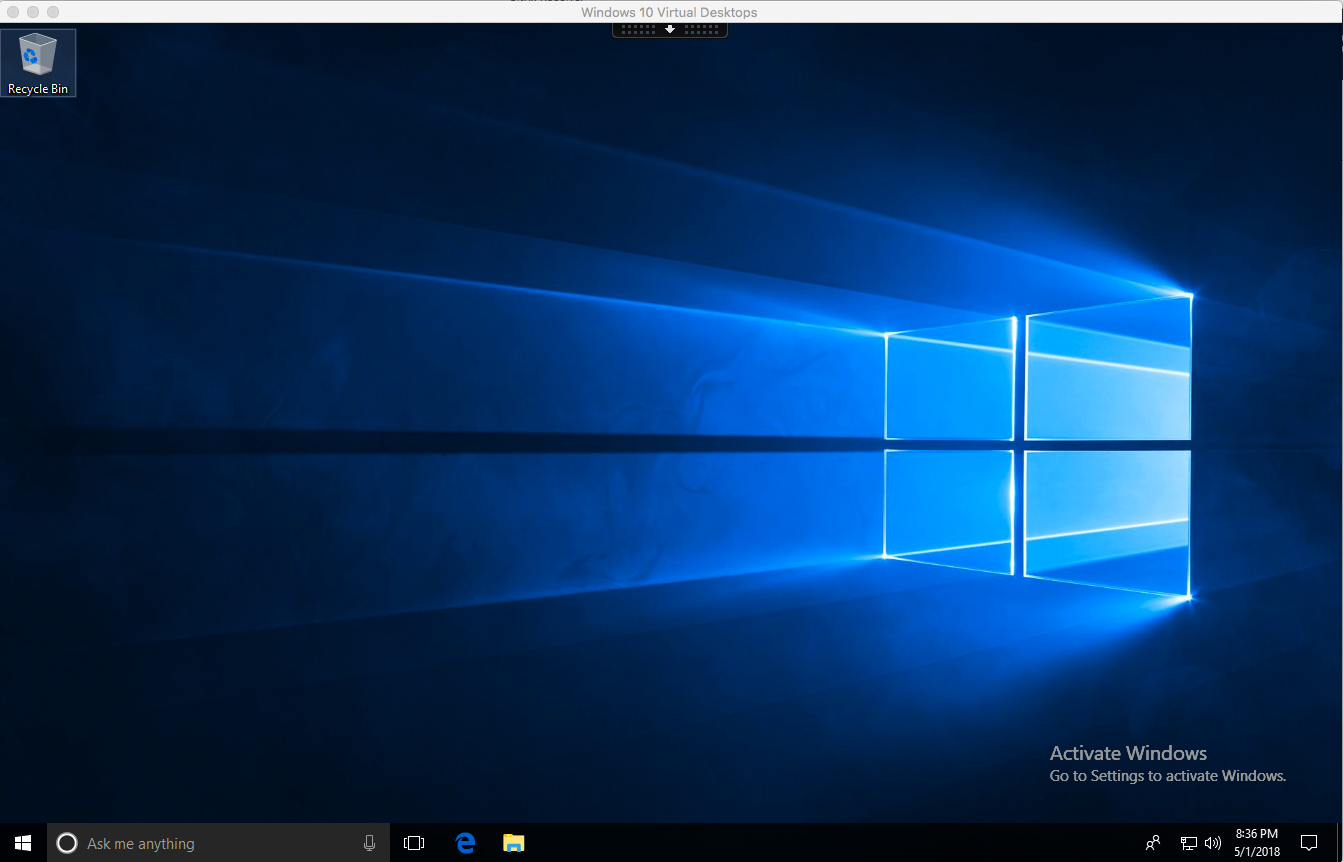
Loading…

Awesome – It works too!
Extra: NetScaler Gateway Service – SSO to SaaS, web and VDI app
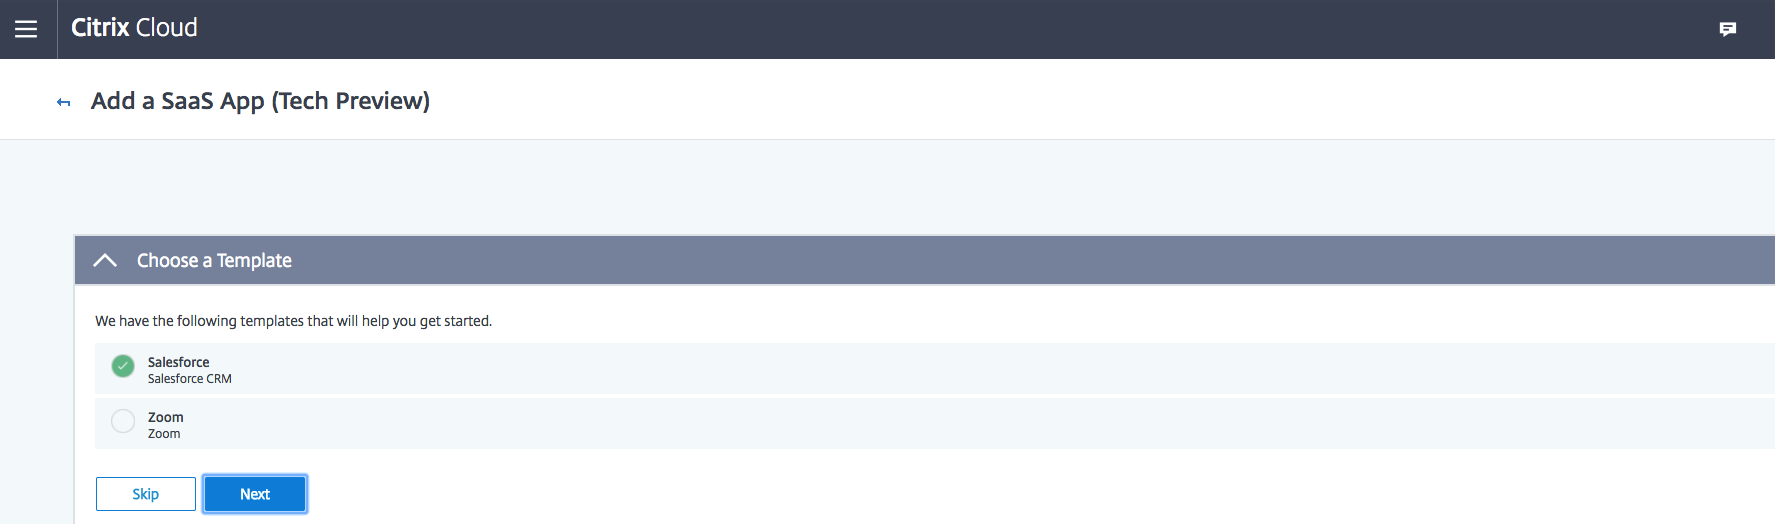
Note: The following steps are in Tech Preview and only supported for SalesForce CRM and Zoom
If you switch back to the home screen of citrix.cloud.com – choose for NetScaler Gateway Service
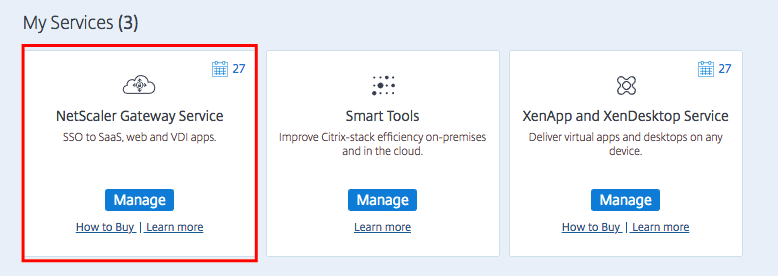
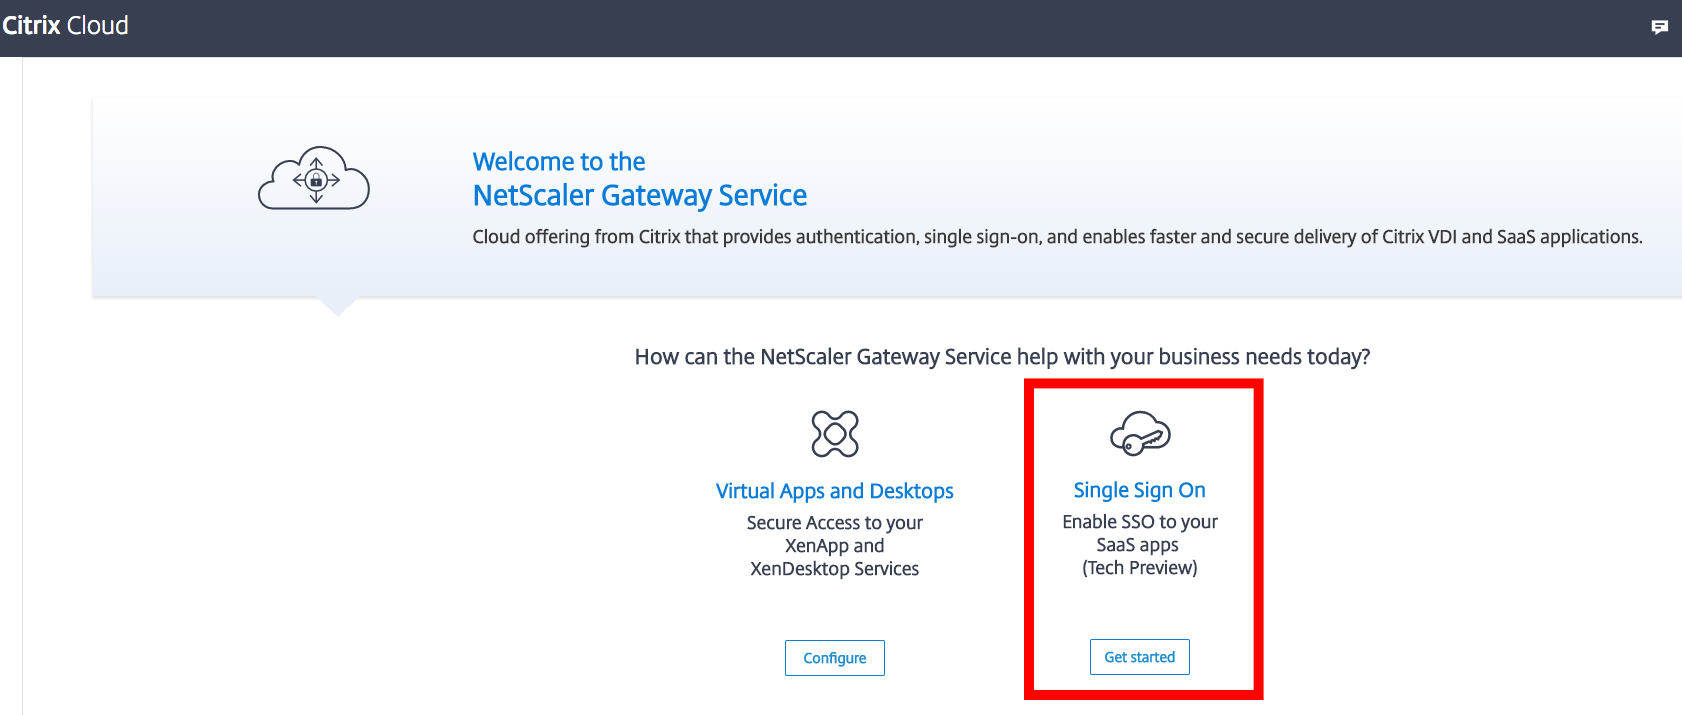
Click on the second option – Single Sign On (SSO) – Tech Preview
Choose one of the 2 (SSO) apps, Click Next
Enter in the required App URL from SalesForce
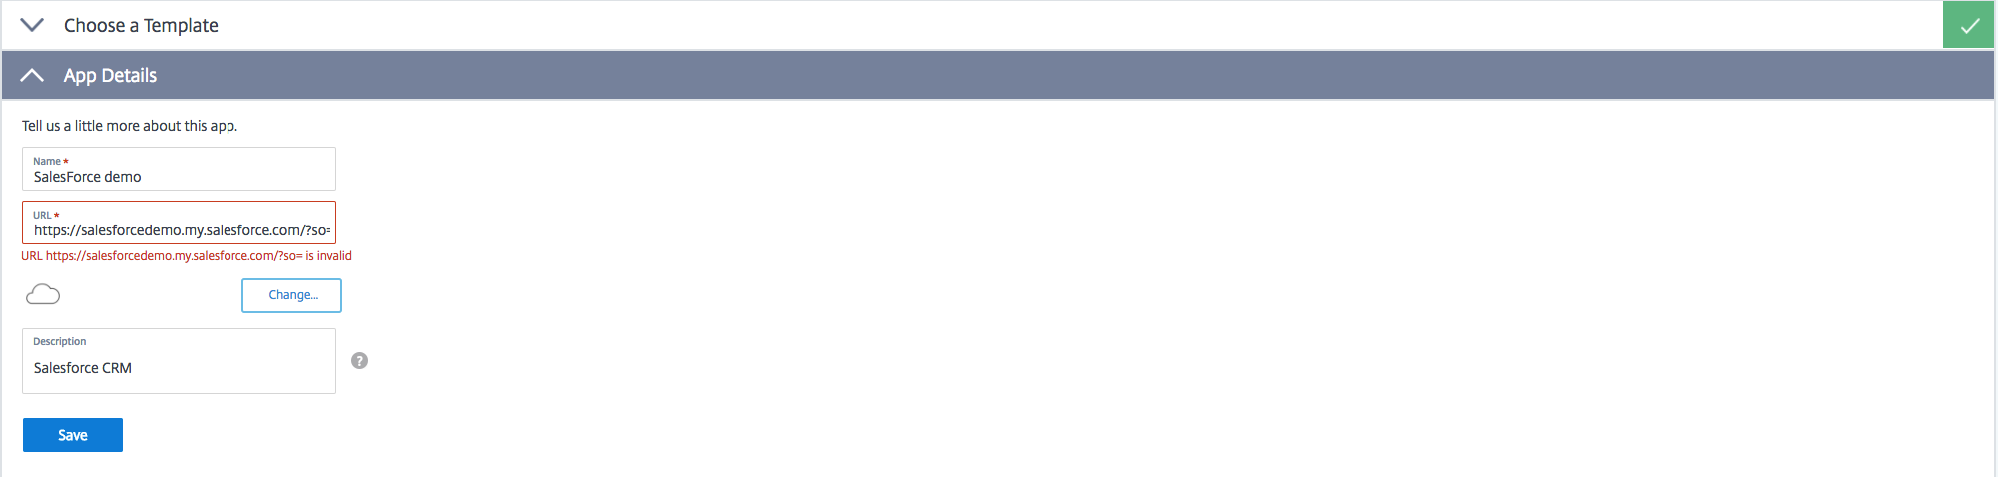
The last step is to activate Single Sign-On
Unfortunately, I haven’t got a SalesForce Account to test it. But I think this step will be pretty straightforward.
I hope this helps.
Cheers,
Christiaan Brinkhoff