
Roam your OneDrive data with FSLogix, based on a non-persistent Citrix Virtual Apps – XenApp desktop


When you install the FSLogix client in your non-persistent (SBC/VDI) master image based on provisioning or MCS, the software creates and attaches a VHD (Virtual Hard Drive) for every user that logs on to that desktop. The VHD will be used as a persistent file repository. In that repository – the FSLogix software creates an OneDrive folder and redirect/mounts the standard users OneDrive profile folder (AppData\Local\Microsoft\OneDrive) to that specific folder in the VHD(x) mounting location. The Operating System will think that the folder is local, but in reality it is mounted to the VHD location. Pretty cool and simple!
At this moment, Microsoft does not provide any official solution yet to successfully configure OneDrive on a non-persistent VDI or SBC environment like XenDesktop or XenApp. Because of this reason, many system administrators blocked this feature, otherwise it can turn into a disaster. Re-sync at every logon is what can cause bandwidth and server CPU and storage consumption problems. This all changes now! You are now able to roam user data without the need to resync at each logon!
I will perform the FSLogix installation on a Citrix XenApp 7.13 environment, based on Windows server 2016 configured with the Machine Creation Services (non-persistent) imaging technology active. In the following steps I provide you a simple guide how to do so!
All the other features of the FSLogix software (included in the license)
- Outlook Search works on both single-user and multi-user environments like standard RDSH, XenApp, and View RDS
- Enable Outlook’s Cached Exchange Mode in XenApp/XenDesktop and RDS/RDSH non-persistent and pooled VDI
- Solve user profile issues and eliminate folder redirection in VDI/XenApp
- Ensure license compliance for all users and all apps on all Windows infrastructure
- Enable Java Redirection and Version Control Management
- Simplify application version control and rollback of application updates
Requirements
- FSLogix Office 365 Container software license (or request a 30 days trial here)
- FSLogix 2.8 client version (latest at this moment FSLogix Apps 2.8.1)
- SMB File Share server
- OneDrive license subscription (included in the most Office365 Business licenses)
- Windows 7 32/64 bits (VHD supported)
- Windows 10 32/64 bits (VHDx supported)
- Windows Server 2008 R2 (VHD and VHDx supported)
- Windows Server 2012 R2 (VHDx supported)
- Windows Server 2016 R2 (VHDx supported)
Prepare the Fileserver for the FSLogix Container deployment
First we need to configure the SMB Shared folder location to store the Container VHDX files, in the following steps we are configure the NTFS rights that are required for the setup. I prefer to create a separate fileserver, with an extra disk attached (D:\ or something similar)
When u are already familiar with the FSLogix installation procedure, please skip to step 13
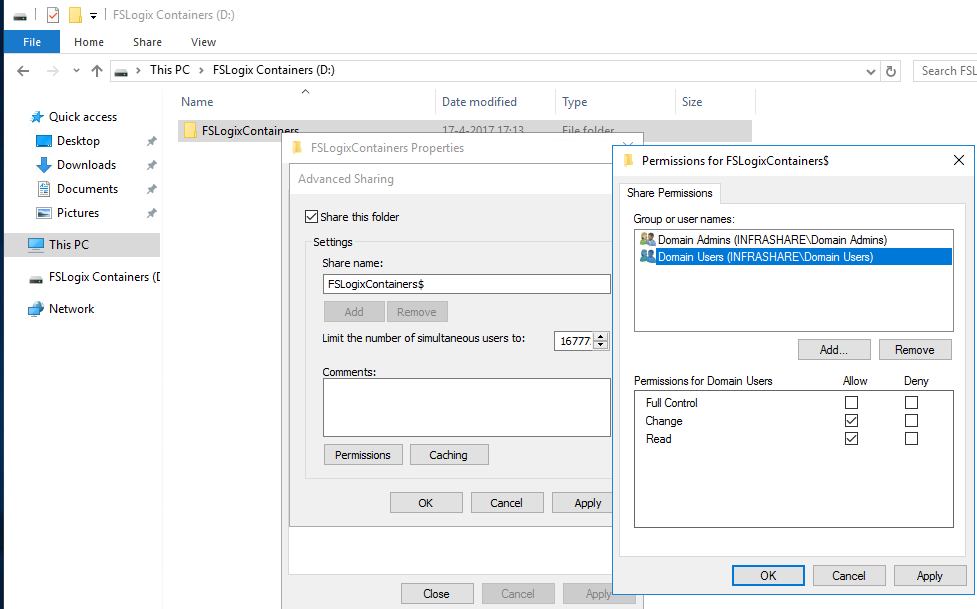
Step 1: Create a folder share on your fileserver (prefer to be hidden), name the folder something like FSLogixContainers and set the share permissions to:
Domain Admins to Full Control
Domain Users to Allow Read and Change
Step 2: Now switch to the NTFS securitytab, so we are sure that only the users and Domain administrators can access the OneDrive data folders
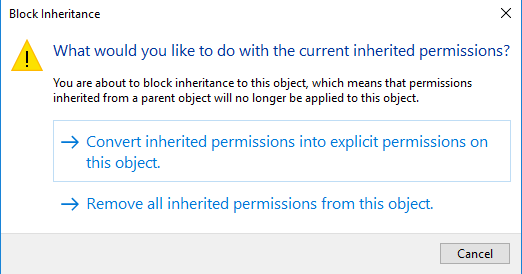
Step 3: Open the Advanced option, disable the inheritance option, and choose to Remove all the inherited permissions from this object
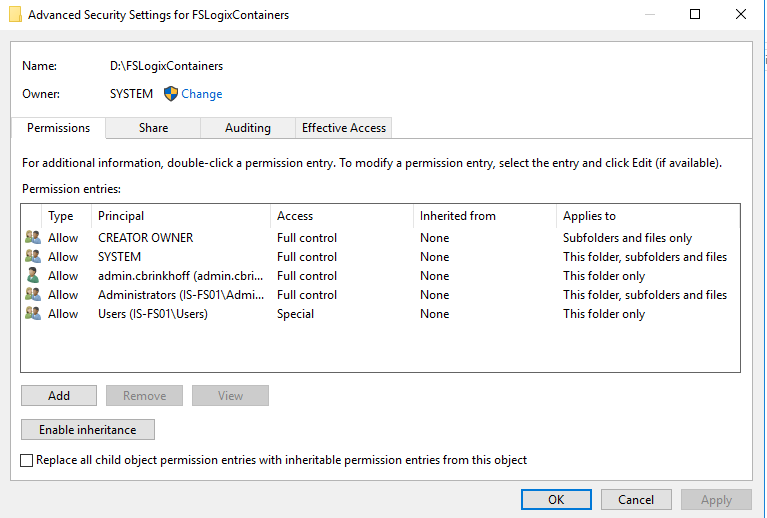
Step 4: Setup the Advanced NTFS folder permissions of the Container folder, with at least the following required permissions:
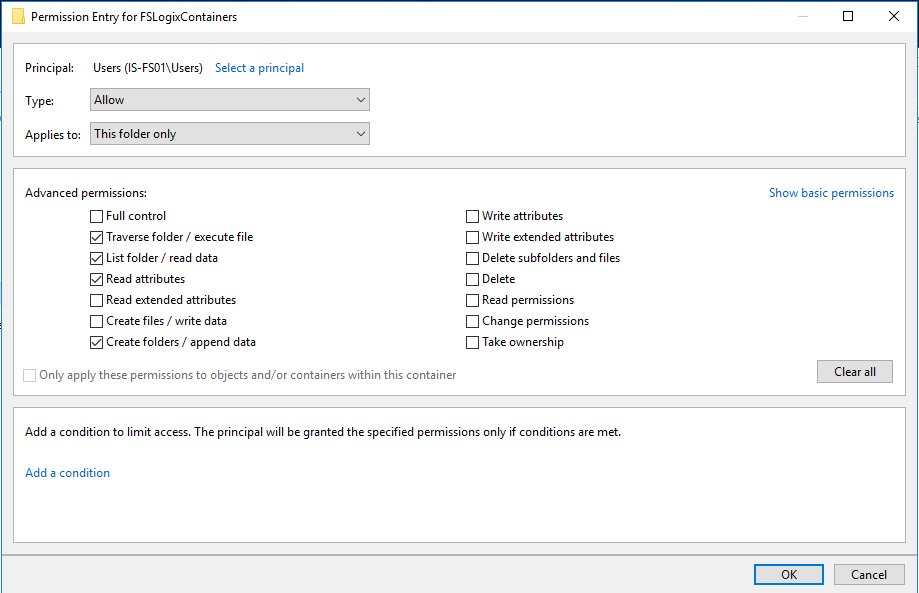
- CREATOR OWNER – Full Control (Subfolders and Files Only)
- SYSTEM – Full Control (This Folder, Subfolders and Files)
- Administrators – Full Control (This Folder, Subfolders and Files)
- Users – Create Folder/Append Data (This Folder Only)
- Users – List Folder/Read Data (This Folder Only)
- Users – Read Attributes (This Folder Only)
- Users – Traverse Folder/Execute File (This Folder Only)
Note: Check the folder ownership and change (if needed) it to the SYSTEM account
Configure the Container location settings through Group Policy Management
When you haven’t got access to the FSLogix software or license, please request it over here / Or use this direct download link to get to v2.8.1
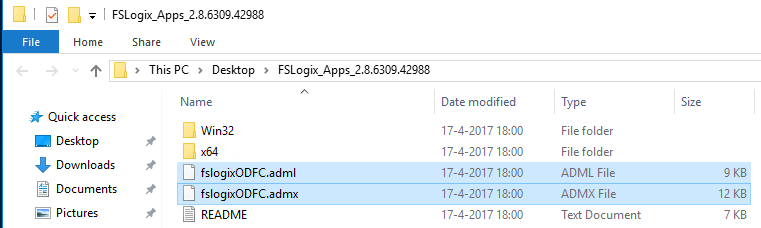
Step 5: Download the FSLogix Client software v2.8.1 – In the setup package (zip) you can find 2 Group Policy ADMX/ADML files, upload them to the sysvol Central Store or place them into the local policy store of your domain controller (C:\Windows\PolicyDefinitions).
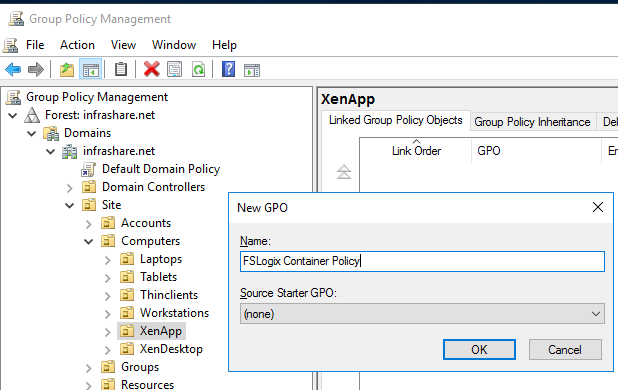
Step 6: Open the Group Policy Management Console and create a new (Computer) Policy filtered on the OU where your XenApp AD Computers objects are in and edit the policy afterwards
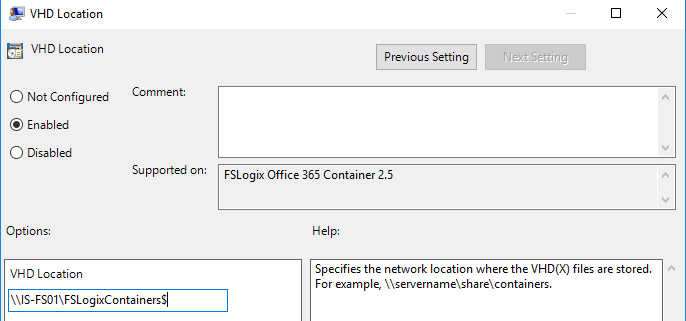
Step 7: Go to Computer Configuration->Administrative Templates->FSLogix->Office 365 Container and Enable the Enabled option and setup the VHD location that created earlier in step 2

Note: The VHD location only needs to be the UNC SMB share folder location, for me ->\\IS-FS01\FSLogixContainers$ (no %username% parameter is required).
Advanced VHD(x) Client settings
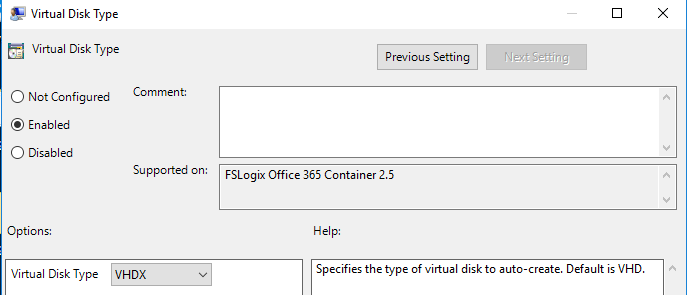
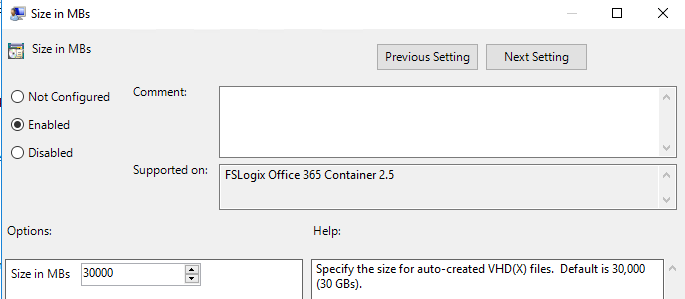
Step 8: In the Group Policy menu, you also have 2 extra folders, one named Advanced and one VHD Settings. Go to the VHD Settings and change the following 2 policies:
Virtual Disk Type
I prefer you to set the disk type to VHDX
Size in MB’s
This one is important – when u left this setting default, the maximum Virtual Disk space will be set to 30 GB. When you’re OneDrive allocation for your users is larger, you can change this default setting.
The disk space will be dynamically allocated.
Install the FSLogix Client into your master image
The following installation parts must be done in the master image of the XenApp (or XenDesktop) server. This can be Citrix Provisioning and/or Machine Creation Services. For this tutorial I will use the MCS imaging strategy.
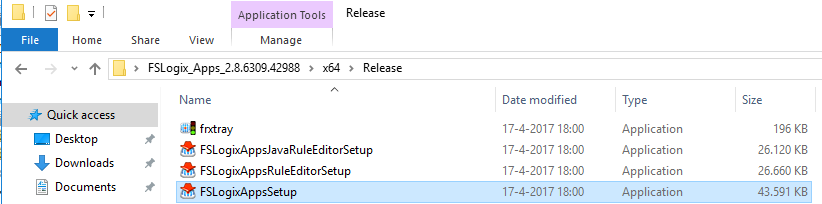
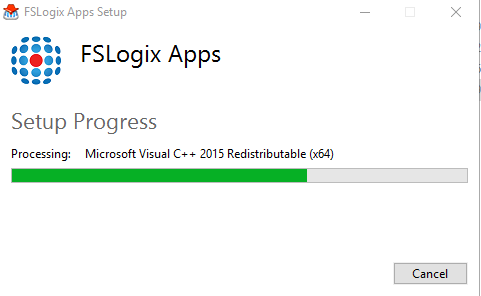
Step 9: Install the FSLogixAppsSetup.exe software in the Master image
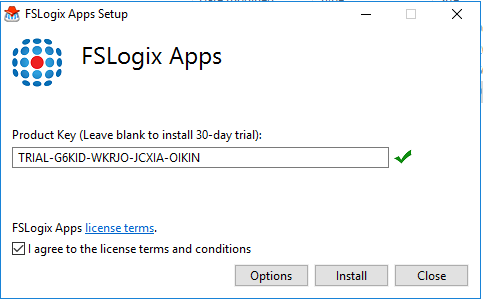
Step 10: If you already have one active license, then replace the Trial license – accept the license terms – and click on Install
The requirement are also automatically being installed…
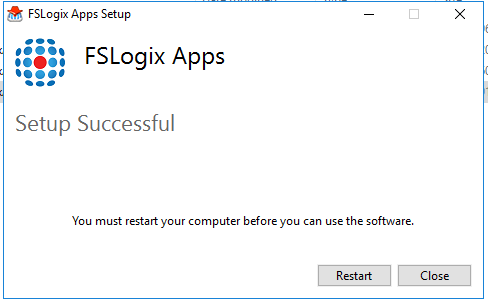
Step 11: When the installation is finished successfully, click on Restart
Test the mounting disk configuration
Step 12: Please logon as a normal user to your Desktop environment and check if your VHD(x) file is being created and automatically attached to the server!
You can check disk management (diskmgmt.msc) – if you see something like (the picture below, than you can continue to step 13
Note: The green disk means that it is a Virtual Hard Drive instead if a “physical”
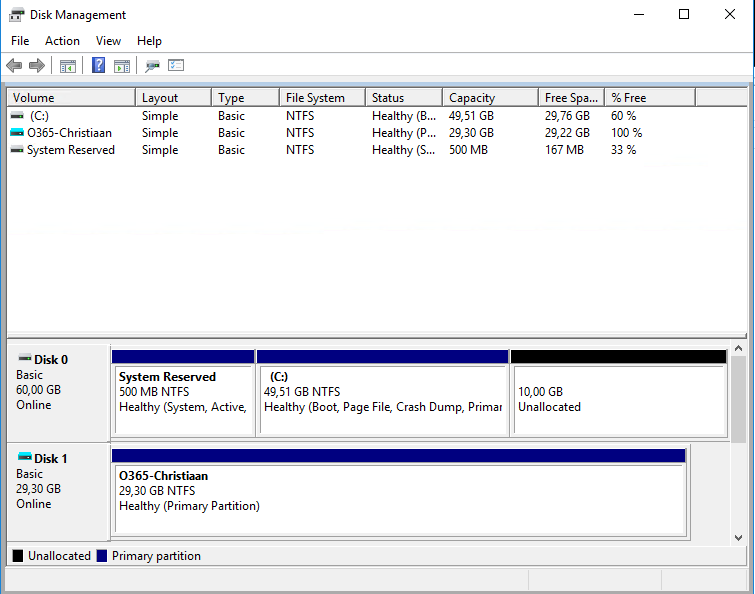
The following folder name and VHDX is created…

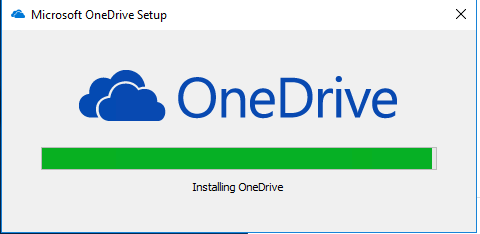
Install the OneDrive Client into your master image
Step 13: Install the OneDriveSetup.exe client software in the master image – from the official Microsoft page. Publish the new version afterwards!
https://go.microsoft.com/fwlink/p/?LinkId=248256
Note: The steps 14 – 16 must be done once per for user. When u installed the OneDrive client in the master image, you can find the setup at the following location – C:\Program Files (x86)\Microsoft OneDrive\OneDriveSetup.exe – I advise you to create a logon task in your UEM tooling that is limited to run only 1 time. The user does not need any admin right to perform the configuration.
Step 14: Start the OneDrive configuration by clicking on the OneDrive icon in the right corner on the taskbar
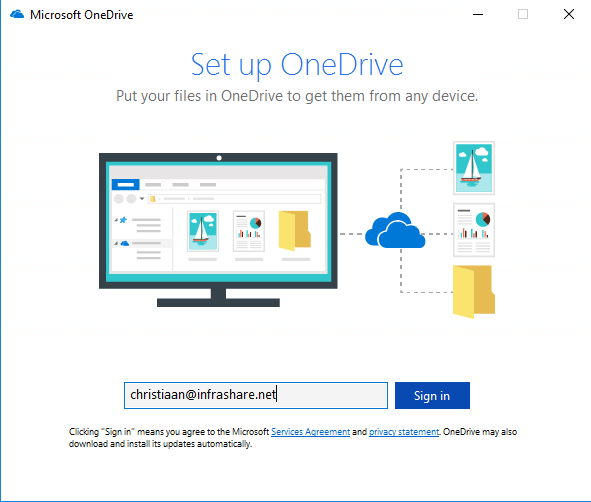
Step 15: Enter the Office365 emailaddress of the OneDrive user
Note: Are you using ADFS? Make sure that your STS URL is added in the Intranet Internet Explorer zone. You then only need to enter the email address, instead of email address and password.
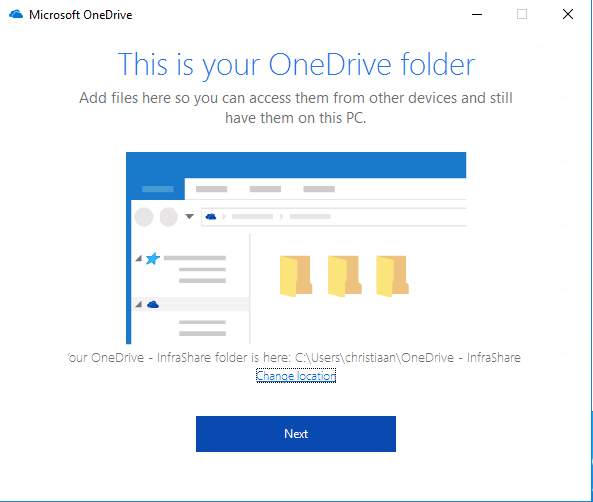
Step 16: Let the default location – C:\Users\username\OneDrive – OrganizationName – be default, click on Next
Note: Using Mandatory profiles? Make sure that the folder – OneDrive – OrganizationName – is already created, otherwise you can get errors while setting things up!
Select the folders that you want to synchronize, click on next

Click on the Open my OneDrive – InfraShare folder – button
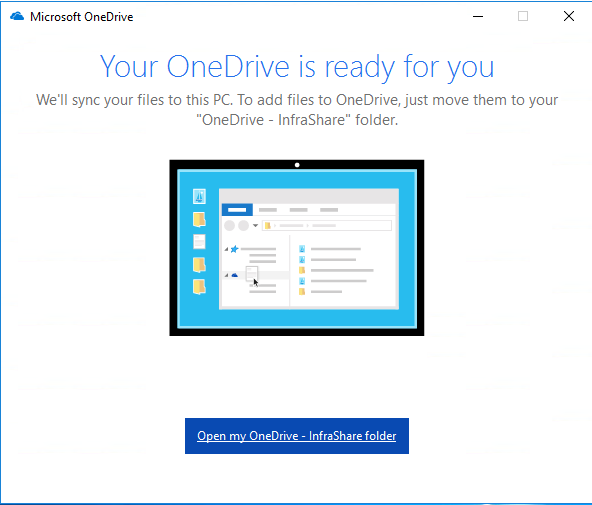
The folder data will now be synchronized to the VHDx mounting location

Check the Container inventory
Step 17: We can now check if all the steps are function like they should, to check this, open the Disk Management Console and attach a Drive letter to the VHD(x) mounting location to explorer the inventory
You can see that the OneDrive folder is created in the Virtual Drive, all the configuration files are stored in the this folder.
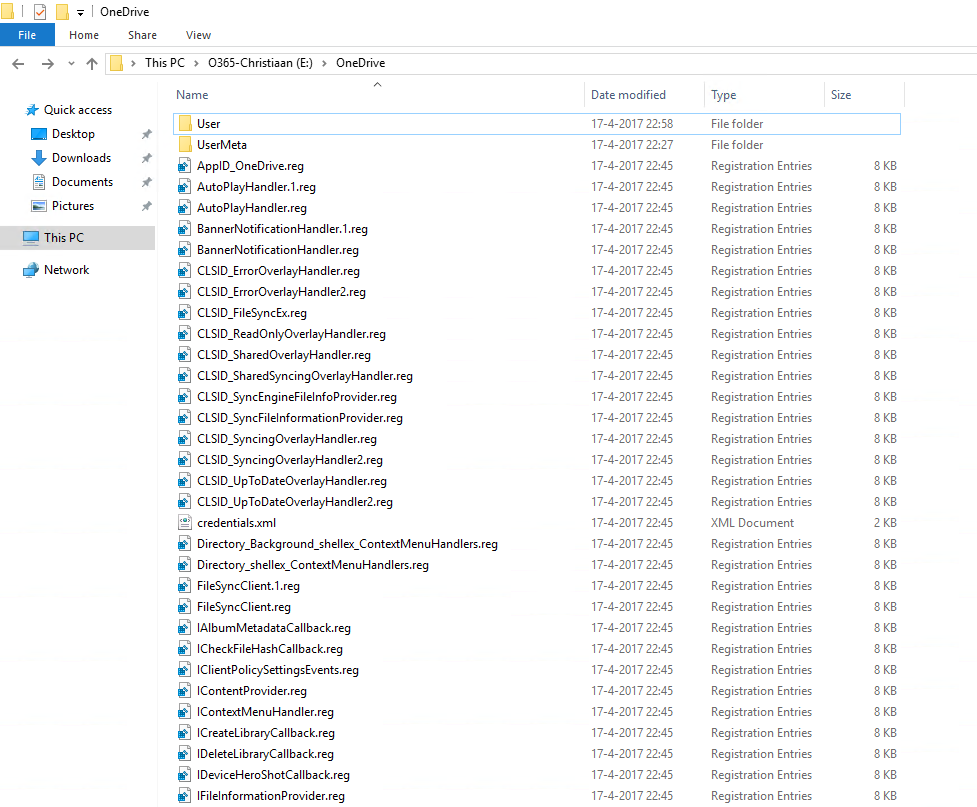
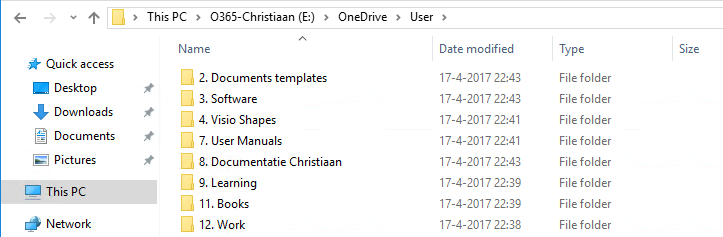
All the actual OneDrive synchronized “personal” data is placed in the User folder
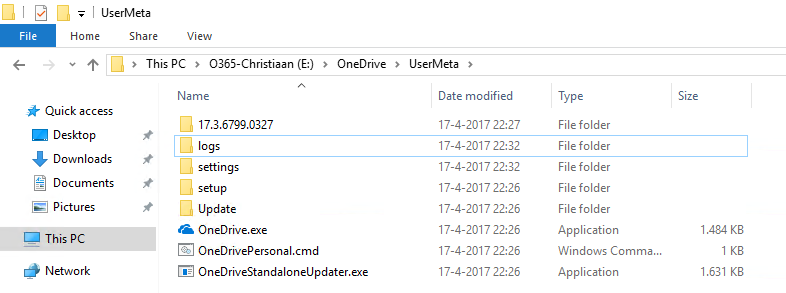
Step 18: And the last folder, named UserMeta holds the OneDrive client installation .exe files
Left the original folder that is mounted – right the mounted physical location
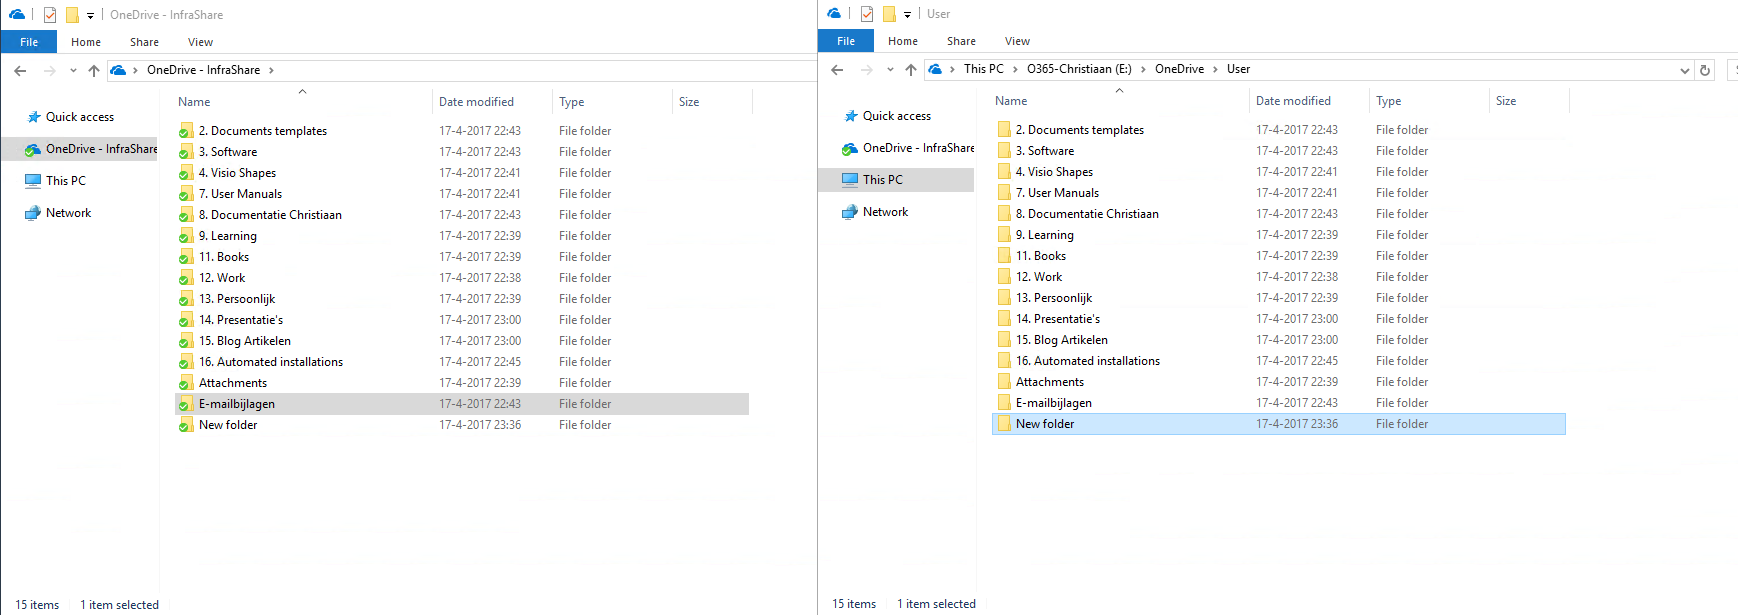
I’ve also tested if my profile still works after a reboot!
UEM and or profile tooling?
When u use UEM tooling, like RES, AppSense or Citrix Workspace Environment manager, please make sure that the following location(s) are not captured by any UEM or UPM profile tooling:
C:\username\AppData\Local\Microsoft\OneDrive
Extra: Windows Search Database roaming
Since the FSLogix version 2.7, the software also supports the roaming of the Windows Search Database – what is used for indexing the Outlook database. This feature is all included in the license!
From the FSLogix website “Windows Search database roaming is only supported with the Office 365 Container license. Concurrent multi-user systems, like XenApp, are not supported with this version. Version 2.8 does support multi-users systems but for Outlook indexing/search only.”
To active the feature, you must change the following registry key in the master image:
HKLM\SOFTWARE\FSLogix\Profiles
RoamSearch
DWORD
Value 1