Setup and configure a NetScaler 11.1 VPX in Microsoft Azure, including NetScaler Gateway (ICA Proxy) configuration


In addition to my previous blogpost, How to Build your Citrix Disaster Recovery environment in Microsoft Azure, and of course, when you need to proceed the NetScaler setup in Azure for your own Citrix (hybrid) environment, I created this blog article, to show you how to get familiar with the configuration steps that must be done, to configure NetScaler 11.1 VPX in the Microsoft Azure Cloud and configure the NetScaler Gateway steps for ICA Proxy – remote access.
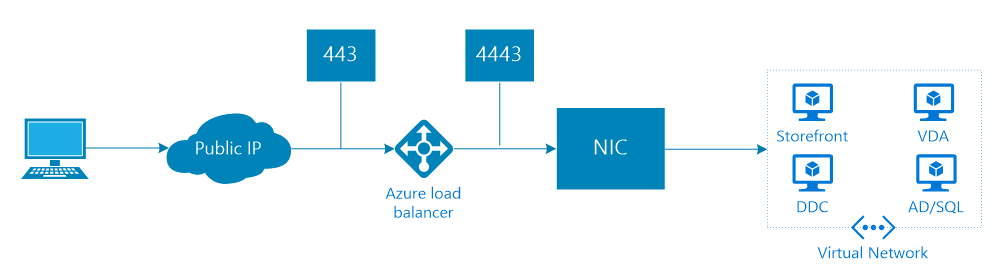
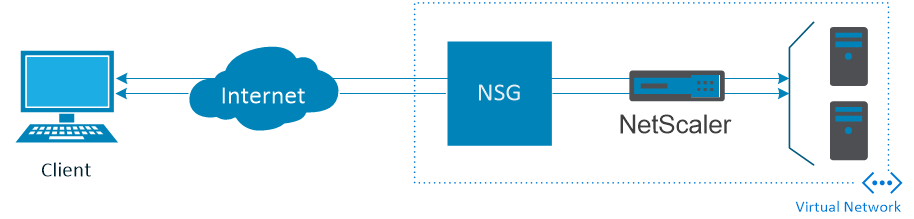
One major configuration limitation, that you definitely need to be known with, is that the default ports, 443 and 80 are in use for management usage, and cannot be changed or used for other virtual servers (VIPs). To work around this limitation, you need to NAT/reverse proxy ports from the internet to the VM’s network interface, I will configure this by making use of the Azure Load Balancer functionality, the outside port 443 listens to port 4443 on the inside (like picture below).
Another option I would like to mention is the SSL VPN – NetScaler gateway feature. You can use this to replace the Azure point-to-site vpn option, to provide users a more simple way to connect to the Azure vNet network, by a uniform (custom) web portal.
Limitations you need to be known of
The NetScaler VPX 11.1 in Microsoft Azure did get an update last month, most of the limitations are now gone! Please check one of my new blogs – How to setup NetScaler Gateway SSL VPN in Azure as Point-to-Site VPN replacement, using multiple network interfaces
The following ports cannot be use for vServer (VIP) configuration; 21, 22, 80, 443, 8080, 67, 161, 179, 500, 520, 3003, 3008, 3009, 3010, 3011, 4001, 5061, 9000, 7000, they are reserved for internal usage;The order of the NICs inside the virtual machine (VM) will be random;- No support for the following features; IPv6, Gratuitous ARP (GARP), L2 Mode, Tagged VLAN, Dynamic Routing, Virtual MAC (VMAC), USIP,
GSLB, CloudBridge Connector; - The Intranet IP (IIP) feature is not supported;
All the supported features
- Web Logging
- Content Switching
- Load Balancing
- SSL Offloading
- Content Filtering
- SSL VPN – NetScaler Gateway
- Rewrite
- Responder
- HTML Injection
- Web Interface on NS
- Appflow
- vPath
- Strong encryption
Requirements
- NetScaler license (If you haven’t got any, please use a 90 day trial);
- Azure subscription;
- IPsec or ExpressRoute tunnel (if your Citrix environment must be configured hybrid);
- Citrix XenApp/XenDesktop (at least 7.6);
- StoreFront (at least 3.0);
Deploy the NetScaler VPX from the Marketplace
Step 1: First go to the market place in the Azure Portal, search for NetScaler 11.1 VPX Bring Your Own License, select the name and click on Create

Step 2: Fill in all the Basic server information, give in a random server name, disk type SSD (preferred), username, password, Azure subscription, select the Resource Group and the datacenter location. Click on ok

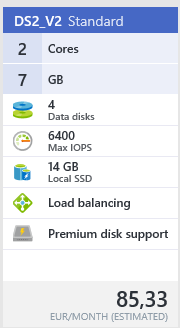
Step 3: Choose the VM size (sku), for this article I choose for the DS2_V2 server, click on select
PS: Depending on the workload of your environment, you need to increase the sizing
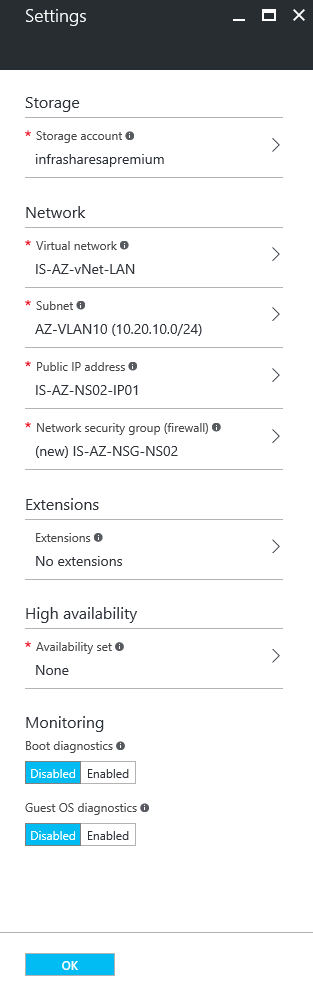
Step 4: In the next config screen; Change all the requested information:
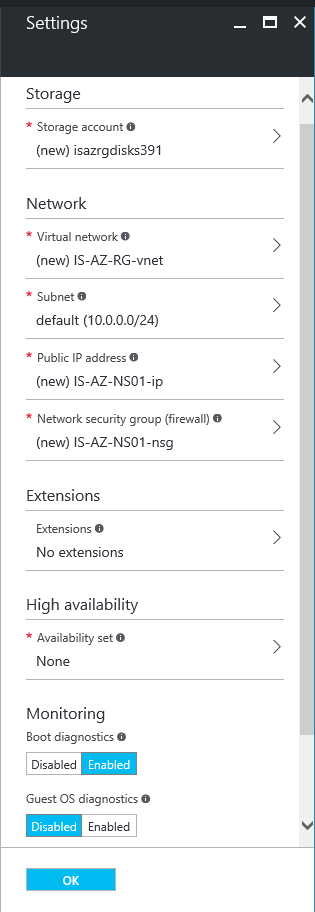
Storage account: The storage account that you want to use
Virtual Network: The vNet of your Company (If you have: with the IPsec or ExpressRoute activated on)
Subnet: The subnet you want to place your NetScaler in
Public IP: Create a new “Static” Public IP, when you want to configure directly from the internet into Azure
Network Security Group: To open the management portal from external; Follow the next steps: (this is only needed when you have no IPsec / ExpressRoute hybrid network to Microsoft Azure)
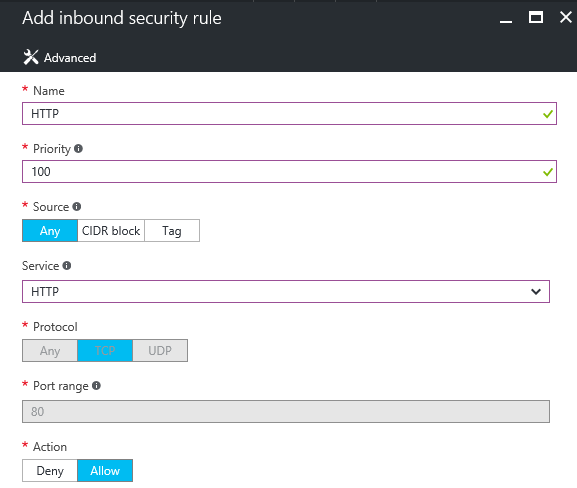
Step 5: The Network Security Group must be configured with at least the following ports to accept; port 80, port 443. Add them as inbound security rule.
Note: These steps are only needed when you haven’t got any IPsec VPN or ExpressRoute connection to Azure.
First, create a rule for HTTP (management) access – with these settings applied, configure a CIDR block to provide access to your network only, to limit the external access to the management portal.
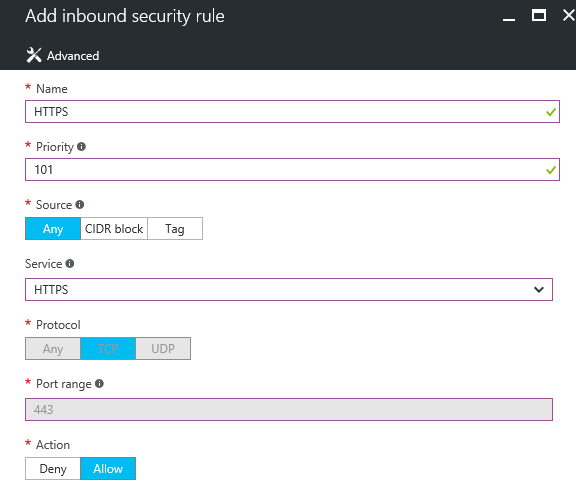
Step 6: Afterwards create a rule for HTTPS (management) access – with these settings applied, and the same CIDR setting from the previous step
Step 7: Create a rule for HTTPS-4443-External (external vServer – VIP) access – with these settings applied
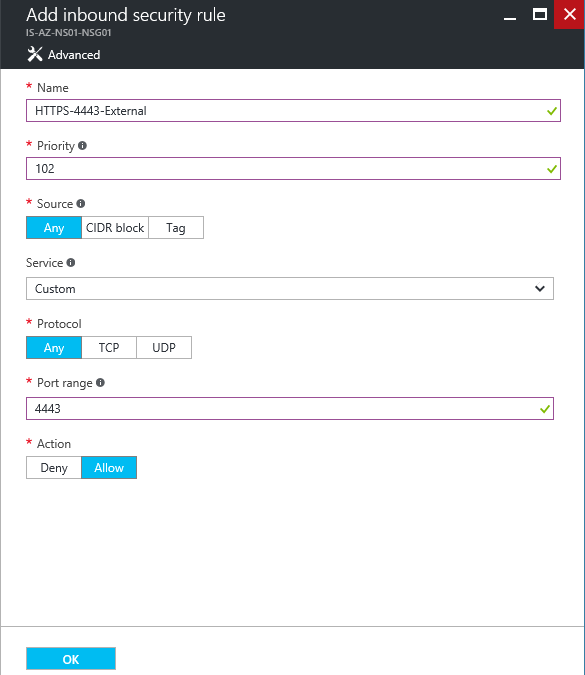
All these NSG-inbound rules must listed to guarantee (external) access to the management portal

Step 8:If you do not have any storage accounts created yet, create one and select none in the availability set option.
PS: When you need to configuring 2 NetScalers in Azure as HA-pair, then always make sure that they are in the same availability group!
NetScaler configuration overview
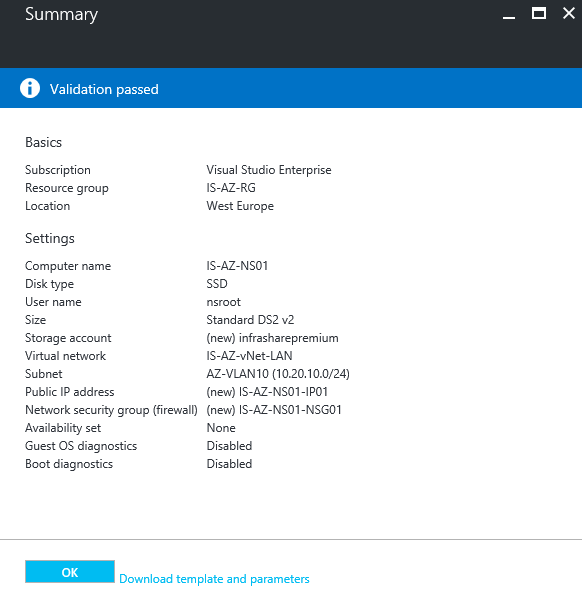
Step 9: Validate the entire configuration before deployment, click on Ok
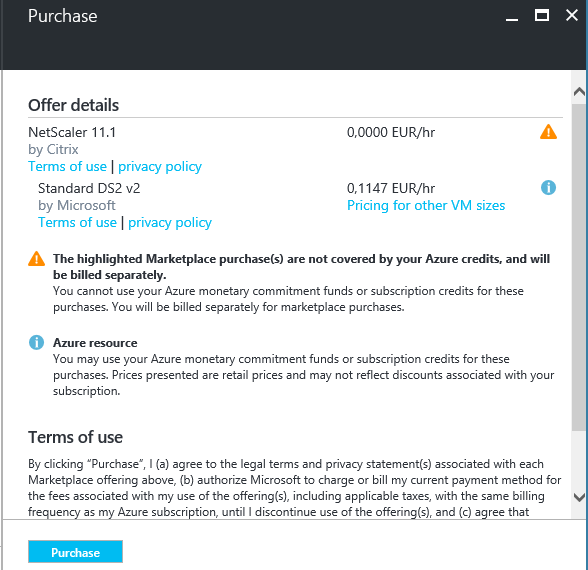
Step 10: The license purchase screen, because you bring your own license, only the Virtual Machine usage costs will be charged. Click on Purchase to start the deployment
The deployment is started…

Setup the Azure Load Balancer
To provide external access over the ports 80 (HTTP) and 443 (HTTPS), a reverse proxy configuration must be created, by using the load balancer service in Azure.
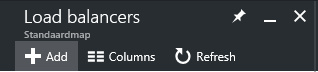
Step 11: Create the Load Balancer, open the service – Load balancers – Click on + Add
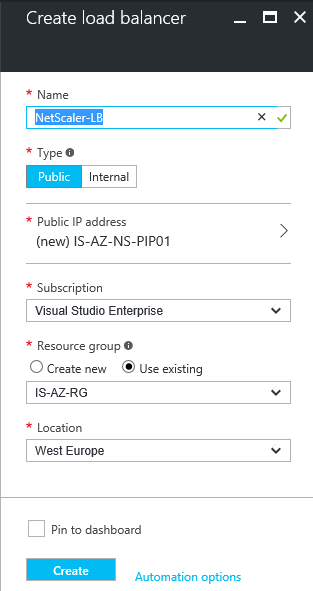
Step 12: Fill in a random name, that fits in your naming convention, I will name it NetScaler-LB, and select Public as type and click on the Public IP address option

Step 13: Create a new Public IP, select Static Assignment and click on Ok

Step 14: Select your Azure subscription, Resource Group, DC location and click on Create to finish the setup
Deployment is in progress…

Step 15: Name the new back-end pool for HTTPS traffic and click on + Add a virtual machine to connect to the NetScaler Virtual Machine
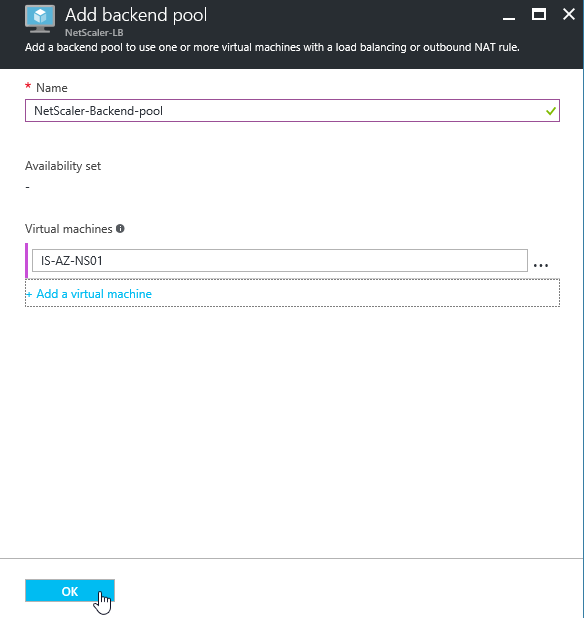
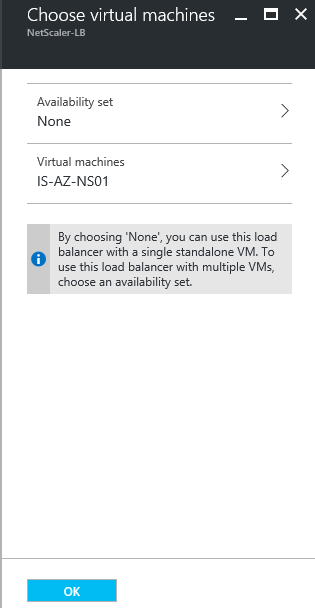
Step 16: Select None in the availability set option, select the NetScaler Virtual Machine in the Virtual Machines section and click on Ok and Ok in the previous screen
The backend pool is saving…

Step 17: Once the back-end pool is created, open the inbound NAT rules and click on the + Add button
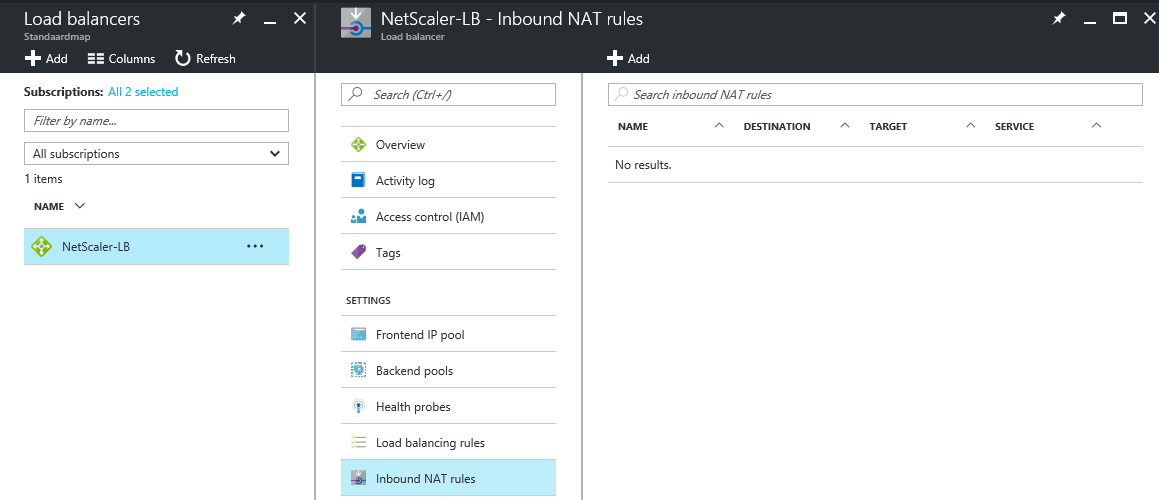
Step 18: Give in a name for the NAT rule, select the service HTTPS, protocol TCP, Port 443 (external), Target: NetScaler Virtual Machine | Availability Group None, Port mapping: Custom, target port 4443. Click on Ok to save the new inbound rule
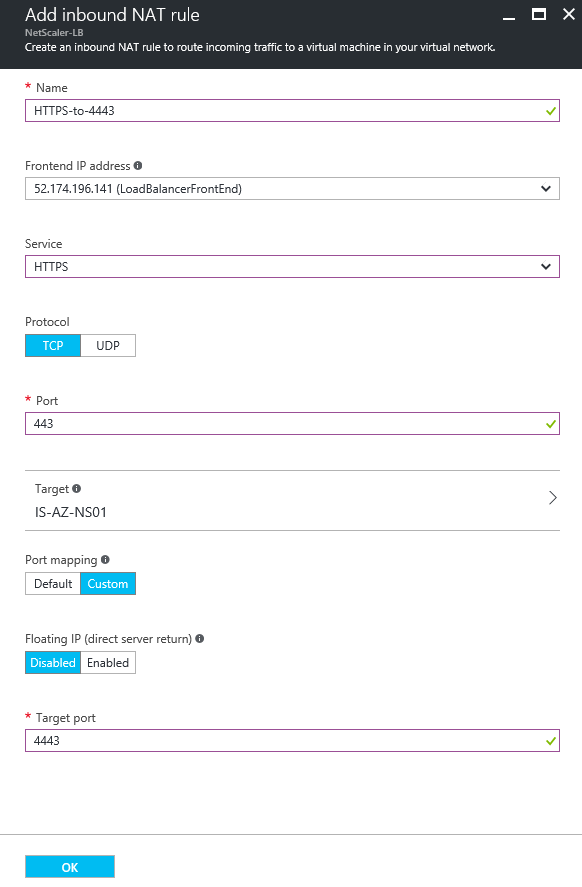
The rule in being created…

Step 19: The following rule is added, at this moment, all the external traffic that goes to 52.174.196.141:443 – redirect to the NetScaler Virtual Machine, port 4443. Pretty awesome and effective, in just a few steps!

Step 20: Now we can add an external DNS record that point to this external “destination” IP address, so I created citrix-azure.infrashare.net A record already in my hosting providers DNS portal.
![]()
Proceed the NetScaler – ICA Proxy configuration
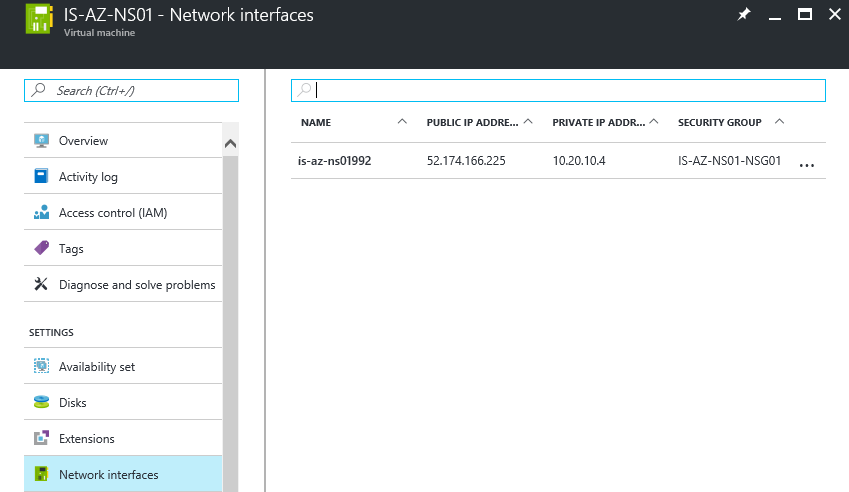
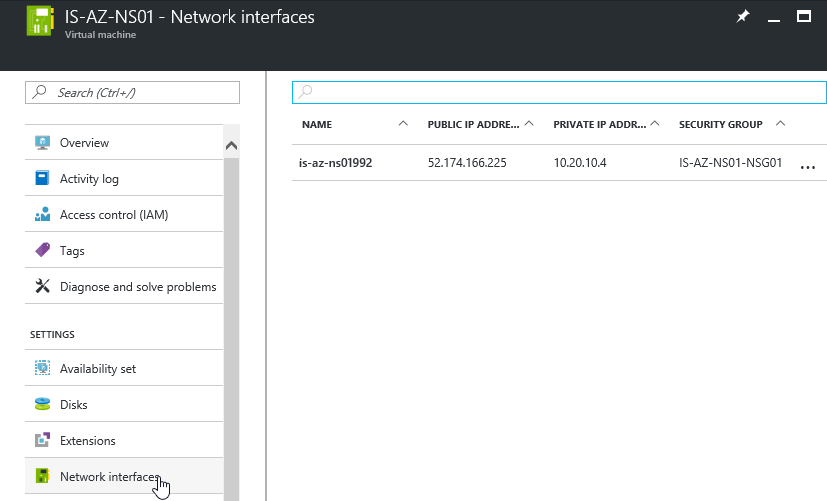
Step 21: When the deployment is finished, please open an internet browser to check the availability by entering the internal IP (if you have a IPsec VPN or ExpressRoute) or by entering the “static” public IP address or DNS A record name.
You can find these, by opening the Virtual Machine, and going to Network interfaces
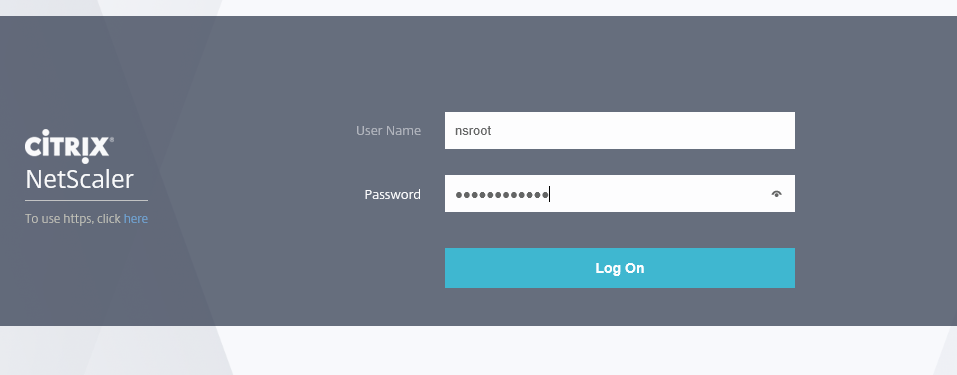
Step 22: Log in with the earlier defined account and password
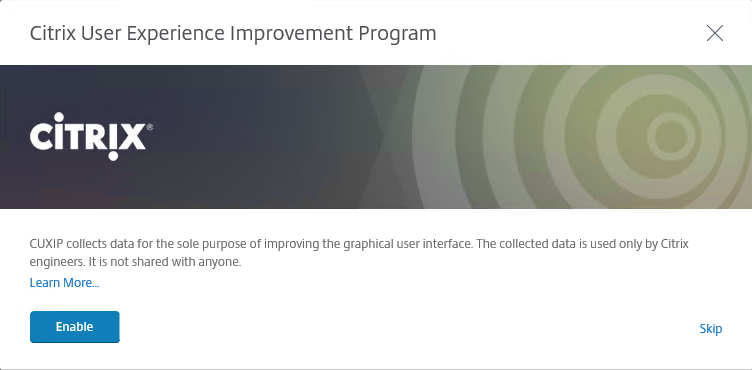
Step 23: Skip the – Citrix User Experience Improvement Program opening – screen by clicking on Skip
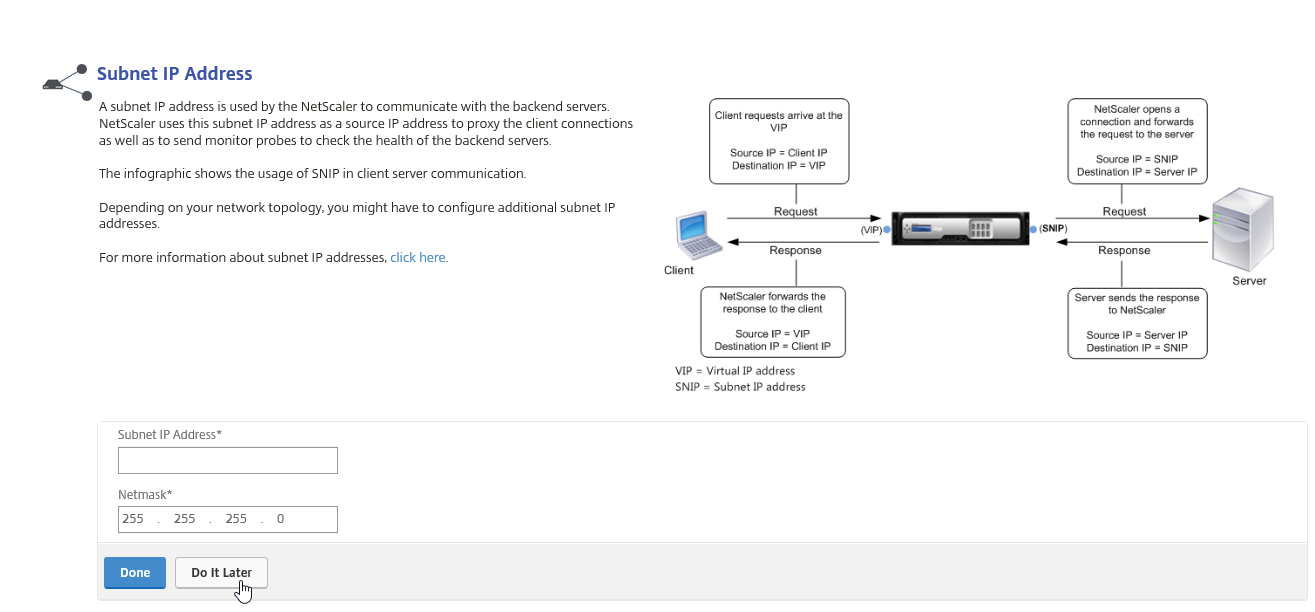
Step 24: Choose for the Subnet IP Address option
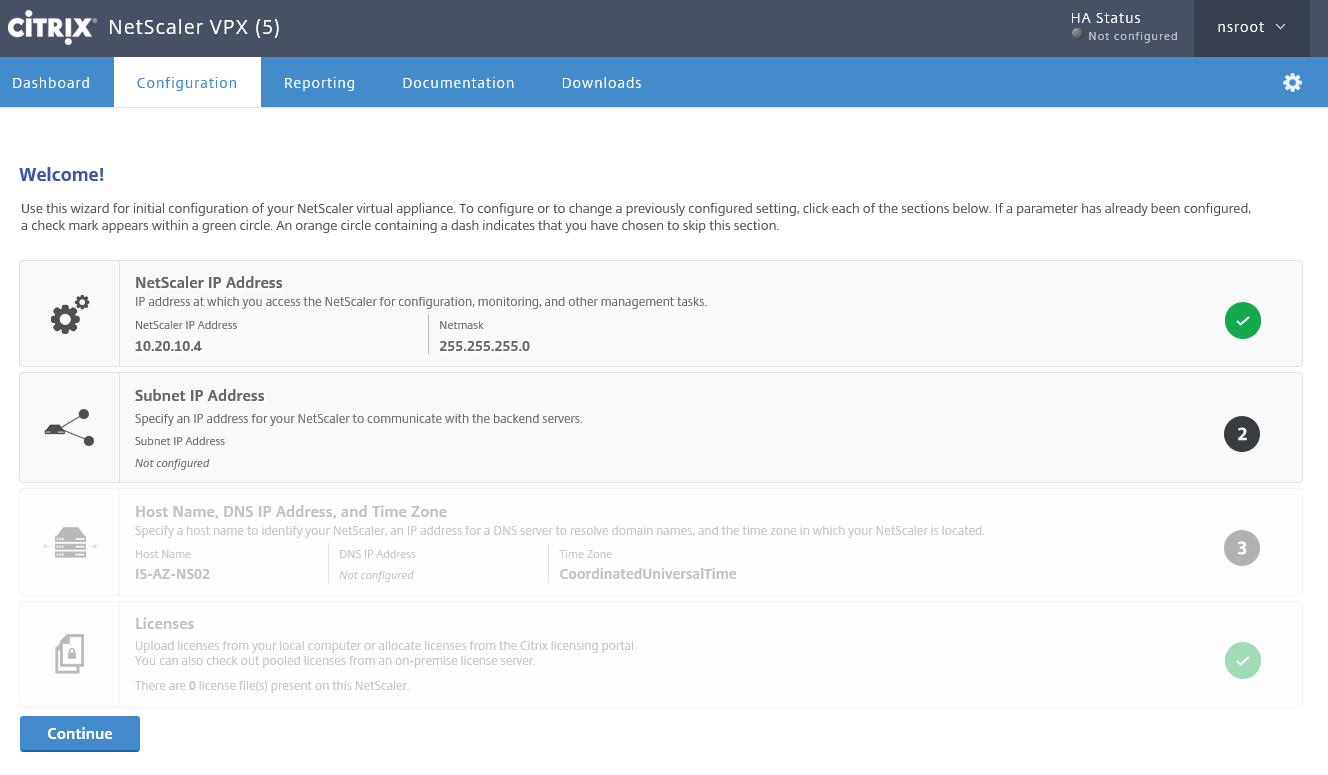
Step 25: The SNIP is not required for this article, so click on the button – Do it later
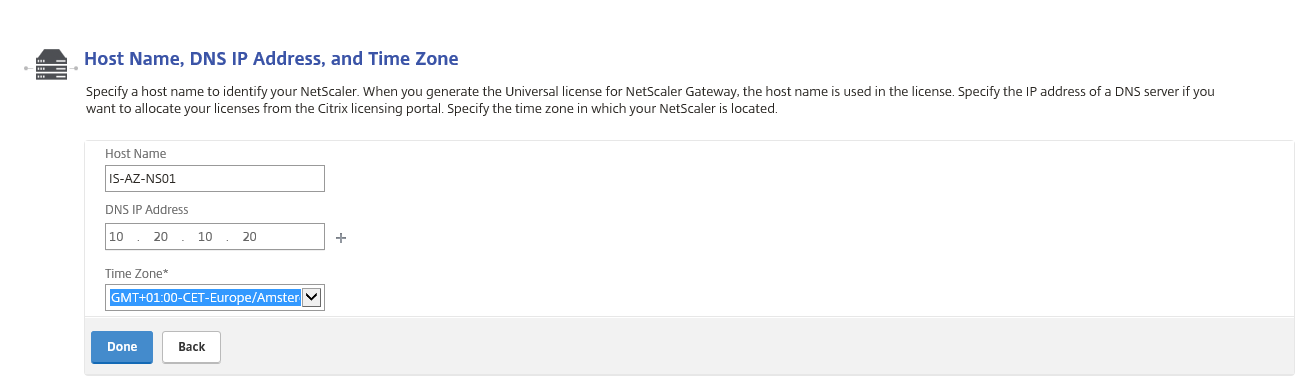
Step 26: Click on the Host Name, DNS IP Address button
Step 27: Give in the IP Address of your Azure or on-premises (hybrid vNet required) domain controller, select your time zone, click on Done
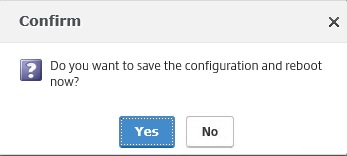
Step 28: Ignore the Confirm screen to upload the License file first, before we reboot, click on NO
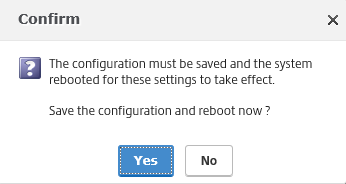
Step 29: Upload your NetScaler license file and reboot the server
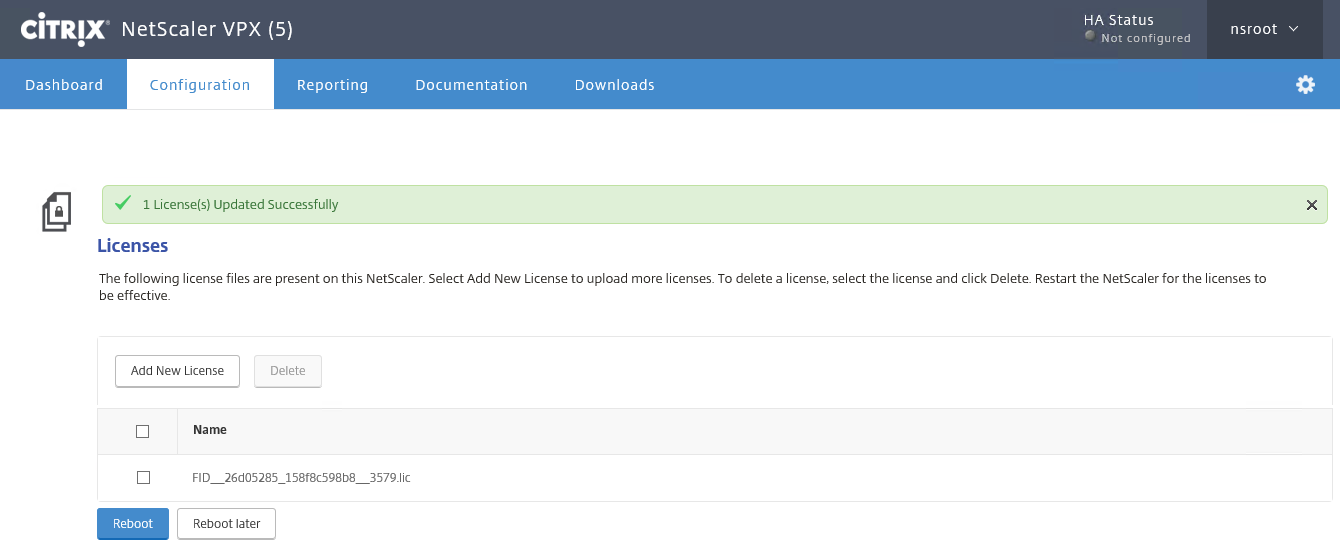
Click on Yes
Step 30: Clickon the Continue button to proceed the reboot

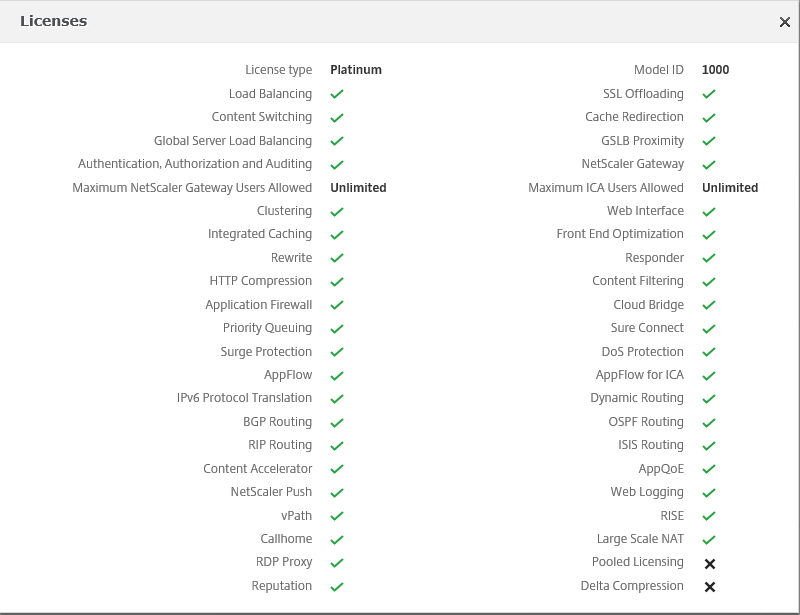
Step 31: After the reboot, please check if all the checkmarks are set, so you know that the license file is applied correctly
Upload the SSL Certificate
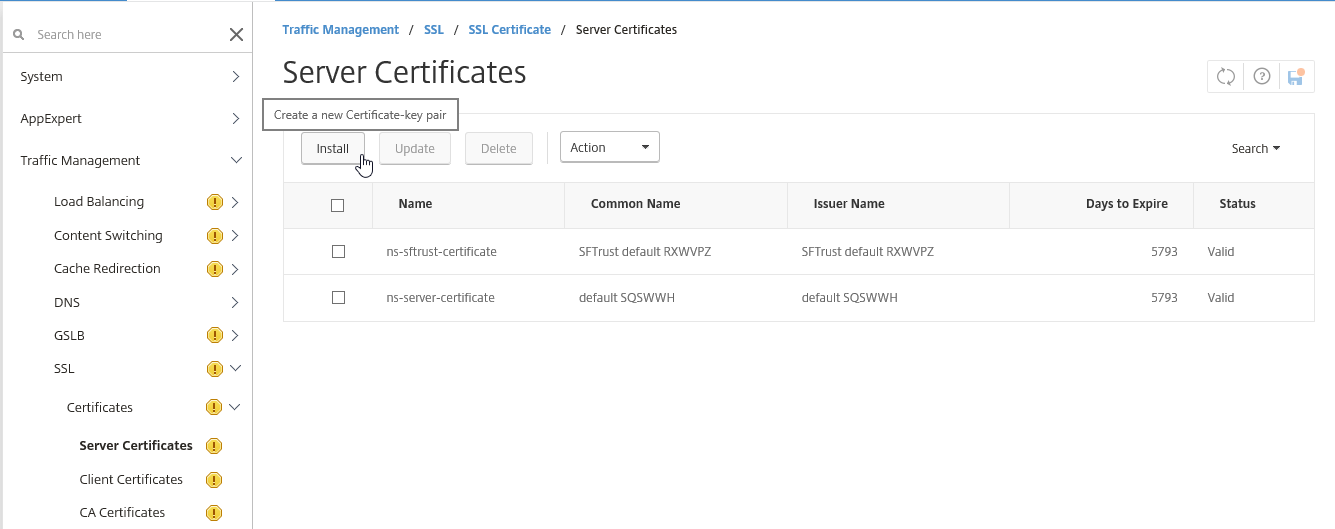
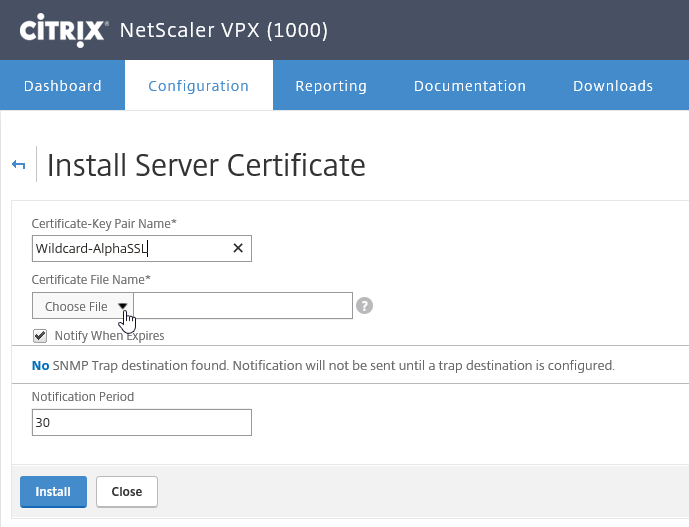
Step 32: Now we can start with the configuration of the NetScaler, at first we need to add the SSL certificate. I will use a .pfx file, of my own wildcard certificate. Go to Traffic Management -> SSL -> Server certificates and click on Install
PS:if you do not have a certificate yet, please check one my previous blog step 19 – 34!
Step 33: Give in a name for the certificate and click on – Choose File – Click on the Upload button to browse your computer and open the certificate pfx file
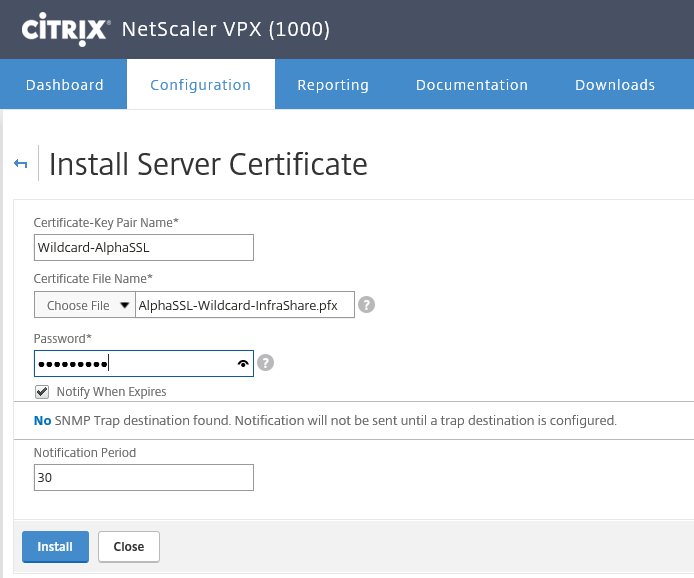
Step 34: Select the certificate file and click on Open

Step 35: Enter the certificate private key and click on the Install button
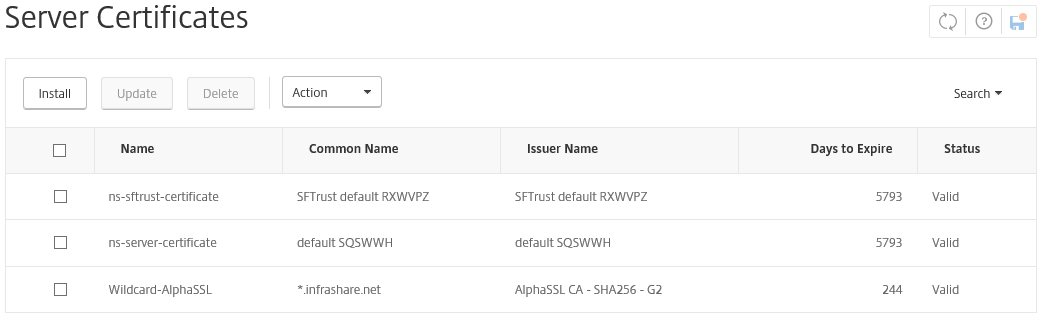
Step 36: When the certificate is added successful, it must be listed in the Certificates screen. You can now add the RootCA and intermediate certificates, and link them to create a valid keychain!
Setup the Storefront – ICA Proxy connection
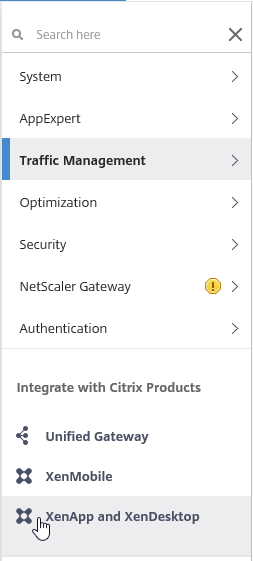
Step 37: Click on XenApp and XenDesktop at the end of the left menu
Step 38: Click on the get started button
Step 39: Let the Storefront option default and click on Continue

Step 40: Give in the external FQDN DNS name in the Gateway text field, enter the Gateway IP Address (the private IP of your NetScaler VM), give in the port 4443 and click on Continue
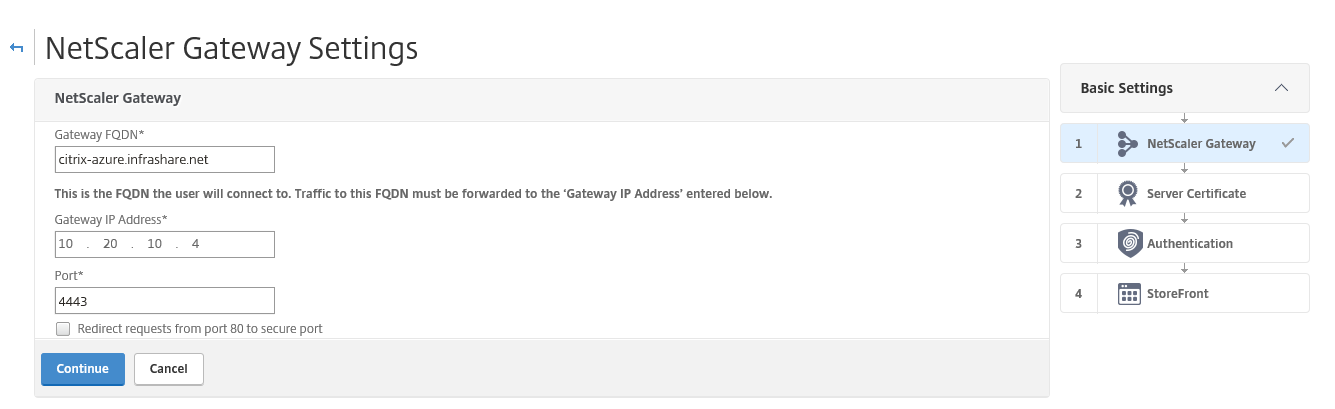
PS: You can check the internal address at the Network Interfaces option screen of the NetScaler VM
Step 41: Select your Certificate, click Continue

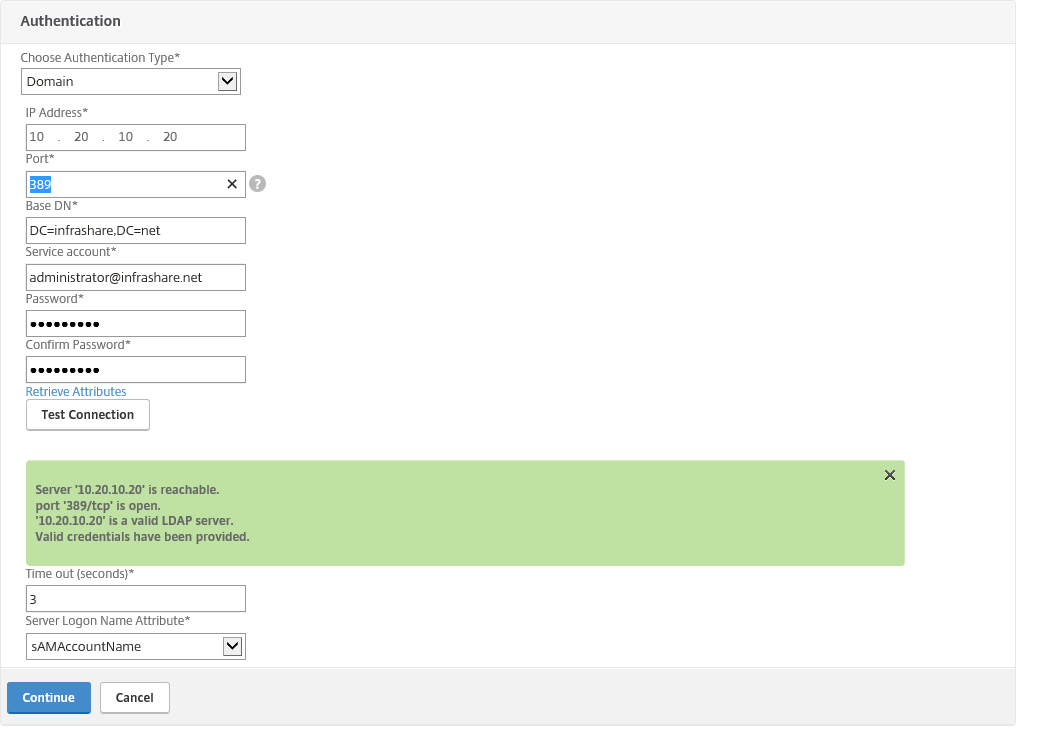
Step 42: Create a Domain Authentication policy, fill in all the correct information and click on Test Connection to check if the Account can connect to your Domain Server, when the green border pops up, then click on the Continue button
IP: The IP of the domain controller in Azure (or on-premises, if hybrid)
Port: Default 389
Base DN: The DN name to search in for authenticate users
Serviceaccount: Serviceaccount for connecting to AD
Password: Password of the account
Time-out: 3 (default)
Server Logon Name: sAMAccountName (default)
Step 43: Fill in your internal StoreFront URL and press – Retrieve Stores – to automatically fill in the Web Path, set the default domain and enter your STA URL address (default: http://DesktopDeliveryFQDN/scripts/ctxsta.dll), click on Continue

Step 44: The overview page shows all the configuration steps, Click on the Done button to save all the settings and finish the NetScaler configuration part to proceed the next step

Configure StoreFront for Remote Access
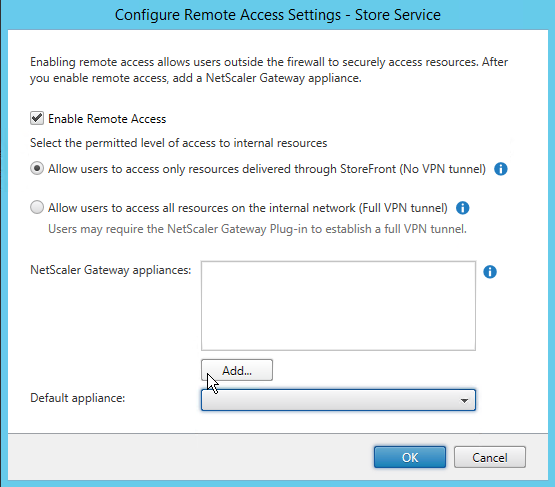
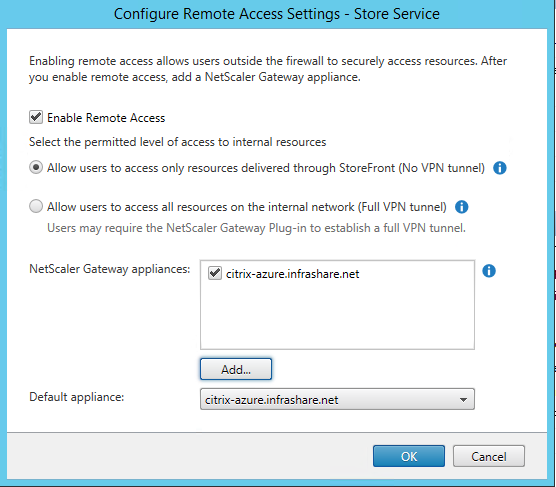
Step 45: Log in to your StoreFront Server, open the Citrix StoreFront Console and click on the – Configure Remote Access Settings – option

Step 46: Check the box next to – Enable Remote Access – and click on the Addbutton
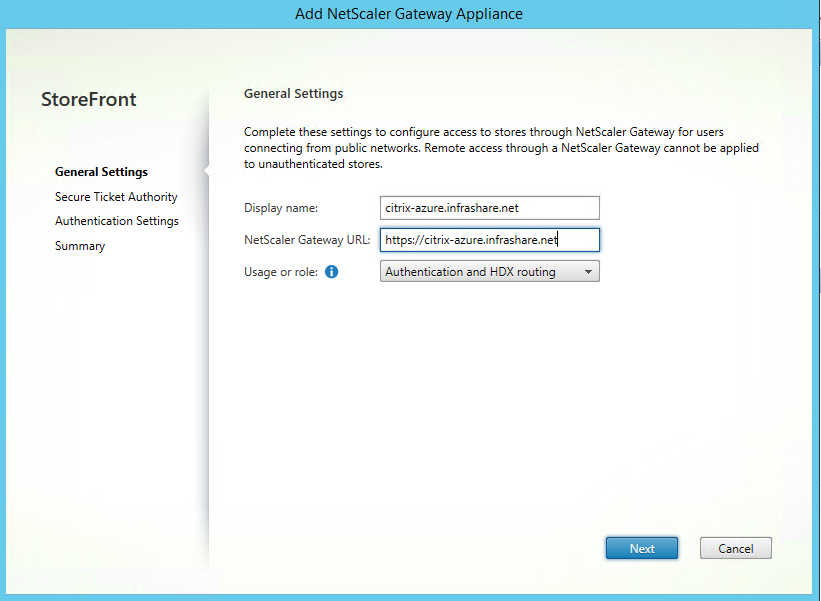
Step 47: Fill in the Displayname and the external FQDN DNS name of your NetScaler, click Next
Step 48: Add the STA url, click on Add and enter the HTTP url of your Desktop Controller like the picture below, click on Ok and Next afterwards

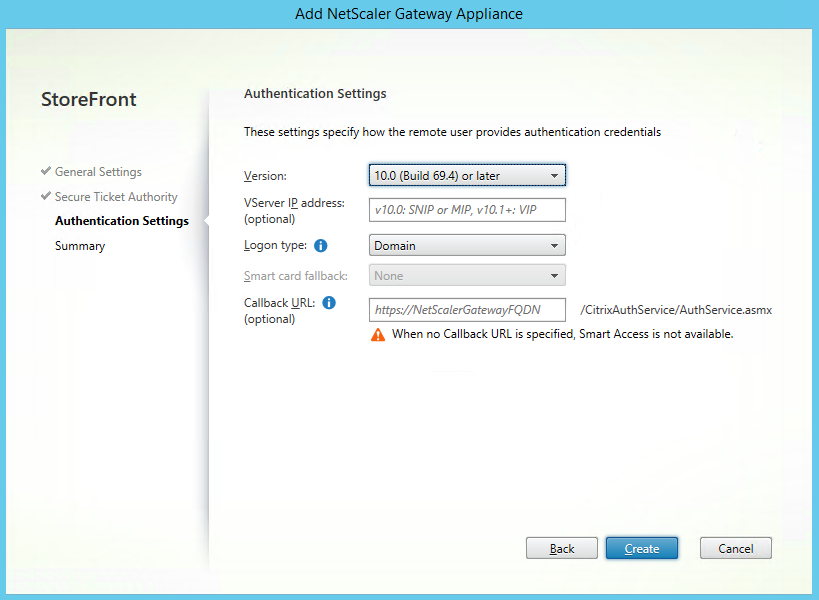
Step 49: This option can be left empty, click on Create
PS: When you configure options like SmartAccess, the Callback URL option is required
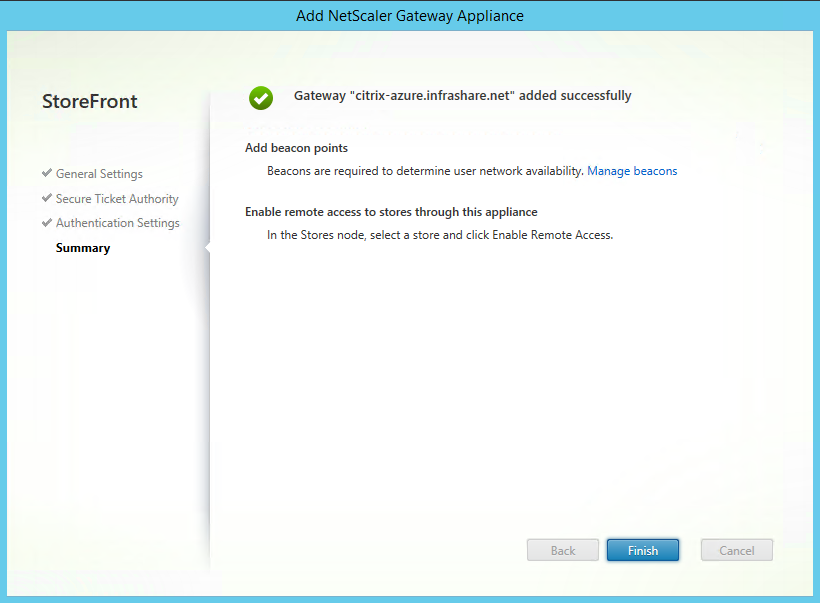
Step 50: The NetScaler gateway is successfully added, click on Finish
Step 51: Make sure the NetScaler Gateway is listed in the – NetScaler Gateway Appliances – screen and as Default appliance, click on Ok
Change the Default NetScaler Theme
Step 52: Open the NetScaler Gateway – Virtual Servers menu option and Edit the just created VPN vServer

Step 53: Click on – Portal Themes – in the Advanced Settings menu
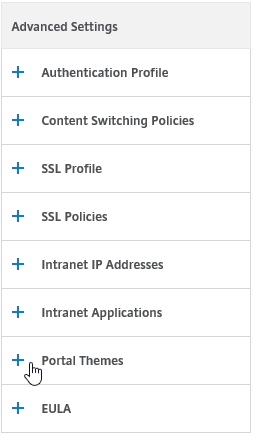
Step 54: Select the X1 theme and click on the Ok button to save the theme
Test Remote Access
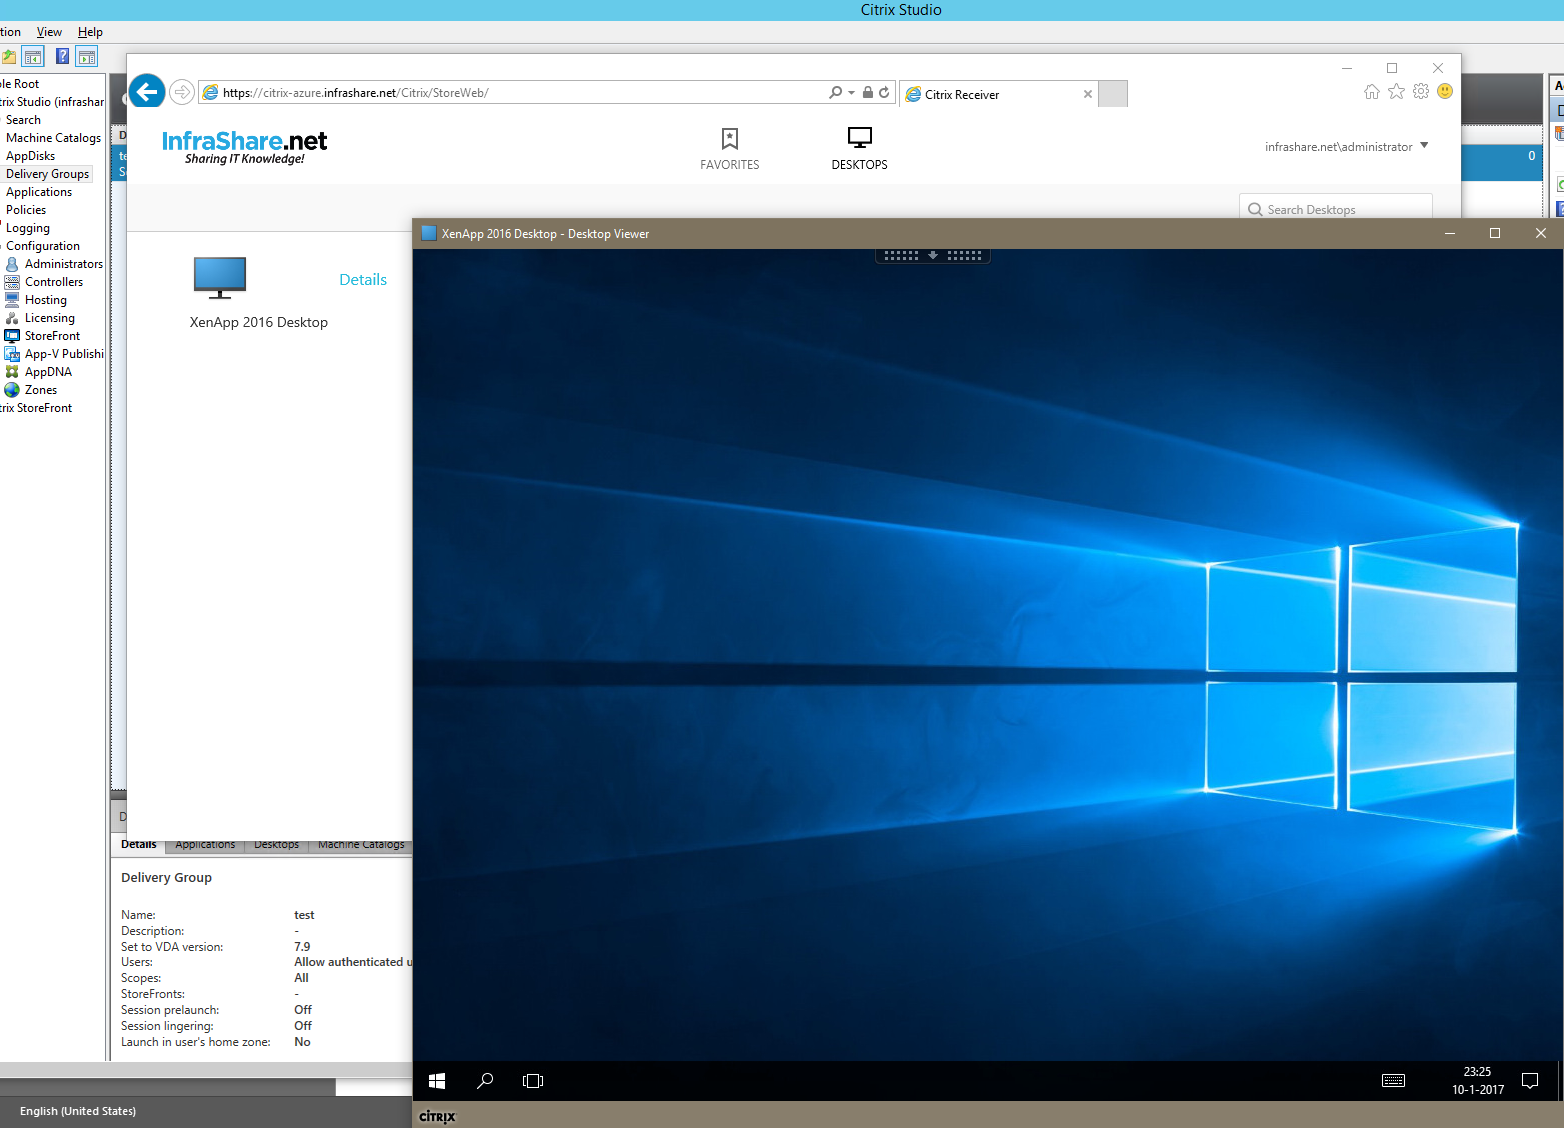
Step 55: Open an internet browser and go to the External DNS name, for me this will be https://citrix-azure.infrashare.net/
Step 55: Enter your credentials and click on Log On
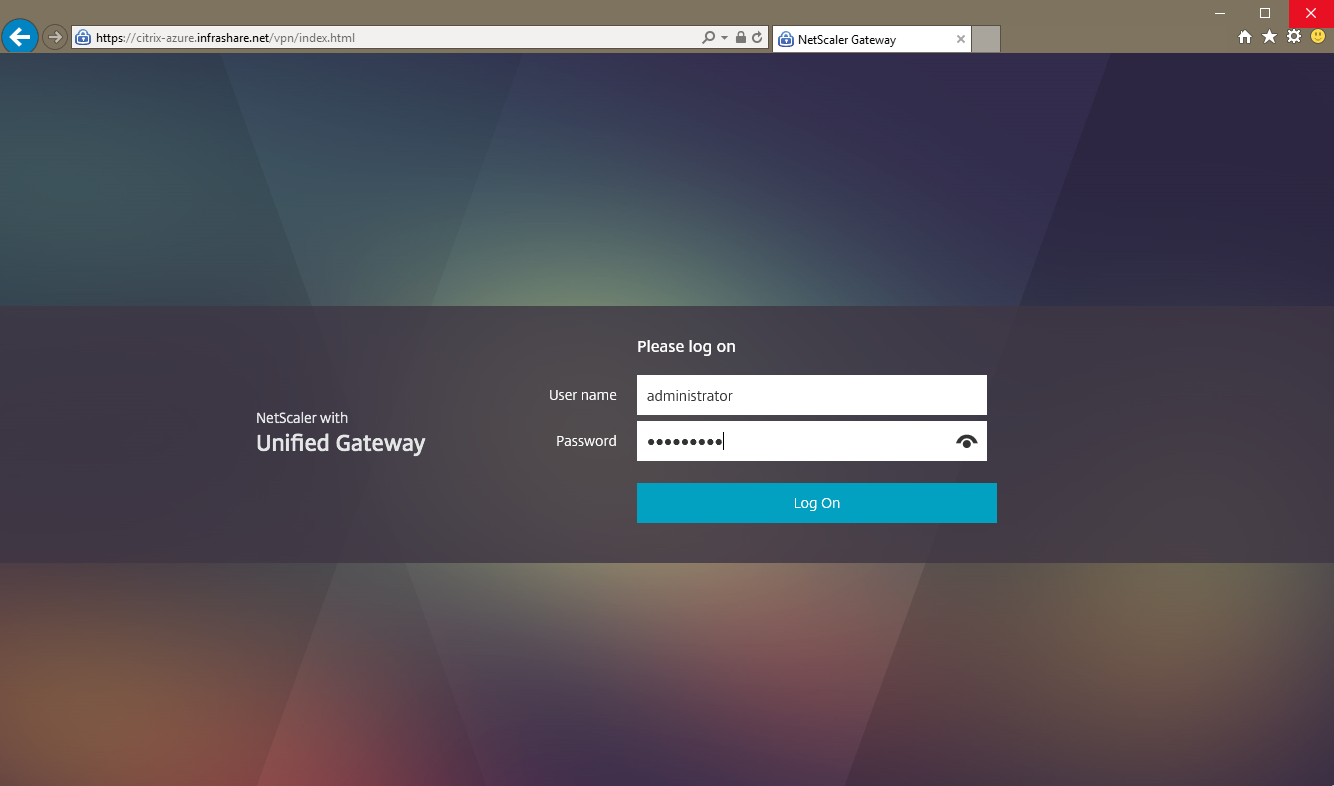
And yes, we are now logged on the NetScaler in Azure successfully!

And the Desktop also works!