Install and configure Citrix StoreFront 3.7, including advanced theme customization


StoreFront is one of the essential parts of the Citrix FMA components. Citrix introduced their latest StoreFront 3.7 version at the same time they released the Citrix XenDesktop and XenApp 7.11 software. You probably know already that StoreFront is the Self Service authentication store for all the Citrix Desktop and Applications Services, also known as your front door. To make use of all the StoreFront functionalities, you must need to have the Citrix Receiver software installed on your client to launch Apps and Desktops, this can be Windows, iOS, Chrome OS, Linux, Mac OS or Windows Mobile. Another option is to use the HTML plugin feature, to start the Apps and Desktop clientless in a internet browser.
In this article I will describe in the first part; how you can configure StoreFront 3.7 and the second part will be about; Customizing your StoreFront Web page.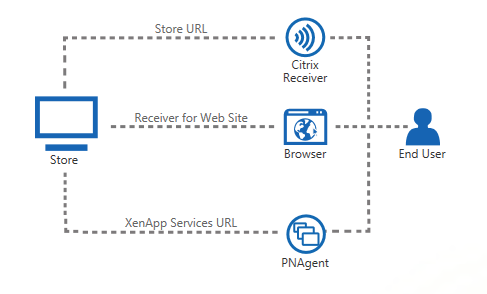
New features
- Zone Preference Improvement
- Administration Console Performance Improvement
- Federated Authentication Service
- Self Service Password enrolment with Citrix SSPR 1.0 (see my blog article about it)
- Windows Server 2016 (Day 1) support
- Receiver for Web Small Form Factor Support (Mobility view)
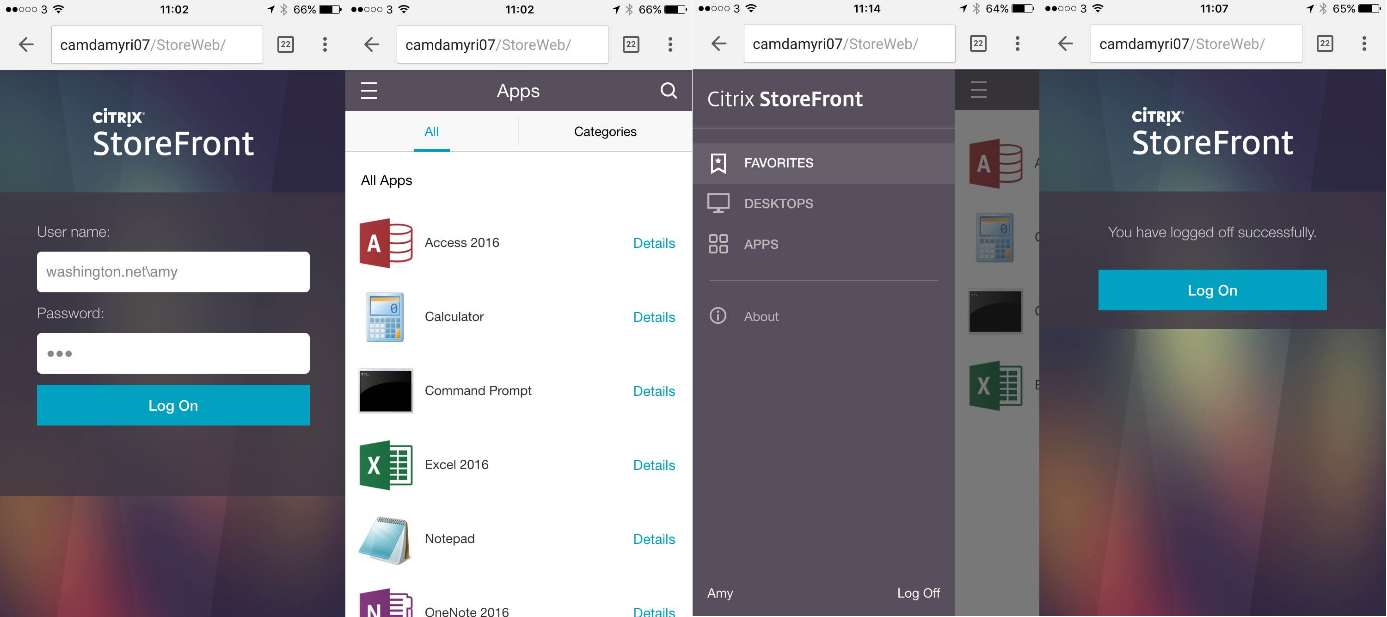
Mobility view
One of the new features are the Receiver for Web Small Form Factor Support / Mobility View. To launch your Apps and Desktops, Citrix Receiver is still required on your mobile OS.
Requirements
- Citrix XenApp or XenDesktop 7.11 SA license (or a trial license)
- A separate server (Windows Server 2008 R2 Service Pack 1 or higher)
- Internal Certificate Authority server
- DNS A record pointed at your Storefront server

Install the StoreFront Software
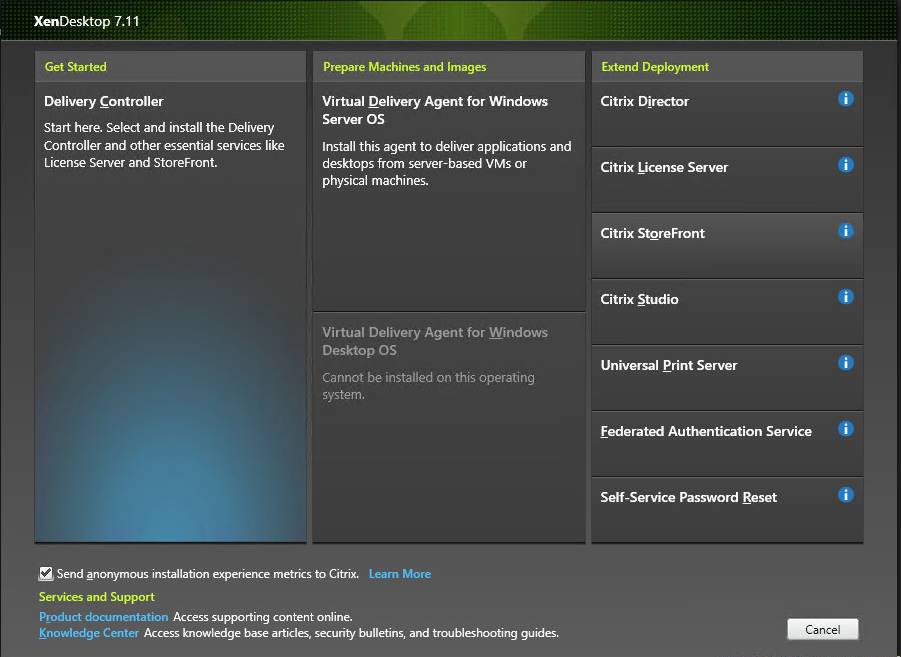
Step 1: Mount the XenDesktop/XenApp 7.11 ISO and start the StoreFront installation from the Extended Deployment section
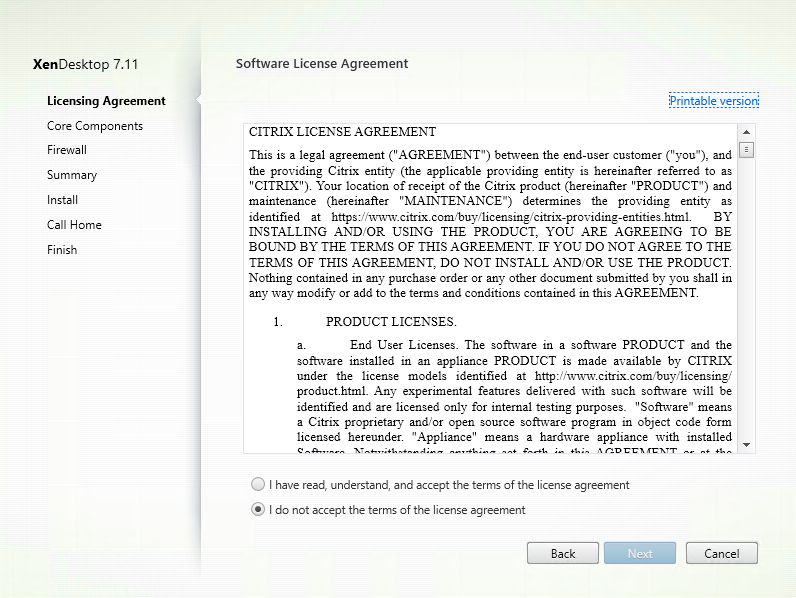
Step 2: Accept the Software License Agreement and click next
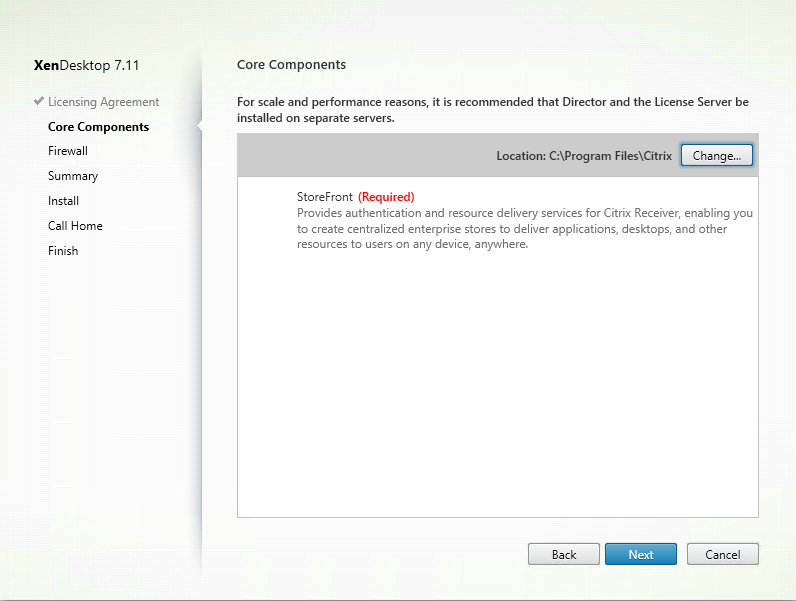
Step 3: Verify the Core Components section and click next
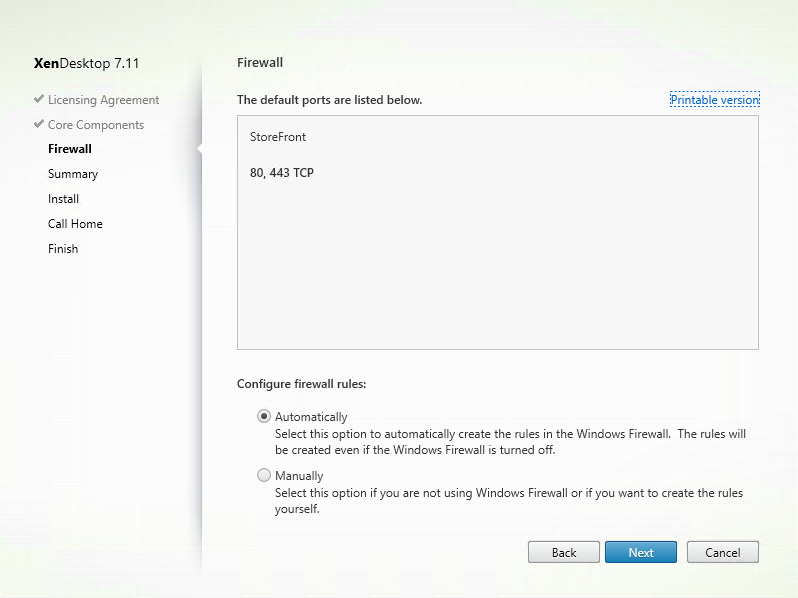
Step 4: Choose how you want to configure your Windows Firewall settings, I choose automatically and click next
Step 5: All the previous settings will be summarized, check your settings and click on install

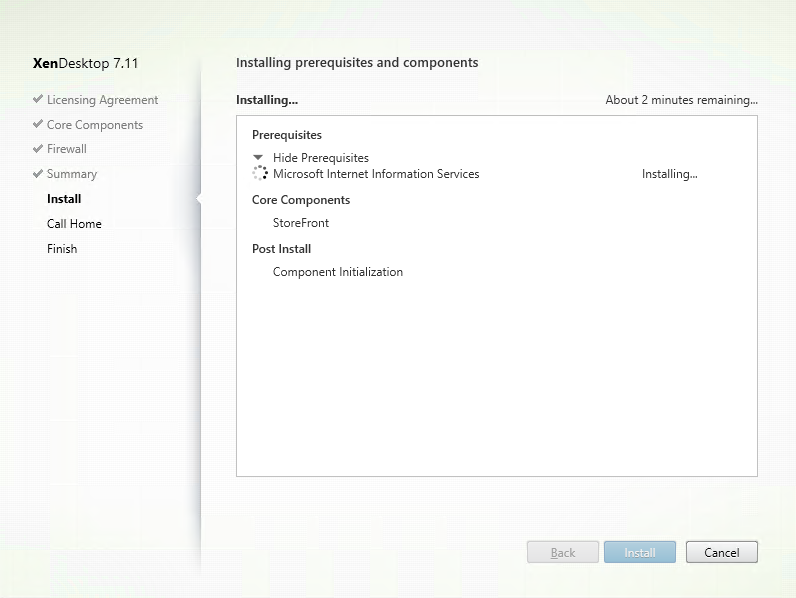
Step 5: The installation process is started and the prerequisites are beginning installed.
Step 6: Choose if you want to send diagnostic error logging to Citrix for support purposes, and click next

Step 7: The installation process is finished, click on Finish to open the StoreFront MMC console

Enroll and request the SSL Certificate
Step 8: Before we going to configure StoreFront we need to request (if you already have, skip to step 19) an SSL certificate first and configure this as binding in IIS, so first start an MMC console, add the Certificates Snap-in and connect to your local Computer account

Step 9: Go to your Personal Certificates store and right click on Certificate, choose for all task and click on Request New Certificate
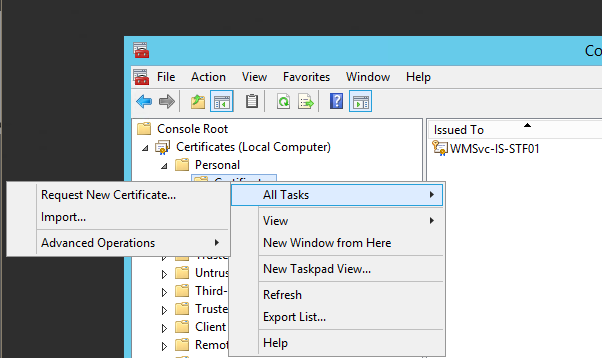
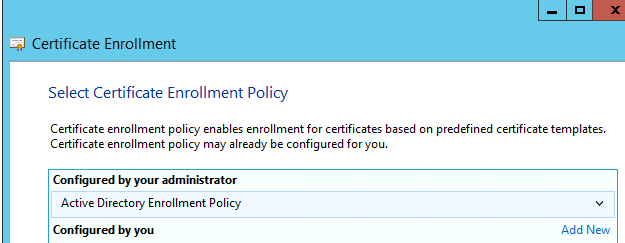
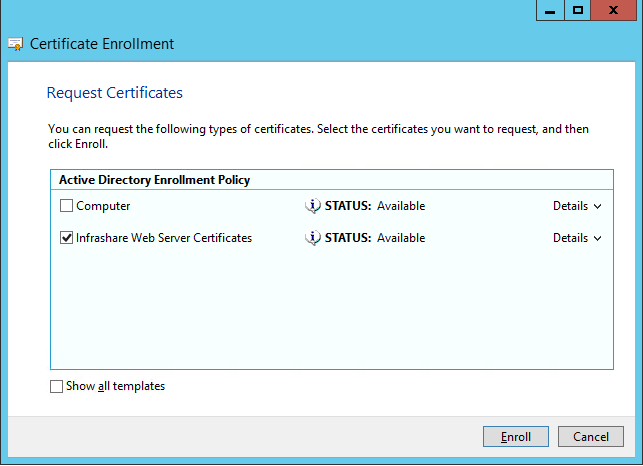
Step 10: Follow the wizard, choose for Active Directory Enrollment Policy…
Step 11: Choose your internal Web Server Certificate
Note: If you haven’t any Certificates Services available, you probably need to create a Web Server template first. Check this Microsoft Technet article to setup the Web Server template.

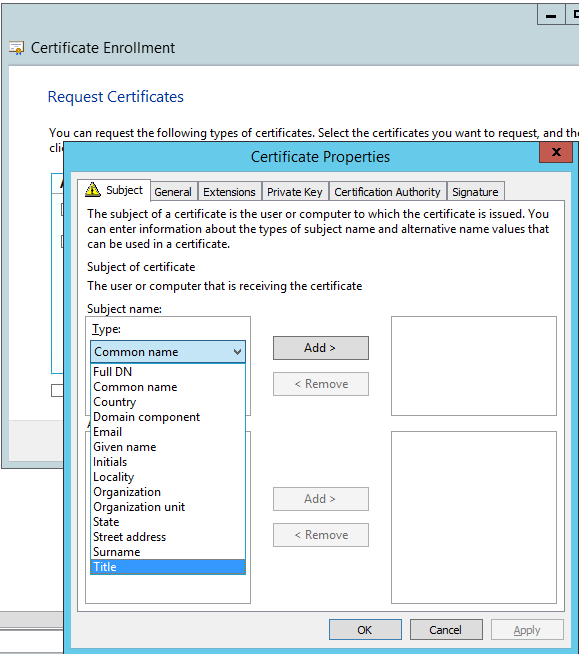
Step 12: Fill in at least the Common name and Organization name section and click on the Private Key tab
Note: The Common name needs to be the URL that you are going to use for StoreFront, the same as your pre-configured DNS name
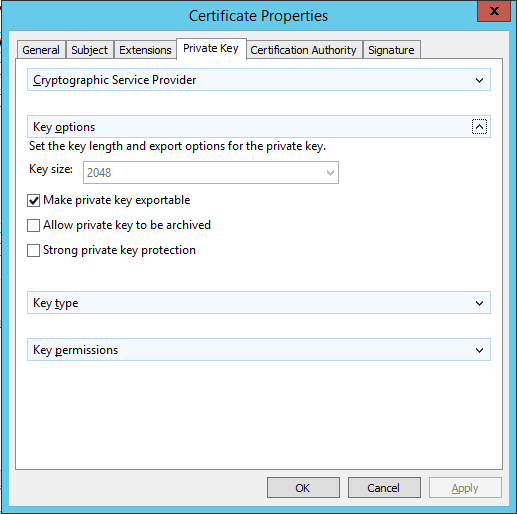
Step 13: If you need this certificate another StoreFront server, for example to do load balancing with another server, we need to make the private key exportable, so tick on the box next to Make Private key exportable and the certificate is usable for future usage
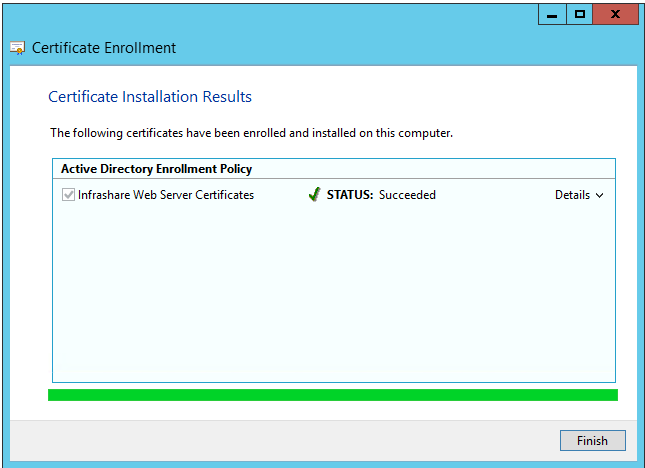
Step 14: Click on Enroll…
Step 15: If everything went fine, the enrollment is Succeeded.
Step 16: Now we need to bind the requested certificate to the IIS Default website. Startup the Internet Information Service Console
![]()
Step 17: Open the Default Web Site and open the Bindings option in the right menu
Step 18: Add a new HTTPS type binding, select the SSL certificate just created and click on Ok

Step 19: The pre-configuration part is now done, so let’s start up the StoreFront Console from the Start menu
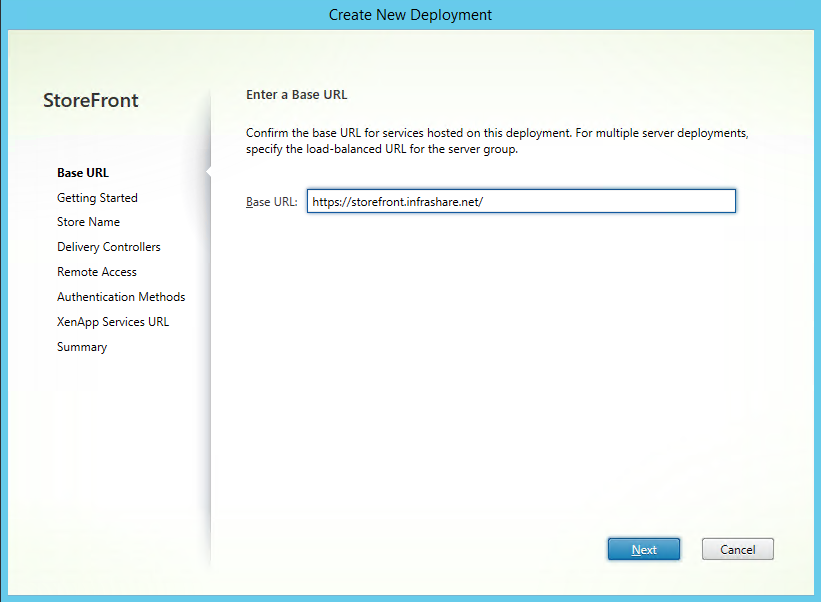
Step 20: Create a new Deployment
Note: If you want to setup multiple StoreFront Server in the future, you just need to choose to join the existing server group. Only the import of the certificate and binding setup in IIS has to be done manually before, and everything else will be replicated automatically to the other StoreFront server.

Step 21: If you’re IIS binding is setup correct, the pre-defined URL will be the common name of your certificate, otherwise fill in the URL that you want to use and click Next
Step 22: The IIS directories of StoreFront will now be created…
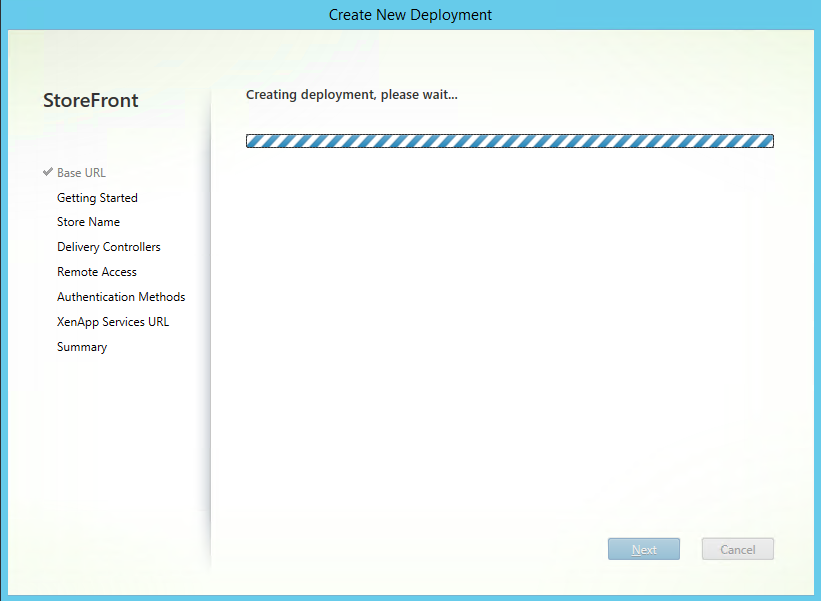
Step 23: Give in the name of your StoreFront Store and setup the Receiver for Web Site Settings, what redirects your base URL automatically to the web directory of StoreFront

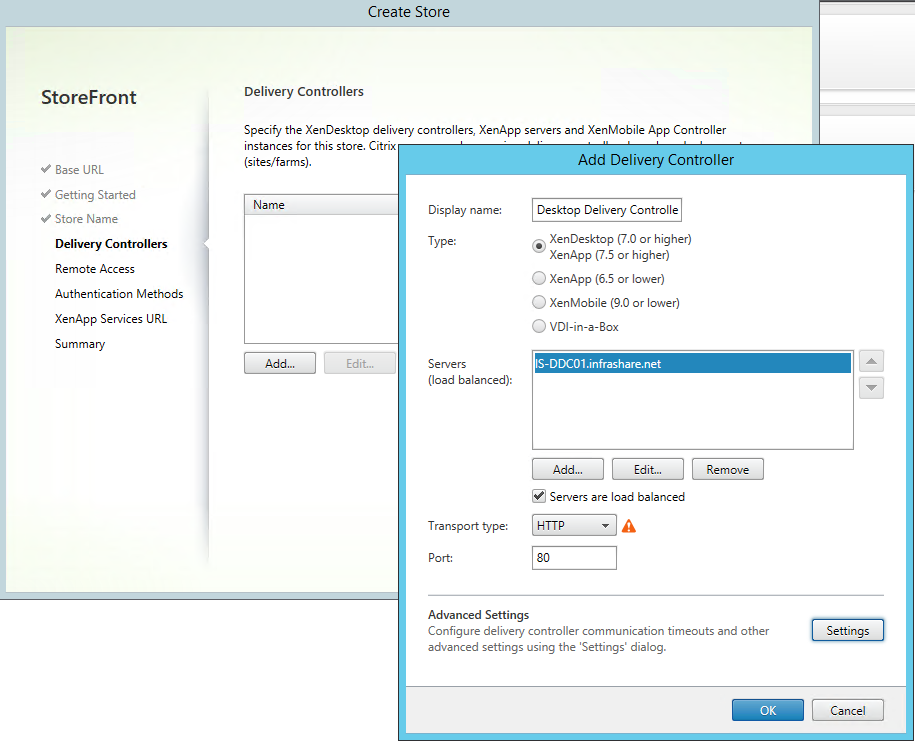
Step 24: Add your Delivery Controllers, choose to setup HTTP as transport type and give in a custom Display name if you want to, click on Ok
Note: If you want to use 443 as transport type, you first need to create a HTTPS binding on the desktop broker servers, otherwise the server will not be responsive at port 443.
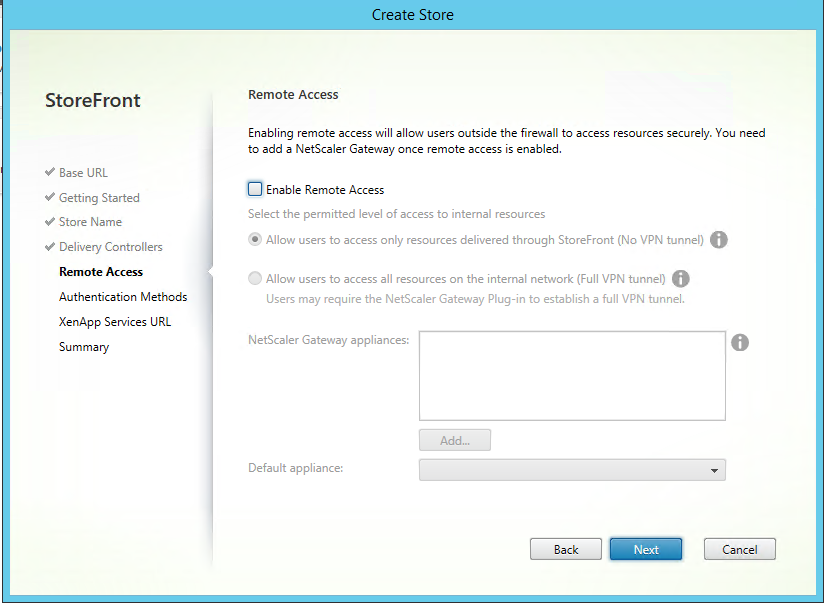
Step 25: Skip the Remote Access option
Note: If you have an active NetScaler, then you need to setup Remote Access for remote login (Access Gateway)
Step 26: Make sure the User name and password method is checked, click on Next

Step 27: The next settings are required if you want to configure the Citrix Receiver client software to deliver your apps and desktops, if so, let them default be selected and click on create

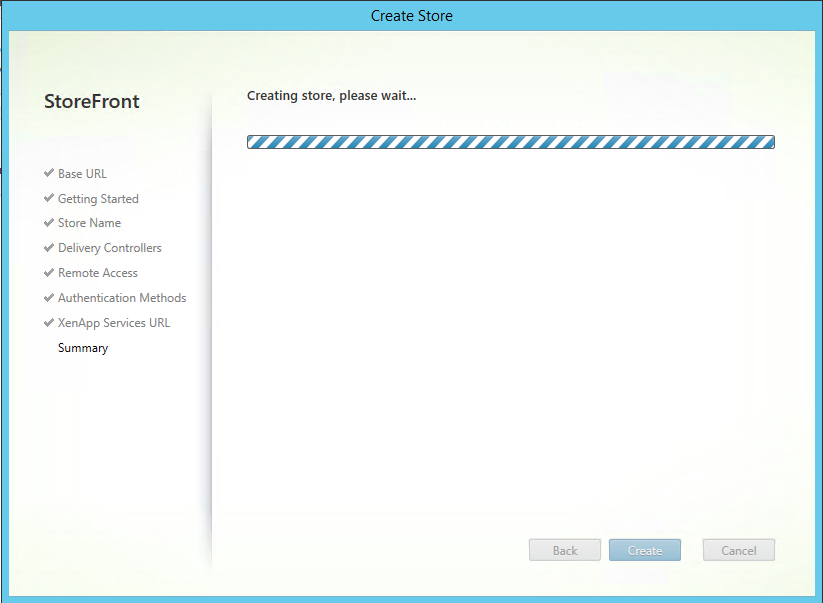
Step 28: The Store settings are now proceeded …
Step 29: Is everything went well, the confirmation that everything went successful will show up, click on Test Site to browse to your new StoreFront Web Page
The URL will be: https://storefront.yourdomain.net/Citrix/infrashareWeb

Step 30: The web page will show up and ready for use, click on finish on the setup screen

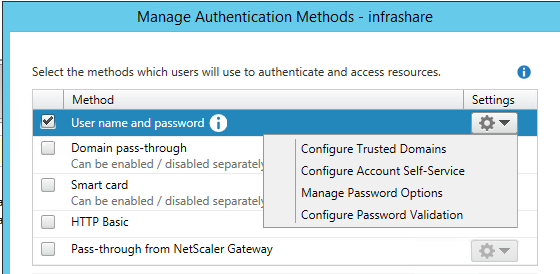
Step 31: Change the default domain, so the user only need to fill in their sAMAccountName and password. To do so, open the StoreFront Console, open the Store section, and open the Managed Authentication Methods Option.
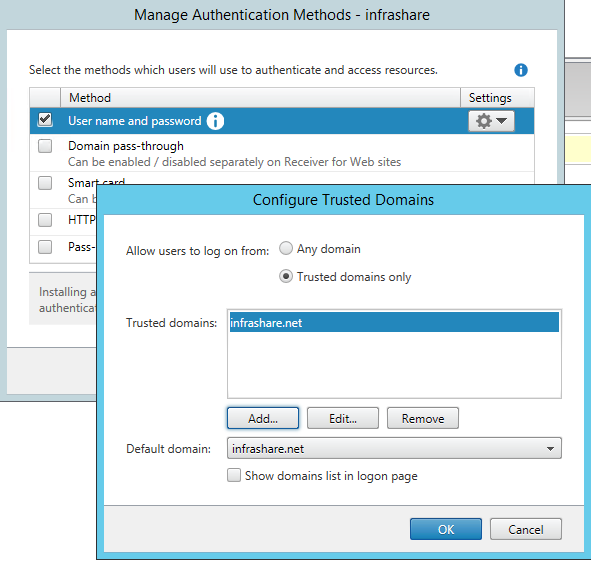
Step 32: Choose for Configure Trusted domains, and add your domain just like the picture
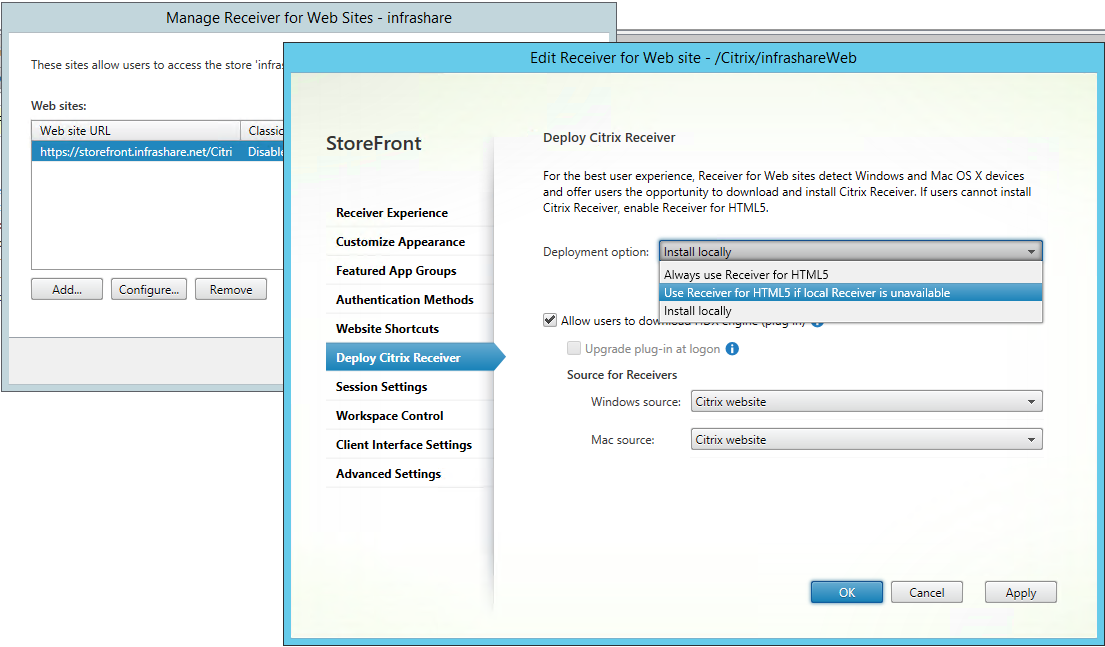
Step 33: If you want to launch Apps and Desktops clientless (no Receiver installed) through a supported HTML5 browser, you need to activate this feature first, you can find this setting in the Store section, Manage Receiver for Web Sites and Deploy Citrix Receiver. Here you must set the Deployment Option to; Use Receiver for HTML5 if local Receiver is unavailable
Web page Customization
If you want to make the StoreFront webpage more in your own company style and color, Citrix provides you to add your own logo and colors through Storefront Web Site configuration
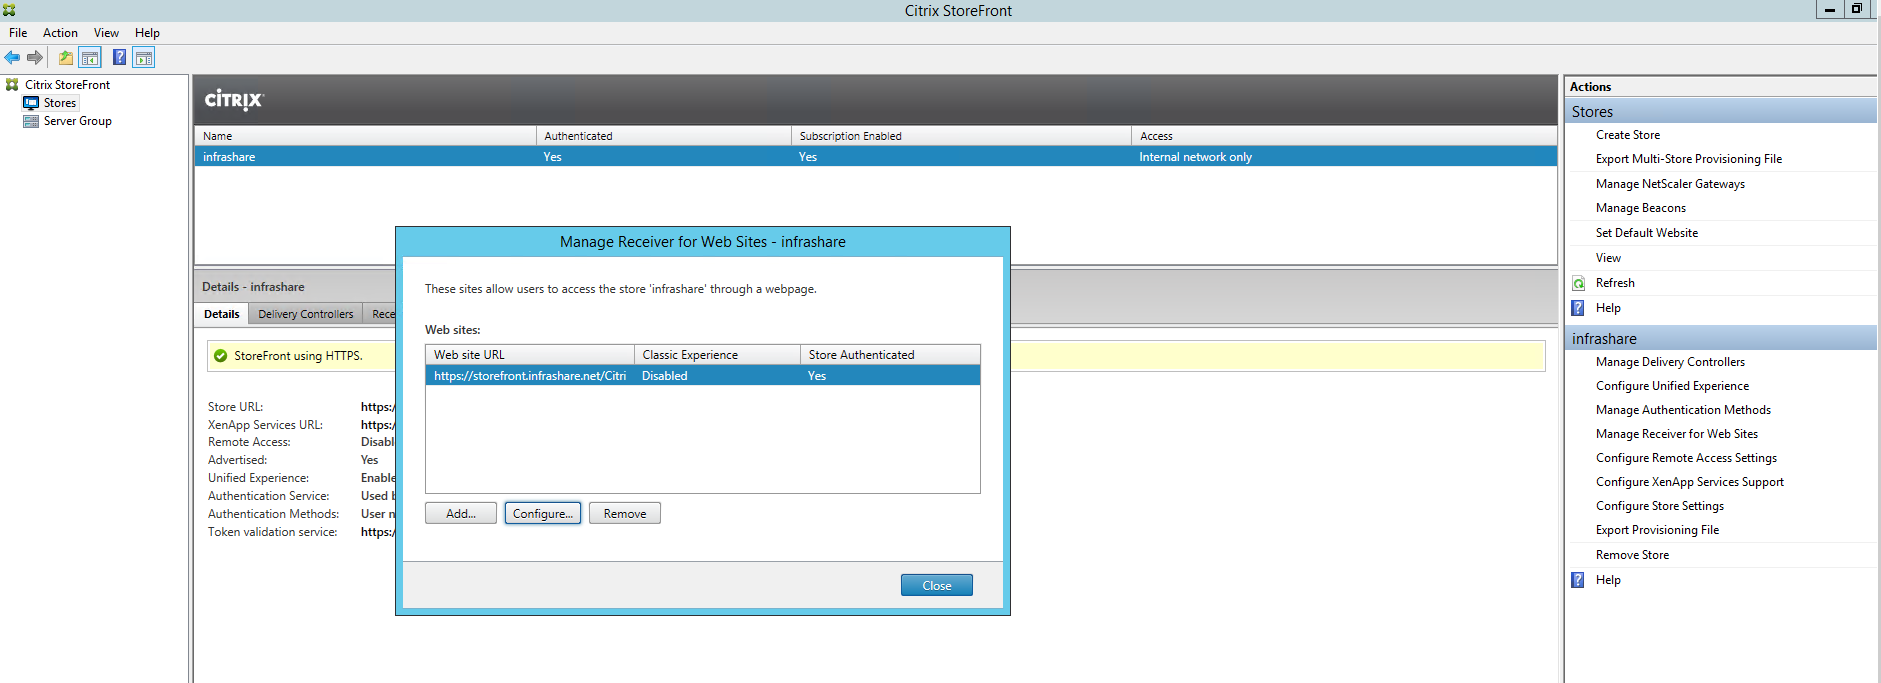
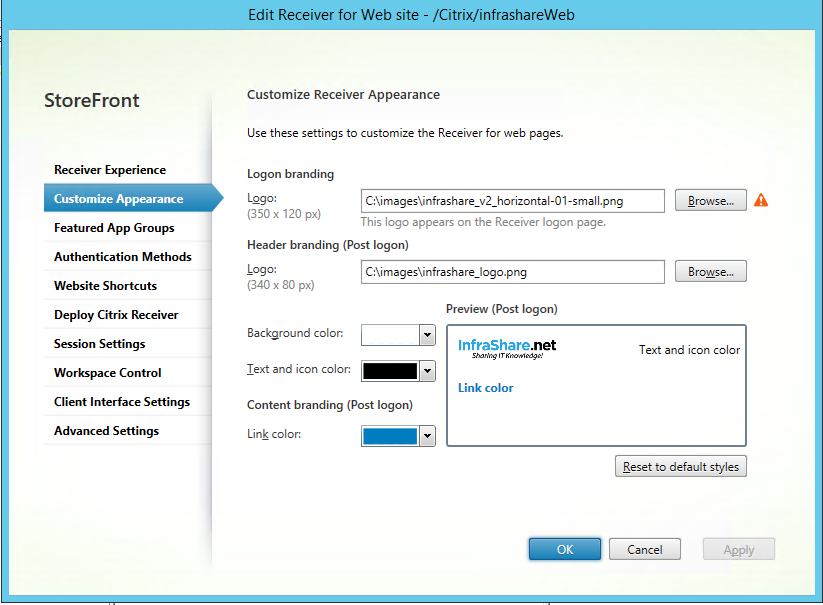
Step 32: Start the StoreFront Console, go to Stores, click on the Manage Receiver for Web Sites option, click on configure and go to Customize Appearance
Step 33: This is the place where the colors and logo must be setup. Choose your own logo and colors and click on Apply to see the results right away
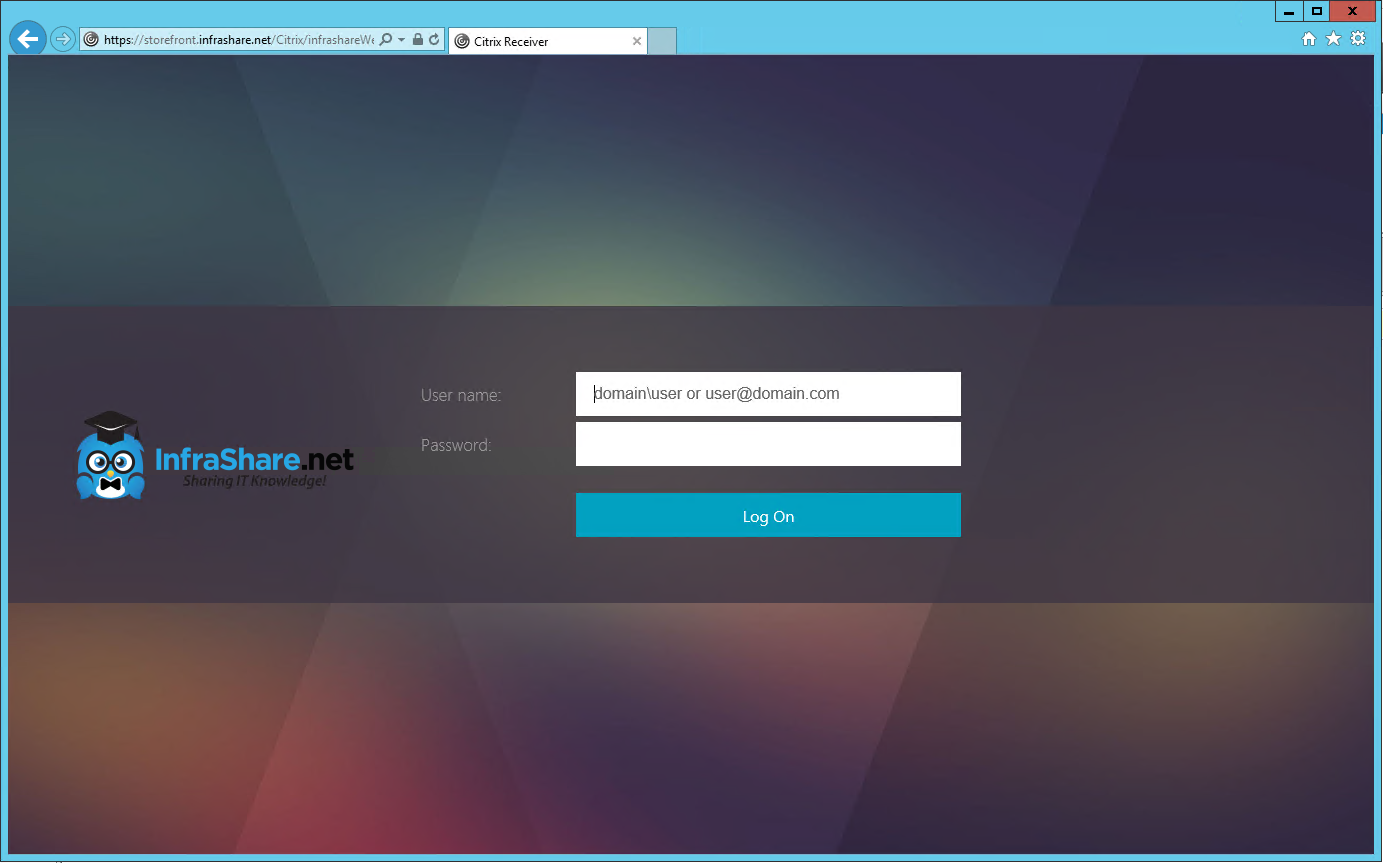
Step 34: The front-page will be showing the logo in this position
Note: If you want to change the default background, simply overwrite the default background jpg file located at:
C:\inetpub\wwwroot\Citrix\infrashareWeb\receiver\images\common\ReceiverFullScreenBackground_46E559C0E6B5A27B.jpg
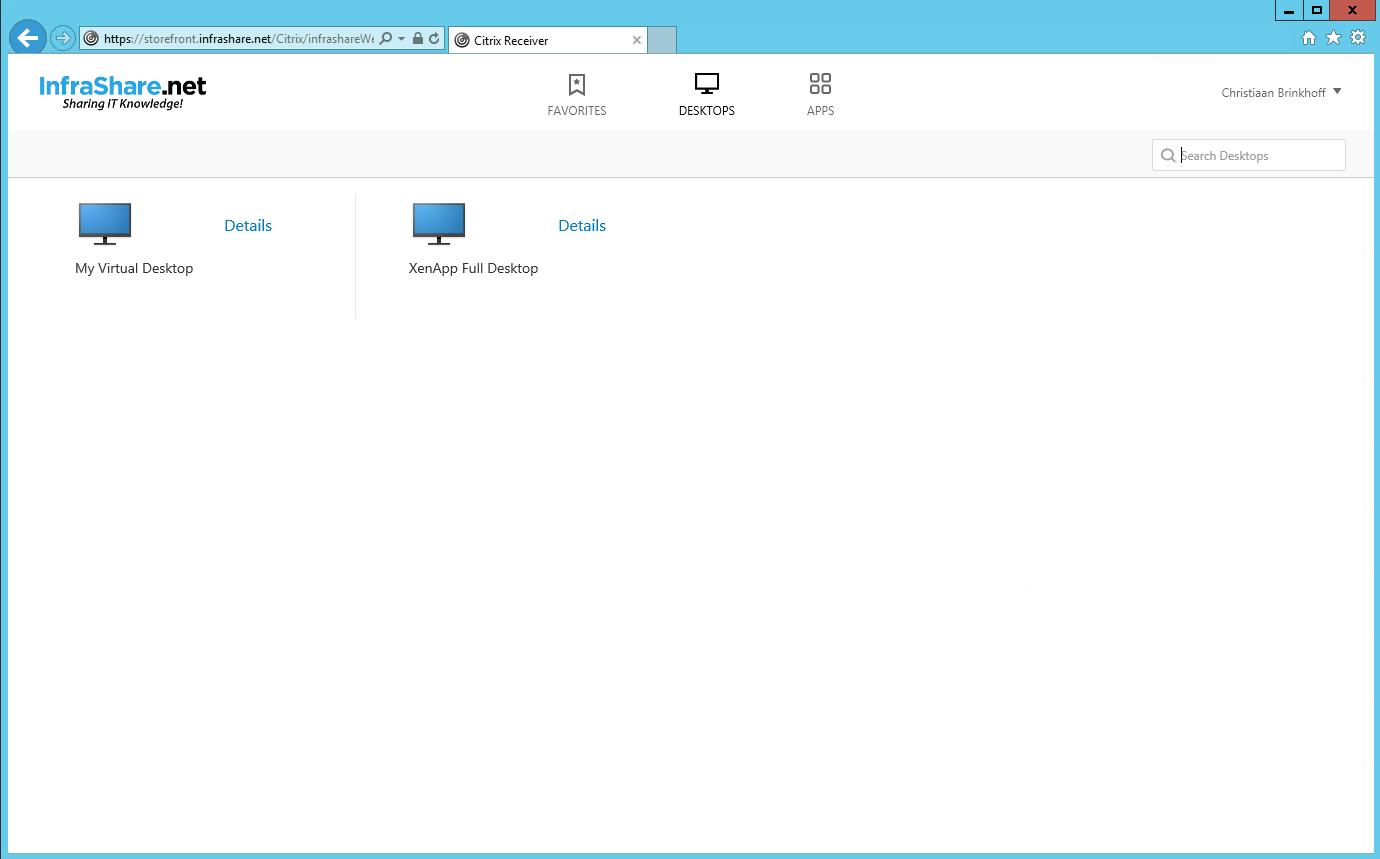
Step 35: The post logon will be like this…
Advanced Customization
If you want to customize the webpage in a more advanced way than the above changes, then I advise you to open the StoreFront Webpage into a Brower Development Mode. Most of the times the F12 button puts you in that mode.
The Development screen must be like this…

With the ![]() button you can select different buttons and text items, and in the styles section the css code name will be displayed. If you find them, just do an CTRL+F to search into one of the following CSS files and make it your own!
button you can select different buttons and text items, and in the styles section the css code name will be displayed. If you find them, just do an CTRL+F to search into one of the following CSS files and make it your own!
C:\inetpub\wwwroot\Citrix\infrashareWeb\receiver\css\ctxs.large-ui.min_6947F405309DDEA1.css
C:\inetpub\wwwroot\Citrix\infrashareWeb\receiver\css\ctxs.medium-ui.min_48CDE459189AA967.css