
Configure Exchange Online on a non-persistent Citrix Desktop, using FSLogix Containers


One problem that caused me a little headache for some days where the corrupted OST files of a customer of mine that uses Office365 / Exchange Online on top of a non-persistent (MCS) XenApp Desktop environment. One of my earlier challenges were to level the old performance with the performance they used to have before with the on-premises Exchange 2010 mail server setup. As you probably know already, Office365 is cloud based, what makes the client performance depending on the internet connection instead on the LAN, and makes the Outlook Cache Mode policy a more required then recommended option to configure.
The first attempt was to configure the cache mode functionality trough the basic Outlook GPO’s with the OST in a other network location, Citrix already wrote an article about this. At first sight a good solution that did his work for a couple of days, but after a larger scale of users the problems with corrupt OST files became reality. Of the 300 users that logon daily, an average of 15-20 users where contacting the helpdesk to ask for help they cannot open Outlook anymore with the error; the file \\fileserver\user\Outlook\Default Outlook Profile – username.ost cannot be opened. The only way to fix this problem was to re-create the Outlook profile, what normally can happen incidental, but now it reoccurred every day for the same users.
After a short time of troubleshooting, all the directions pointed me at the FSLogix Office365 Container solution. FSLogix delivers a software solution they named FSLogix Apps, one of the features are the Office365 Containers.
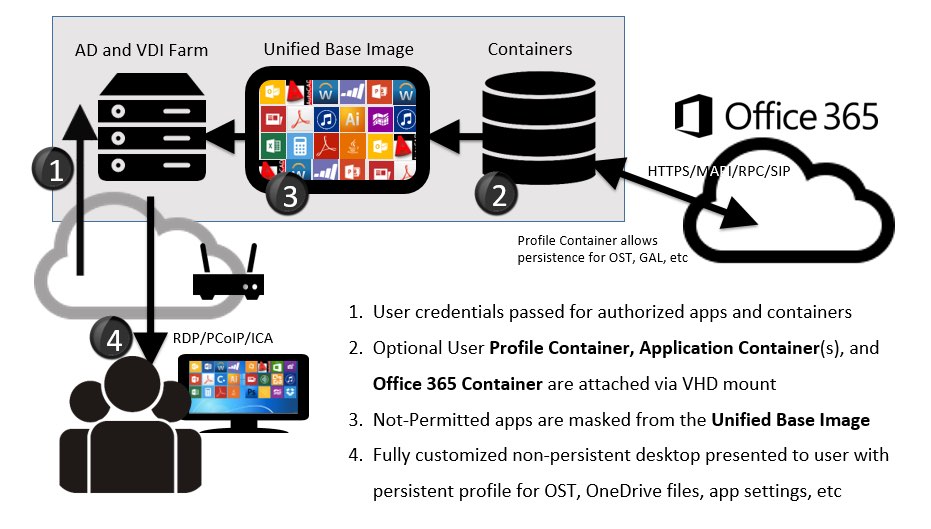
What the containers solution simply does is creating a Virtual Hard Drive per single user and mounts it at the user’s logon process to the Desktop or Server. The default location of the OST stays locally and the local Outlook folder will be redirected to the personal VHD(x) file. So Outlook still thinks that the OST is located locally. The software also has an option to move existing OST files into this location, so there is no need to re-sync or recreate the Outlook profile again.
The solution is even recommended by Citrix and Microsoft and presented at Microsoft Ignite, from this year’s September.
All the Office 365 Container features
- True Cached Exchange Mode – with patent-pending OST containerization, Outlook on XenApp and XenDesktop can now function and perform as if locally installed on a high performance workstation. Users don’t need to compromise email and calendar performance to adopt strategic initiatives like virtual desktops.
- Real-Time Search – enables inbox and personal folder search to work as designed on XenDesktop, with maximum performance, and no workarounds requiring end-user training or unique behavior between physical and virtual environments.
- Plug and Play management – features a micro-application footprint with drop-in installation, GPO templates, simple rules based configuration, and the use of existing CIFS/SMB servers, improving the ROI of existing enterprise infrastructure.
- Infrastructure compatibility – works on all major virtual desktop and hosted email solutions, complimenting profile management products traditionally used in virtual workspace environments.
- OneDrive for Business Support – OneDrive for Business is now also included
Software requirement
- FSLogix Office 365 Container software (request a 30 days trial here)
- SMB File Share server
- Windows 7 32/64 bits (VHD supported)
- Windows 10 32/64 bits (VHDx supported)
- Windows Server 2008 R2 (VHD supported)
- Windows Server 2012 R2 (VHDx supported)
Step-by-step installation
Pre-step: In Windows 7 and Windows Server 2008 R2 environments, the following patch from Microsoft must be applied in order for the FSLogix product to work properly: https://support.microsoft.com/en-us/kb/2614892
Step 1: First we need to configure the SMB Shared folder location to store the Container VHD files
Note: I recommend to do the configuration on a separated server, or a server that has a low I/O consumption for other services.
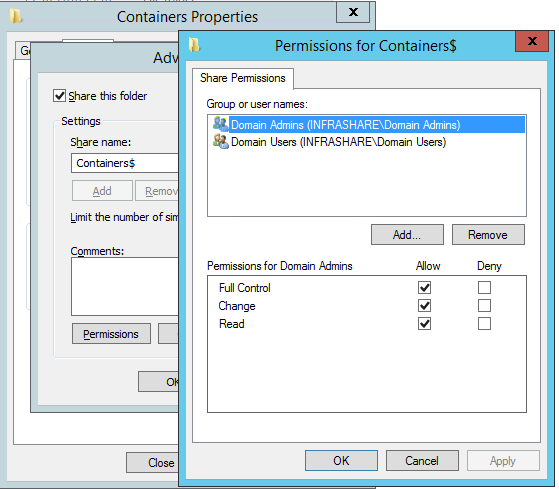
Step 2: Create a folder share (prefer to be hidden), name the folder something like Containers and set the share permissions for Domain Admins to Full Control and setup the rights for Domain Users to Allow Read and Change
Note: All the urgent access permissions will be setup in the NTFS permissions of the folder. If you want to make this more secure, you can setup another security group instead of the Domain Users.
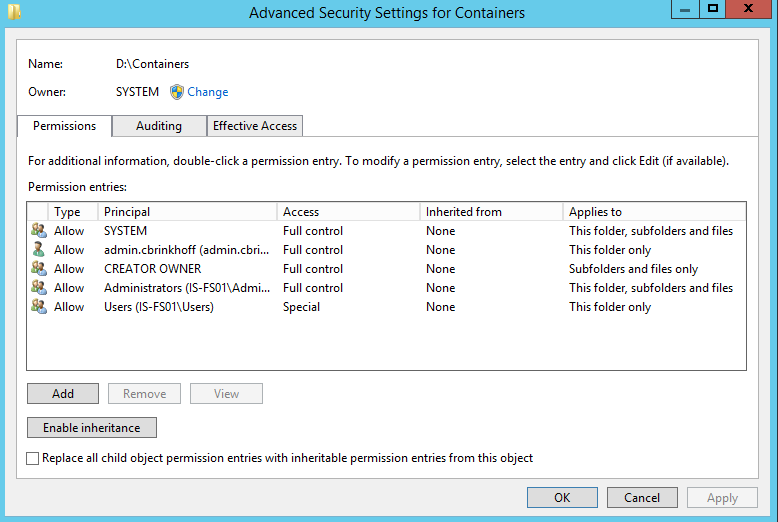
Step 3: Go to the Security Tab of the folder, open the Advanced option, disable the inheritance option, and choose to Remove all the inherited permissions from this object

Step 4: Setup the Advanced NTFS folder permissions of the Container folder, with at least the following required permissions:
- CREATOR OWNER – Full Control (Subfolders and Files Only)
- SYSTEM – Full Control (This Folder, Subfolders and Files)
- Administrators – Full Control (This Folder, Subfolders and Files)
- Users – Create Folder/Append Data (This Folder Only)
- Users – List Folder/Read Data (This Folder Only)
- Users – Read Attributes (This Folder Only)
- Users – Traverse Folder/Execute File (This Folder Only)
Note: Check the folder ownership and change (if needed) it to the SYSTEM account
Step 5: Now the group policy configuration part comes around, copy the fslogixODFC.ADMX and fslogixODFC.ADML policy files that you download earlier to the sysvol Central Store of Active Directory or choose to put it into the local policy store of your domain controller.
Step 6: Open your Group Policy Management Console and create a new (Computer) Policy on the OU where your XenApp or XenDesktop Computer objects are in
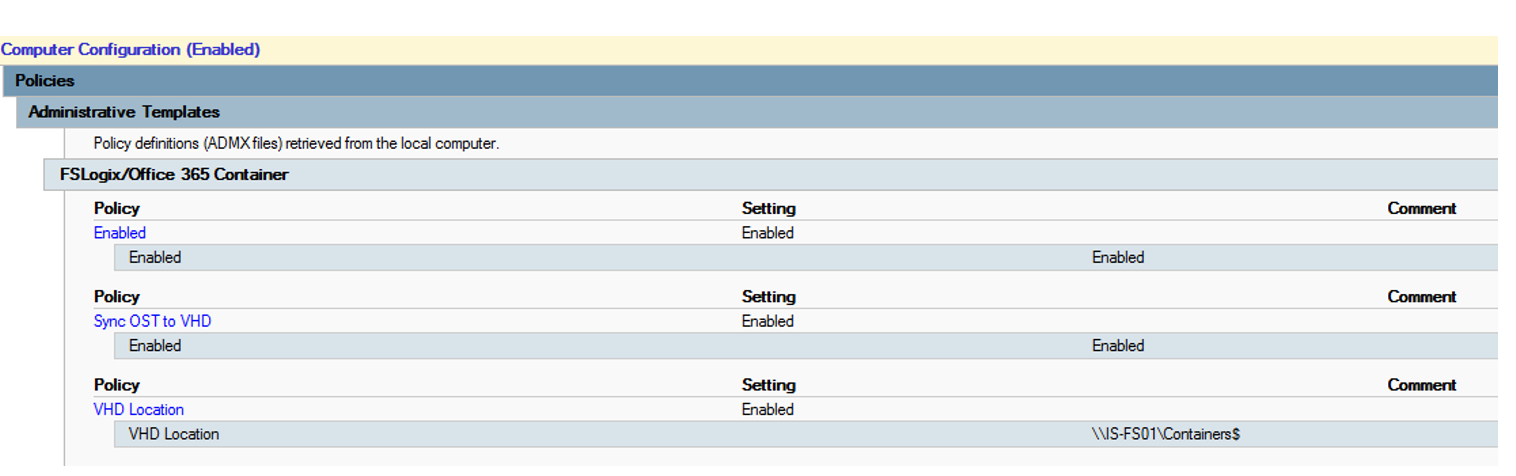
Step 7: Edit the Policy and go to Computer Configuration->Administrative Templates->FSLogix->Office 365 Container
Step 8: Enable the Enabled option and setup the VHD location that created earlier in step 2
Note: The VHD location only needs to be the share folder location, like \\IS-FS01\Containers$ (no %username% parameter is required).

Extra note: If you want to use your users existing OST files, then Enable Sync OST to VHD. The OST will be copied to the new location without a mail profile reset or resync. If you are using XenDesktop with Personal vDisks, then you also need to change the default Outlook location in the Group Policy/Advanced Settings to the vDisk location, normally this will be: P:\Users\%username%\AppData\Local\Microsoft\Outlook
Step 9: After these, open the VHD settings. In here you can choose to config VHDx Containers instead of the default VHD’s. You can also choose to change the default size of the VHD(x), the default is 30 gb per user and will be dynamically allocated. If you think your 30gb is not enough, what I didn’t expect, you can change this value. All the other option can be let default.

Step 10: A summary of all the required policy’s
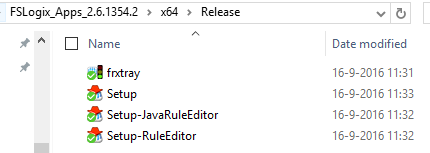
Step 11: Now we have done the configuration part, so let’s begin with the installation of the FSLogix Apps software. The installation needs to be done in the MCS or PVS master image. Copy the software to the server and start Setup.exe
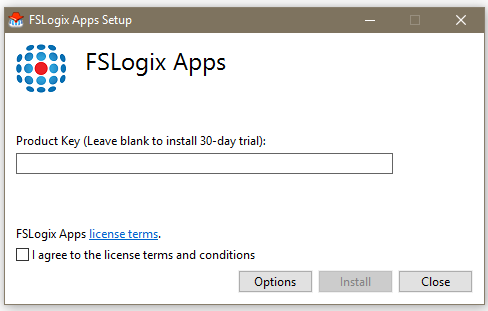
Step 12: Fill in your license, or leave it blank to use the 30-day trial. Click on the options button if you want to change the default installation location. Click on Install
Note: When you buy the license you only need to reinstall the software with the new license key that is provides by FSLogix and you’re all set
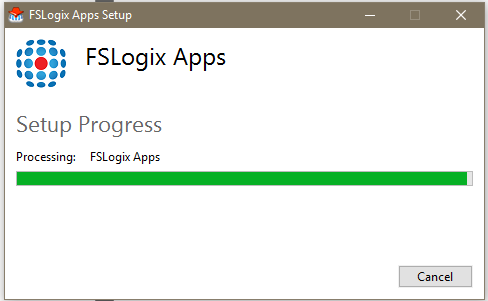
Step 13: The installation will be Processing…
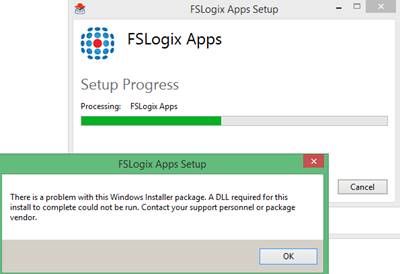
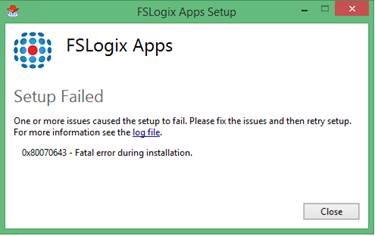
Note: If these steps fails with a DLL error, then you will have Microsoft Visual C++ 2012 (64/32 bits) 11.0.60610 installed on the server, for the usage of FSLogix version 11.0.51106 is needed. You can uninstall the newer version, the Apps Setup installs the required version.
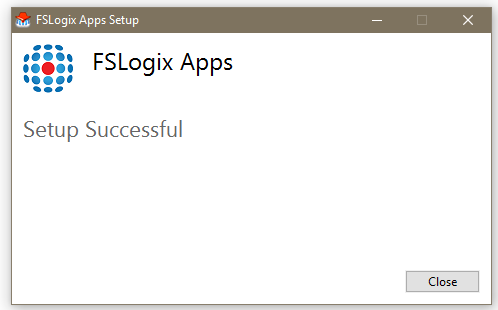
Step 14: If all steps went Ok, the setup will be Successful, click on close and publish your image to your other desktops
Step 15: From now on we can test the software, so logon as a 365 mailbox enabled user to a desktop/server and check if there will be a folder created at the SMB share location. If all went Ok, a folder like this needs to be created automatic, inside the folder is the VHD(x) located starting with the name as ODFC_Username.VHD


Step 16: If the user is logged on, the VHD file is mounted to the server. You can check this by opening the diskmgmt.msc (Disk management Console) from the specific Desktop or Server, or remote console. It must be mounted and visible like this

Step 17: To check if all the files are inside the VHD you can attach a drive letter to the mounted VHD and browse the files.
And look over here, all the existing Outlook profile files are copied and Outlook is starting without resetting my profile and all set!

Troubleshooting
- If you are using XenDesktop with Personal vDisks, then the default Outlook location in the Group Policy/Advanced Settings needs to be changed to the vDisk location, default: P:\Users\%username%\AppData\Local\Microsoft\Outlook
- As mentioned in step 12, if the setup fails with these error screen, just uninstall the Microsoft Visual C++ 2012 (64/32 bits) software. After restarting the installation process, the software will be installed back on the server (version 11.0.51106)
- Is the Policy ‘Enabled’ setting set to ‘1’?
- Do you have a valid file system location in the ‘VHDLocations’ setting?
- Does the user have ‘Full Control’ to the VHD/X file on the file server?
- Is the user a member of the local FSLogix ODFC Include group and NOT a member of the FSLogix ODFC Exclude group?